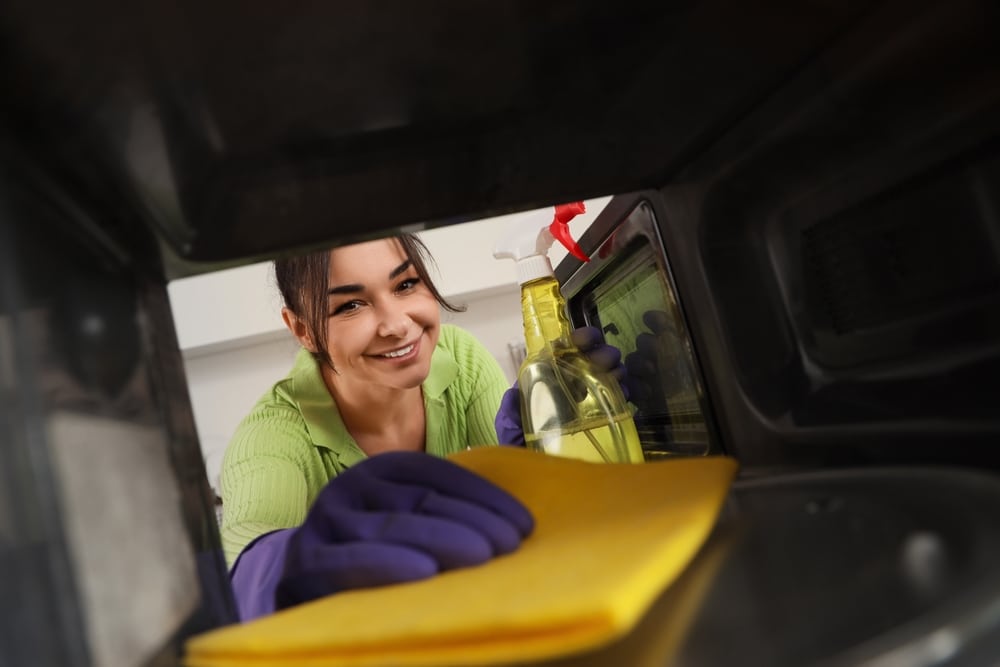
A dirty microwave can make even a clean kitchen feel unpleasant. Splattered sauce, burned popcorn, and mystery stains seem to appear overnight, and many people put off dealing with the mess because they think it will take too much effort. The truth is that microwave cleaning does not have to be frustrating or time consuming. With a few simple ingredients and the right routine, you can loosen grime, remove odors, and make the appliance look fresh again without scrubbing for hours. Whether your microwave has light stains or a thick layer of crusty buildup, there are easy methods that work quickly and safely using items you probably already have at home.
Why microwave cleaning Gets Ignored
Most people only notice their microwave when something smells bad or smoke starts appearing after reheating food. Since the mess is hidden behind a closed door most of the day, it becomes easy to delay taking care of it. Unfortunately, old splatters become harder to remove the longer they sit. Grease dries out, sauces harden, and steam bakes stains into the walls of the appliance. That is why regular care matters. A microwave that gets wiped down every few days is much easier to maintain than one that has been neglected for months. Small habits prevent the buildup from turning into a sticky disaster that feels impossible to clean.
The Steam Trick for microwave cleaning
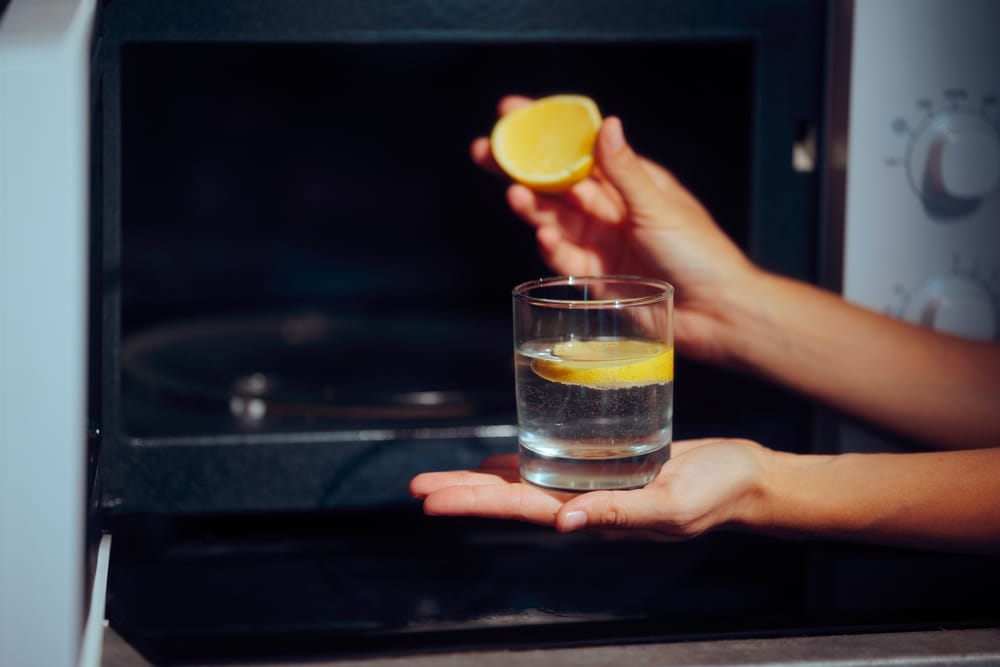
One of the easiest ways to loosen hardened food is by using steam. Fill a microwave safe bowl with water and add several lemon slices or a few tablespoons of vinegar. Heat the bowl for about five minutes until the inside becomes steamy. Leave the door closed for another few minutes so the moisture can soften dried food particles. Once you open the microwave, many stains will wipe away with little effort. This method works because heat and moisture break down grease naturally. It also helps eliminate lingering food smells that can make the appliance unpleasant to use during everyday cooking.
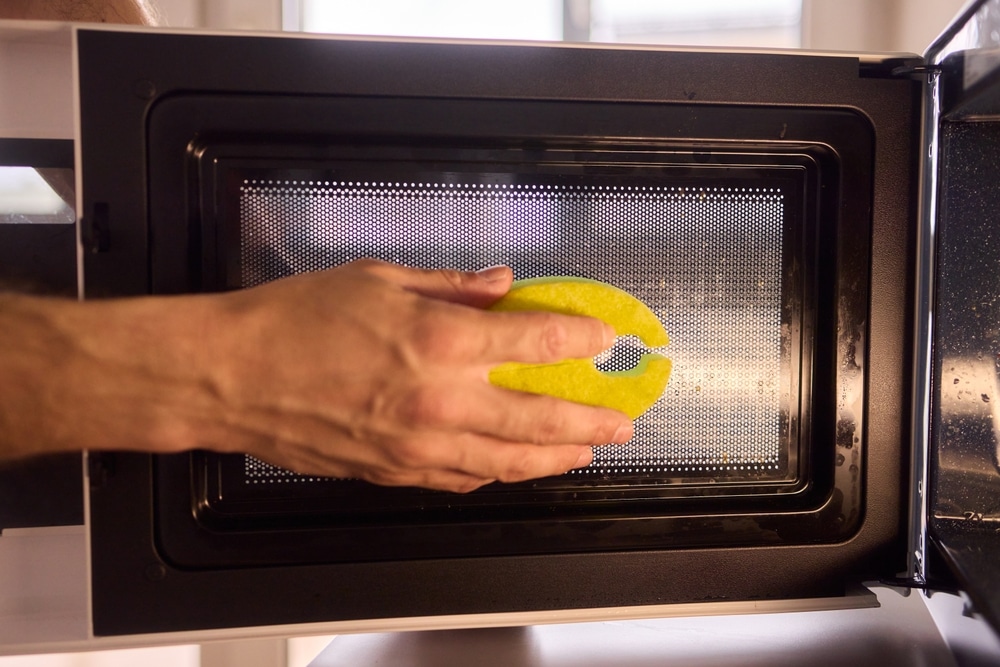
A microfiber cloth works especially well after steaming because it grabs softened debris without scratching surfaces. Paper towels can work too, but they often tear apart when dealing with sticky buildup. Start at the ceiling of the microwave because loosened grime tends to drip downward. Then clean the walls, the door, and finally the bottom surface. If stubborn spots remain, dip the cloth into the hot lemon water and rub gently in circles. Most people are surprised by how much easier the mess comes off after a simple steam treatment. It turns a difficult chore into something that only takes a few minutes.
Natural Ingredients for microwave cleaning
Many commercial kitchen cleaners contain strong chemical smells that linger long after the job is done. Natural ingredients can often handle the same mess without making the microwave smell like a harsh cleaning product. White vinegar cuts through grease effectively, while lemons help freshen the appliance. Baking soda is useful for stubborn stains because it provides mild scrubbing power without damaging the interior. These simple household products are affordable and easy to keep on hand. They also reduce the chance of leaving behind chemical residue where food gets heated every day, which makes many homeowners feel more comfortable.
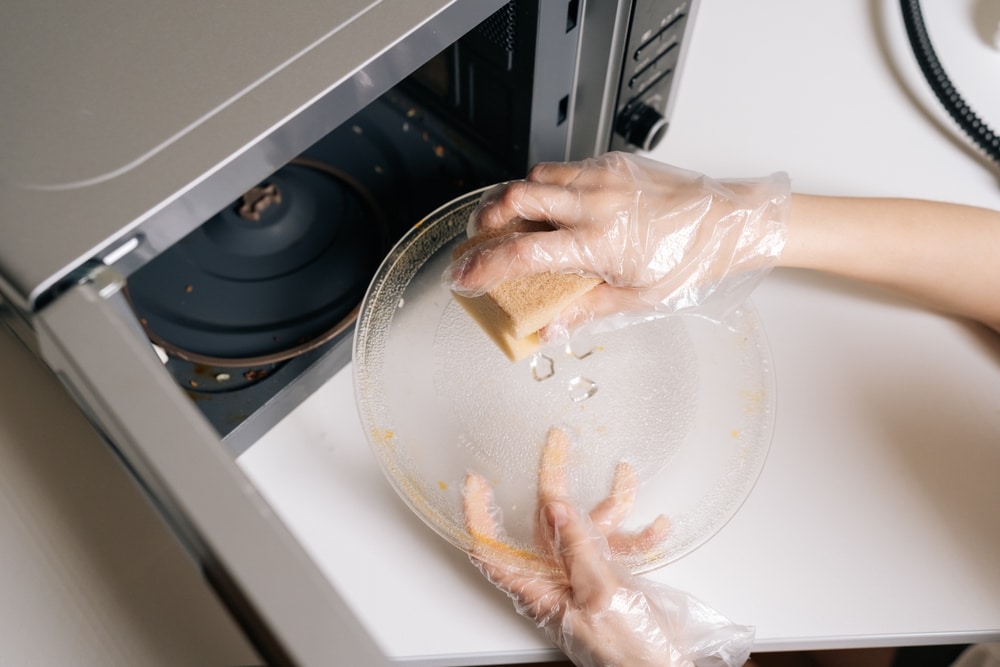
Another useful option is dish soap mixed with warm water. A small amount goes a long way when wiping greasy surfaces. If your microwave has a removable glass tray, take it out and wash it separately in the sink just like a dinner plate. Food often hides underneath the tray, and crumbs can burn over time if ignored. Dry everything thoroughly before putting the appliance back together. Keeping the microwave dry after cleaning helps prevent unpleasant smells from developing later. A few extra minutes of care can make the entire appliance feel almost new again.
Preventing Future microwave cleaning Problems
The easiest mess to clean is the one that never happens. Covering food before heating it is one of the simplest ways to keep splatters from coating the walls. Microwave safe lids, paper towels, or vented covers can stop sauces and oils from exploding during cooking. It also helps to avoid overheating foods that tend to burst, such as soups or tomato sauce. Stirring food halfway through heating distributes heat more evenly and reduces the chance of messy explosions inside the appliance. These small habits dramatically reduce buildup and make weekly maintenance much faster and easier.
It is also smart to wipe the microwave regularly even when it does not look very dirty. A quick pass with a damp cloth every few days prevents grease from becoming baked onto surfaces. Families that use the appliance multiple times each day should especially pay attention to small spills. Children often leave behind hidden splatters after reheating snacks, and these stains harden quickly if ignored. Regular maintenance keeps odors under control and helps the appliance perform better. A cleaner microwave is not only more pleasant to use, but it can also last longer with fewer maintenance issues.
Easy Supplies for microwave cleaning
You do not need fancy tools to restore a messy microwave. Most cleaning jobs can be handled with a bowl, warm water, vinegar, lemons, baking soda, and a soft cloth. Avoid steel wool or rough scrubbers because they can scratch the interior coating and damage surfaces over time. A soft sponge or microfiber cloth is usually more than enough once the grime has been softened with steam. Cotton swabs can help clean corners and vents where dirt collects. Keeping these basic supplies nearby makes it easier to clean the appliance before the mess becomes overwhelming.
Some people also like using an old toothbrush for hard to reach areas around the door seal. The rubber edges around the microwave door can collect grease and crumbs that often go unnoticed. Cleaning these areas carefully helps the door close properly and keeps the appliance looking tidy. If the exterior has fingerprints or greasy marks, a small amount of dish soap on a damp cloth usually removes them easily. Stainless steel models may benefit from a dry cloth afterward to avoid streaks. A complete wipe down inside and outside makes a surprisingly big difference in the overall appearance of the kitchen.
Deep microwave cleaning After Heavy Buildup
Sometimes a microwave reaches a point where quick wiping is not enough. Burned food can harden into dark crusty patches that seem permanently attached to the interior. In these cases, patience matters more than force. Repeat the steam process several times rather than aggressively scraping at the surface. Allowing moisture to soak into the buildup gradually loosens it without causing damage. Baking soda paste can also help with stubborn areas. Mix baking soda with a small amount of water until it forms a thick texture, then spread it over the stain and let it sit before wiping gently.
Odors from burned popcorn or overheated leftovers can also linger long after the visible mess is gone. Leaving a bowl of baking soda inside overnight can help absorb unpleasant smells naturally. Some people also place coffee grounds or lemon peels inside for several hours to freshen the interior. Air circulation helps too, so leaving the microwave door open for a short time after cleaning can remove lingering moisture and stale smells. Deep cleaning may take more time, but restoring a neglected microwave can make the whole kitchen feel cleaner and more inviting again.
Common Mistakes During microwave cleaning
One common mistake is using too much water directly on electronic areas. While moisture helps soften grime, soaking vents or control panels can damage sensitive components. Always use a damp cloth instead of pouring water into the appliance. Another mistake is forgetting to unplug the microwave before attempting any detailed cleaning around buttons or external parts. Safety should always come first when dealing with electrical appliances. People also sometimes use harsh cleaners that leave behind strong fumes, which can affect the taste or smell of food later during heating.
Scraping stains with knives or sharp metal tools is another bad habit that can permanently damage the interior coating. Once the surface becomes scratched, food particles can stick more easily and cleaning becomes even harder. It is also important not to ignore small spills after they happen. Fresh messes usually wipe away in seconds, while old stains can take repeated treatments to remove completely. Developing a simple routine saves time in the long run. A few moments of attention after cooking can prevent hours of scrubbing later when the microwave becomes heavily coated with grime.
A Weekly microwave cleaning Routine That Works
Creating a simple weekly schedule can keep the appliance under control without much effort. Start by removing the tray and washing it in warm soapy water. Next, steam the inside using lemon water or vinegar for several minutes. Wipe the interior thoroughly from top to bottom, paying close attention to corners and vents. Finish by cleaning the outside handle and buttons where fingerprints often collect. The entire process usually takes less than fifteen minutes when done regularly. Consistency matters far more than intense scrubbing sessions every few months after the buildup becomes severe.
Households with children or heavy microwave use may benefit from quick daily wipe downs as well. Even thirty seconds with a damp cloth can stop grease from hardening. Keeping a microwave cover nearby encourages family members to use it more often, reducing splatters before they happen. Some people even store a small cleaning cloth in the kitchen drawer specifically for fast touch ups. The easier the routine feels, the more likely it becomes a lasting habit. A clean appliance improves the look of the kitchen and makes reheating meals far more enjoyable for everyone in the home.
Keeping your kitchen appliances fresh does not require expensive products or exhausting scrubbing sessions. The secret is consistency, simple ingredients, and knowing how to loosen grime before trying to remove it. Once you realize how effective steam, vinegar, lemons, and baking soda can be, the entire task feels much less intimidating. Microwave cleaning becomes easier when handled regularly instead of waiting until stains become thick and crusted over. A few minutes each week can prevent odors, improve hygiene, and help your appliance last longer. With the right habits in place, you can enjoy a microwave that looks cleaner, smells fresher, and feels pleasant to use every single day.
Do you want more amazing tips to clean your home? Then visit our Cleaning & Maintenance page right here