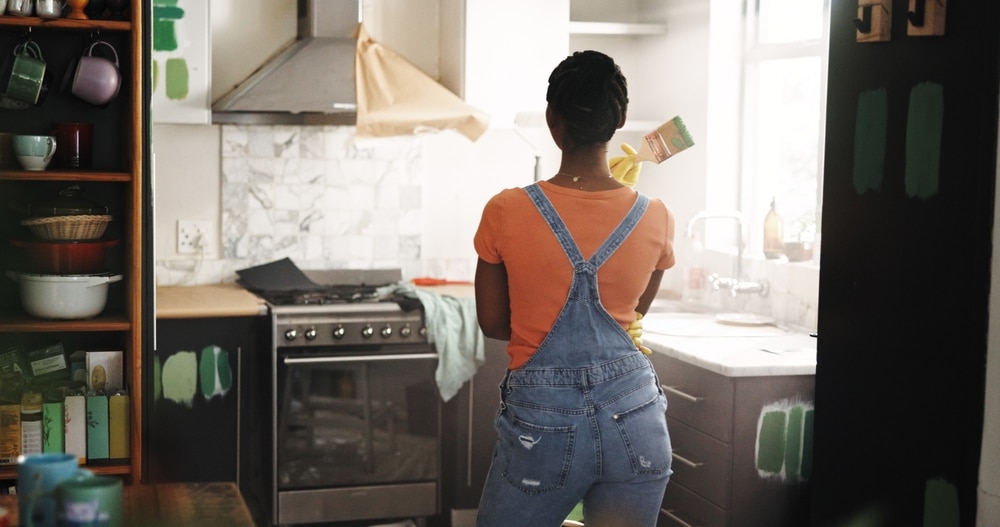
There’s a special kind of heartbreak reserved for the moment you step back, admire your freshly painted cabinet door, and notice it looks like a zebra had a wrestling match on it. Streaks. Brush marks. Roller lines. The kind of finish that screams “I tried” but whispers “I should’ve called someone.” If you’ve decided to paint kitchen cabinets yourself, congratulations — you’re about to save thousands of dollars and possibly your sanity. But there’s a right way and a deeply regrettable way to do this job, and the difference between them comes down to prep, patience, and a few professional tricks most weekend warriors never bother to learn.
The good news? You don’t need to be a professional painter to get a flawless finish. You just need to stop doing the things that cause streaks in the first place. Let’s walk through the process step by step.
Why Your Cabinets Streak in the First Place
Before we get into solutions, let’s talk about why this happens. Streaks aren’t random — they’re the predictable result of three main culprits: poor prep, the wrong tools, and bad technique. Greasy cabinets cause paint to bead up and dry unevenly. Cheap brushes leave bristle marks. And working too slowly or going back over half-dried paint is basically begging for streak lines.
Kitchens are particularly tricky because they accumulate a film of cooking grease that’s invisible to the eye but very visible to your paint. Skip the cleaning step, and no amount of fancy paint will save you. Humidity also plays a sneaky role — if you’re trying to paint kitchen cabinets in a damp room, the paint dries unevenly, leaving you with that awful “roped” texture. Understanding the enemy is half the battle.
Step One: Prep Like Your Finish Depends on It (Because It Does)
Here’s the unsexy truth: about 70% of a great cabinet paint job happens before you ever open the can. Start by removing every cabinet door, drawer front, and piece of hardware. Yes, all of it. Painting around hinges and handles is how amateurs announce themselves. Lay everything flat on sawhorses or a covered table — flat surfaces dry without drips.
Next, clean. And then clean again. Use a degreaser like trisodium phosphate (TSP) mixed at about a quarter cup per gallon of water, or a cabinet-safe alternative. This cuts through years of grease you didn’t know was there. Once dry, lightly sand with 150–220 grit sandpaper. You’re not trying to strip the cabinets — you’re just scuffing the surface so the primer has something to grip. Wipe everything down with a tack cloth afterward to remove dust.
If you’re going to paint kitchen cabinets that have a glossy factory finish, this sanding step is non-negotiable. Skipping it is the number one reason people end up with paint that peels off six months later.
Step Two: Prime Properly (No, Your Paint Is Not Enough)
Primer is the unsung hero of cabinet painting. It bonds to the surface, blocks stains from bleeding through, and gives your paint a uniform base to grab onto. Use a high-quality bonding primer — water-based options like Kilz work well, while oil-based primers like Zinsser are favored by many pros for tough jobs.
Apply one even coat with a brush for the corners and detailed areas, then immediately roll over the flat sections with a small foam or microfiber roller. Let it dry fully (check the can for exact times — usually a few hours), then lightly sand again with 220 grit. This second sanding is what separates “okay” results from genuinely smooth ones. Wipe clean. You’re now ready for the part most people rush.
Step Three: Pick the Right Paint and Tools
If you want to paint kitchen cabinets like a professional, you cannot use leftover wall paint. Cabinets endure scrubbing, splashes, slamming, and sticky fingers. They need a paint engineered for the abuse. Acrylic enamel and alkyd hybrid paints — like Benjamin Moore Advance or Sherwin-Williams Emerald Urethane Trim Enamel — are the gold standards. They self-level beautifully, meaning the paint flows out and reduces brush marks on its own.
For tools, invest in a high-quality synthetic-bristle brush (a 2-inch angled sash brush is perfect) and a microfiber or mohair mini roller. Skip foam rollers for the final coats — they leave a faint orange-peel texture you’ll regret. If you can borrow or rent a paint sprayer, even better, but you can absolutely paint kitchen cabinets to a professional standard with just a brush and roller if you commit to good technique.
Step Four: The Streak-Free Technique (This Is the Magic Part)
Here’s where most DIY tutorials wave their hands and say “just paint carefully.” Useless advice. The real secret is a method called “brush and roll,” and it’s genuinely the difference between amateur and pro results.
Work in small sections. Use your brush to cut in along edges, panels, and detailed areas. Then — before that paint has a chance to start drying — immediately go over the same area with your roller. The roller smooths out the brush strokes while the paint is still wet and self-leveling. This is the single most important technique you’ll learn when you paint kitchen cabinets without a sprayer.
Always work in the direction of the wood grain. Use long, even strokes. And — this is critical — do not go back over paint that’s started to set up. Every paint has an “open time” (the window when it’s still workable), and once you exceed it, brushing or rolling will tear the surface and create those dreaded ridges.
Apply thin coats. Two or three thin coats will always look better than one thick one. Thick paint sags, drips, and leaves visible texture. Thin paint flows out and disappears.
Step Five: Drying, Curing, and the Patience Game
This is where dreams die. People paint kitchen cabinets, wait four hours, and start hanging doors. Don’t. Most cabinet enamels need 16–24 hours between coats and up to 30 days to fully cure. “Dry to the touch” and “ready to use” are very different things.
Plan to leave your cabinet doors off for at least 48–72 hours after the final coat. When you reinstall them, handle them carefully — a fully dried but uncured finish can still dent, scratch, or pick up fingerprints. Avoid heavy cleaning for the first month. After that, you’ve got cabinets that will look fantastic for years.
Common Mistakes to Avoid
A few quick warnings from people who’ve learned the hard way. Don’t paint kitchen cabinets in a humid room — humidity above about 70% messes with drying times and causes streaking. Don’t overload your brush; tap excess paint off the sides of the can rather than wiping it. Don’t skip the second sanding after primer. Don’t rush between coats. And don’t try to fix a streak that’s already half-dry — wait until it cures, sand it smooth, and recoat.
Also, resist the urge to use whatever’s on sale. Cheap paint is the most expensive choice you’ll ever make on this project, because you’ll either redo it or live with results you hate.
When to Call in a Pro
Look, sometimes the honest answer is that this job isn’t worth your weekend. If your cabinets have intricate routing, raised panels, or you simply don’t have the patience for a multi-day project, hiring a professional cabinet painter often costs less than redoing a botched DIY job. Pros typically use sprayers in controlled environments and can paint kitchen cabinets to a factory-smooth finish that’s genuinely hard to replicate at home.
That said, plenty of people paint kitchen cabinets themselves and end up with results they’re proud to show off. It just requires respecting the process.
A streak-free finish isn’t about being talented — it’s about being thorough. Clean obsessively, sand properly, prime with intention, choose quality paint and tools, work in small sections, and give the paint time to do its job. If you paint kitchen cabinets following these steps, you’ll end up with something that looks expensive, lasts for years, and quietly makes you feel like a wizard every time you walk into the kitchen.
Your future self, sipping coffee in a kitchen that no longer looks tired, will thank you. Now go grab that sandpaper.
Do you want more amazing tips for DIY Projects in your home? Then visit our DIY Projects page right here