

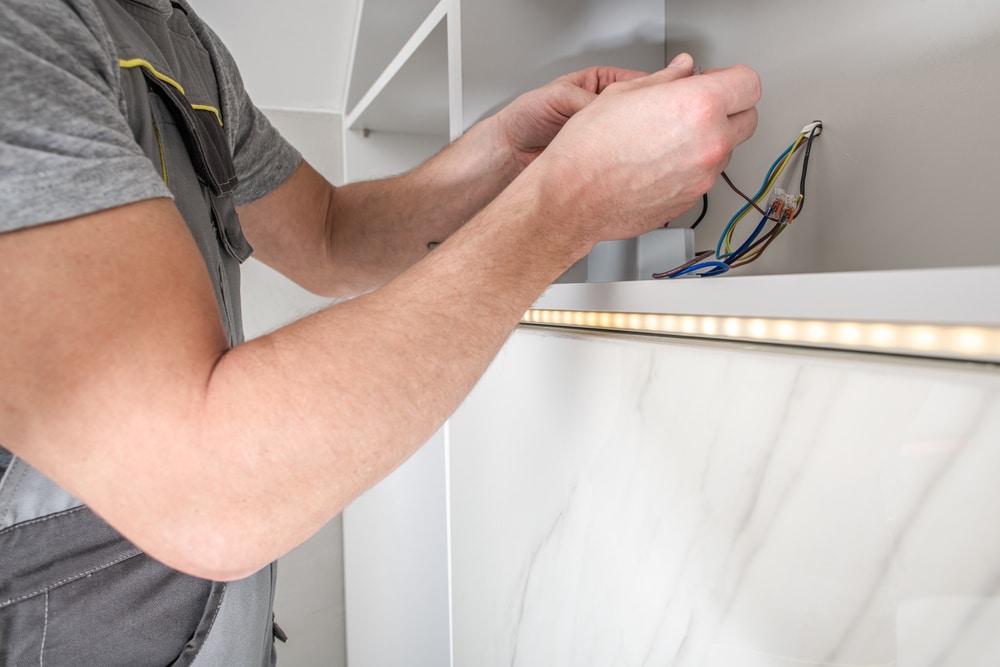
Adding LED lighting beneath your cabinets is one of the easiest ways to make a kitchen feel brighter, more modern, and more practical. Whether you want better visibility while preparing meals or simply enjoy the warm glow of accent lighting, this is a project that many homeowners can complete themselves. Learning how to install under cabinet lighting does not require advanced electrical knowledge if you choose the right products and follow safe installation practices. With a little planning, a few basic tools, and patience, you can transform your kitchen in just a few hours.
Why Under-Cabinet LED Lighting Is Worth It
Under-cabinet LED lighting offers more than just an attractive appearance. It improves task lighting, making chopping vegetables, reading recipes, and cleaning countertops much easier. LEDs also consume far less electricity than traditional bulbs while lasting significantly longer, meaning you will spend less money replacing them over time. They generate very little heat, making them an excellent choice for kitchens where safety matters. Before you install under cabinet lighting, consider how you use your workspace each day. The right lighting layout can eliminate dark corners and create a more inviting atmosphere without increasing your energy bill significantly.
Choose the Right Type of LED Lights
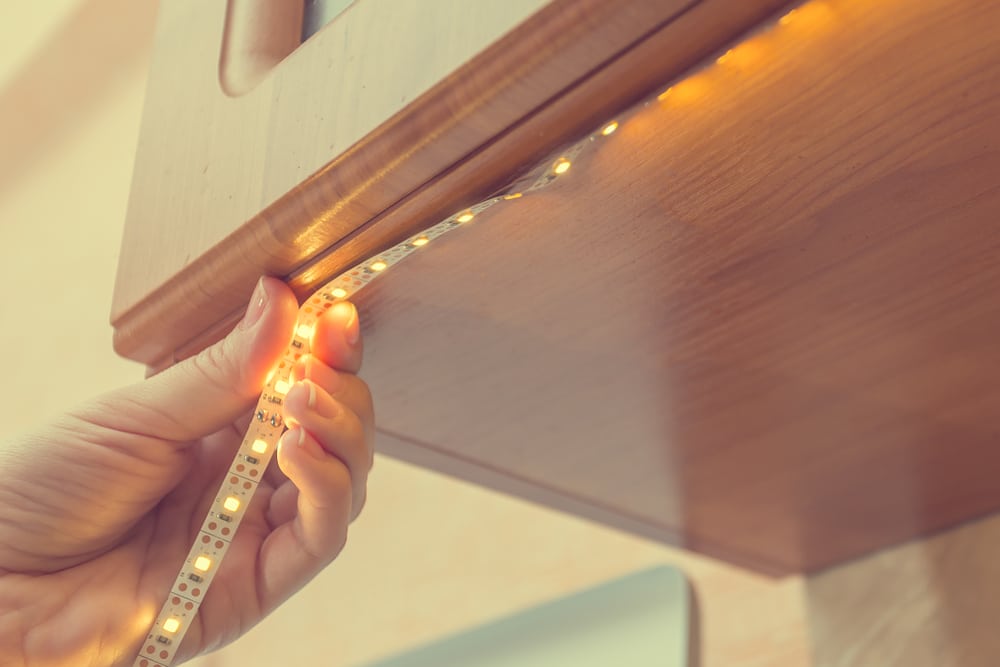
Not every lighting kit is designed for the same purpose. Some systems plug directly into a nearby outlet, while others use rechargeable batteries or require hardwiring. For homeowners who want a straightforward DIY project, plug-in and adhesive-backed LED strip lights are usually the easiest options. LED light bars provide a more finished appearance and often produce more even illumination across the countertop. Before you install under cabinet lighting, compare brightness levels, color temperatures, and dimming features so your finished project matches both your practical needs and your personal style.
Measure and Plan Before You Begin
Good planning often determines whether a project looks professional or rushed. Measure the length of every cabinet where lights will be installed, paying attention to corners, gaps, and nearby electrical outlets. Decide where wires will be hidden and where switches or remote controls will be most convenient to reach. Clean measurements also help you avoid purchasing too much or too little lighting material. Taking a few extra minutes to prepare everything carefully before you install under cabinet lighting can save considerable time and frustration once installation begins.
Gather the Necessary Tools
Most DIY LED lighting kits require only a handful of basic tools. A measuring tape, pencil, microfiber cloth, scissors for cutting LED strips where permitted, cable clips, and a screwdriver are usually enough. Some kits include adhesive backing, while others require mounting brackets or small screws. Read the manufacturer’s instructions carefully before opening the packaging. Every product has slightly different installation requirements. Having every tool ready before you install under cabinet lighting allows the project to progress smoothly without unnecessary interruptions or repeated trips to the toolbox.
Prepare the Cabinet Surface
The adhesive on LED strips works best when attached to a clean, dry, and grease-free surface. Kitchens naturally collect cooking residue over time, even beneath cabinets where it may not be immediately visible. Wipe the mounting area thoroughly with a gentle household cleaner or rubbing alcohol, then allow it to dry completely. Inspect the underside of each cabinet for uneven surfaces or loose paint that could affect adhesion. Proper preparation creates a stronger bond and helps ensure your lights remain securely attached long after you install under cabinet lighting in your kitchen.
Mount the Lights Carefully
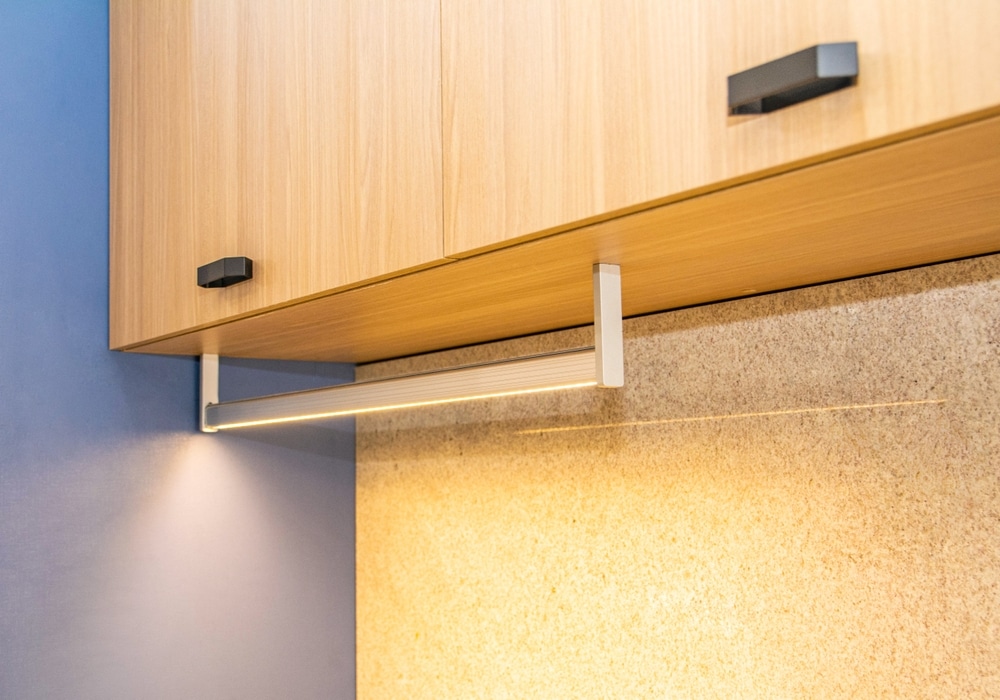
Take your time when positioning the lights because proper placement affects both appearance and performance. Most people achieve the best results by placing LED strips close to the front edge of the cabinet while keeping the individual LEDs hidden from direct view. If your kit includes mounting clips or channels, install those first according to the instructions. Press adhesive strips firmly into place without stretching them. Once you install under cabinet lighting, check that every section sits evenly and that no wires are hanging where they might be noticed.
Hide Wires for a Cleaner Finish
One of the biggest differences between a professional-looking installation and an amateur one is cable management. Route wires neatly along cabinet edges using adhesive cable clips or small wire channels that match the cabinet finish. Keep cords away from heat sources and moving cabinet doors. If your lighting kit plugs into an outlet, plan the shortest and least noticeable cable path possible. When you install under cabinet lighting, spending a little extra time hiding wires creates a polished appearance that makes the entire kitchen feel more refined.
Test Everything Before Final Placement
Before permanently securing every component, plug in the system and verify that every light section functions correctly. Check connectors, brightness settings, remote controls, dimmers, and timers if your kit includes those features. Stand at different locations around the kitchen to make sure the lighting is even and free from unwanted shadows. This is also a good opportunity to make small adjustments before adhesives fully cure or screws are tightened completely. Testing everything before you install under cabinet lighting permanently helps prevent unnecessary rework later.
Keep Your New Lighting Looking Great
LED lighting requires very little maintenance, but a few simple habits will keep it performing well for years. Dust the fixtures occasionally with a soft cloth and avoid spraying cleaning products directly onto the lights or electrical connections. If adhesive edges begin to loosen over time, replace them with fresh mounting tape designed for indoor use. Periodically inspect visible cables for signs of wear, especially in busy family kitchens. A little routine care ensures your investment continues providing reliable illumination while maintaining the clean appearance you wanted from the beginning.
Installing under-cabinet LED lighting is a rewarding weekend project that delivers immediate benefits in both style and functionality. Better visibility, lower energy consumption, and a modern appearance make this one of the most worthwhile upgrades for almost any kitchen. By selecting the right lighting kit, measuring carefully, preparing the surfaces properly, and following the manufacturer’s instructions, you can achieve impressive results without hiring an electrician. Once you install under cabinet lighting, you will likely wonder why you waited so long to brighten one of the busiest and most important spaces in your home.
Do you want more amazing tips for DIY Projects in your home? Then visit our DIY Projects page right here