
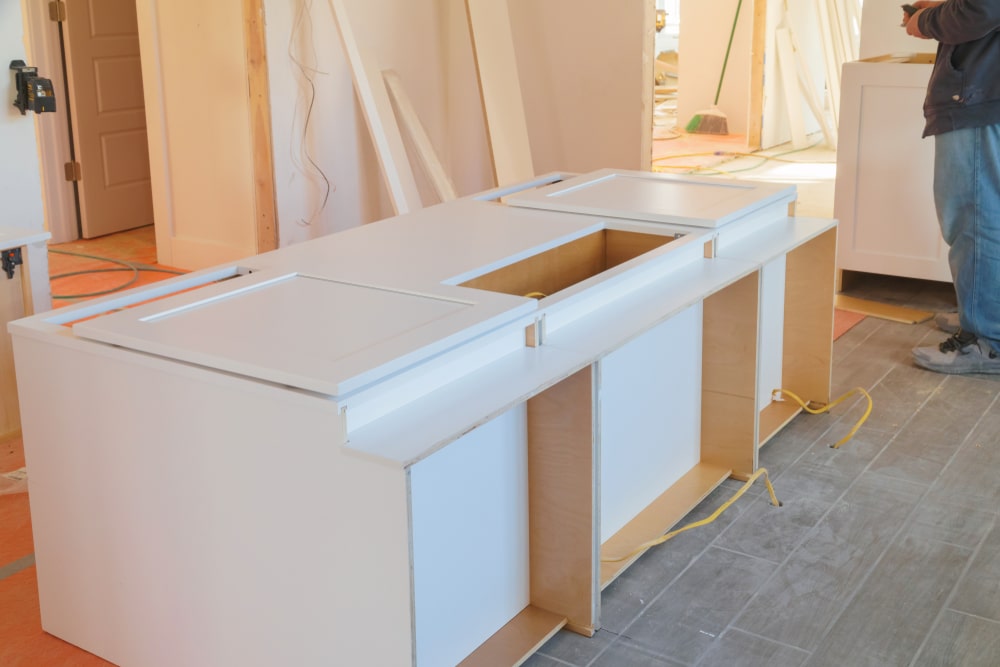
A kitchen island can provide extra storage and a much-needed work surface, but a permanent installation is not right for every room. A rolling version can move aside when you need more floor space, serve as a prep station beside the stove or become a buffet when guests arrive.
Building a DIY kitchen island from stock cabinets keeps the project manageable because the doors, drawers and shelves are already made. Your main jobs are connecting the cabinets, reinforcing the bottom, fitting suitable casters and adding a countertop.
There is one important catch: standard base cabinets are already close to normal counter height. Add ordinary casters underneath, and the finished island may become uncomfortably tall. Good planning matters more than complicated carpentry.
Choose the Right Island Design
The simplest design uses one or two stock base cabinets facing the same direction. Two 24-inch-wide cabinets create an island approximately 48 inches long and 24 inches deep before adding panels or a countertop.
That arrangement provides useful storage without becoming enormous. You can combine a drawer base with a door cabinet, use two drawer bases or choose a cabinet with pull-out trays.
A back-to-back arrangement creates storage on both sides, but it also produces a very deep and heavy island. That may be suitable for a large kitchen, but it is harder to move and requires a wider countertop. For most homes, a single row of cabinets with a finished back panel is more practical.
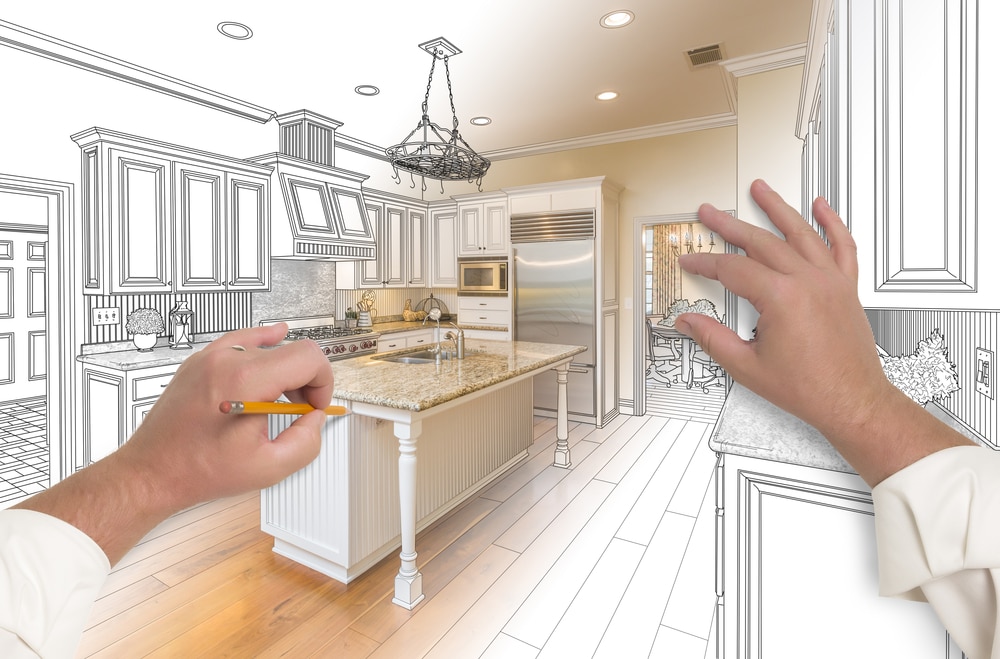
Before buying anything, mark the proposed island on the floor with painter’s tape. Open nearby appliances, drawers and doors. Walk around the outline while imagining another person working there. A movable island still needs enough clearance to roll without striking handles, walls or appliances.
Check the Finished Height
Most standard kitchen base cabinets are approximately counter height once a worktop is installed. Placing three- or four-inch casters beneath them can turn a comfortable prep surface into something closer to bar height.
Calculate the complete height before committing to the design:
Cabinet height + caster or mobile-base height + countertop thickness = finished island height
Compare that result with your existing counter. A slightly taller surface may be useful for some tasks, but several extra inches can make chopping and mixing uncomfortable.
There are three practical ways to control the height:
- Use low-profile casters and a thin countertop.
- Choose shorter cabinets, such as certain vanity or utility cabinets.
- Fit retractable workbench casters that lift the island only when it needs to move.
Retractable casters are particularly useful. When disengaged, the island rests on a solid base rather than its wheels. When activated, they lift it just enough to roll. One commercially available workbench caster system, for example, lifts a bench three-quarters of an inch while allowing it to rest firmly on the floor at other times.
Do not modify the structural bottom of a cabinet simply to make it shorter unless you understand how that cabinet is built. The toe-kick assembly may contribute to its strength.
Gather Your Materials
The exact quantities depend on the cabinet combination, but a typical island requires:
- One or two matching stock base cabinets
- Cabinet screws recommended by the manufacturer
- Three-quarter-inch plywood for the back and end panels
- Lumber or plywood for a reinforced mobile base
- Four heavy-duty locking swivel casters or a retractable caster set
- A butcher-block, laminate or other suitable countertop
- Countertop mounting screws or brackets
- Construction adhesive or wood glue where appropriate
- Trim, edge banding or decorative moulding
- Paint, primer or stain
- Cabinet handles or knobs
- Wood filler and sandpaper
Useful tools include a drill-driver, countersink bit, clamps, level, square, tape measure, circular saw and straightedge. Wear eye and hearing protection when cutting, and use suitable dust protection when machining wood products.
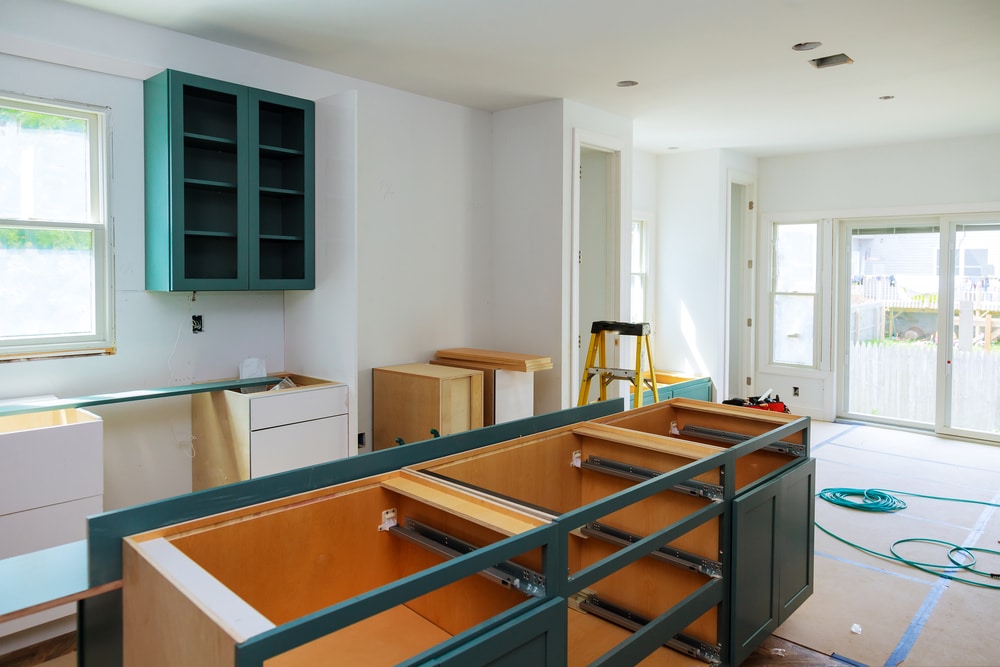
Remove the cabinet doors, shelves and drawers before starting. This reduces weight and protects finished surfaces while you work.
Choose Casters for the Entire Load
Do not select wheels based only on appearance. The casters must support the combined weight of the cabinets, countertop, hardware and everything you intend to store inside.
A stone top can make a small island extremely heavy. Butcher block is lighter than many stone products but still adds substantial weight. Cookware, appliances and pantry items increase the load further.
Check the manufacturer’s load rating for the complete set of casters. Build in a generous safety margin rather than selecting wheels that barely meet your estimate. Remember that an uneven floor or threshold may temporarily place much of the island’s weight on fewer than four wheels.
Use casters designed for furniture, carts or workbenches—not small decorative wheels. Larger wheels generally handle grout lines and uneven flooring more easily. Soft polyurethane or rubber wheels are less likely to mark a finished floor than hard metal ones, although compatibility should be confirmed with the flooring manufacturer.
All four wheels should lock against rolling, and ideally against swivelling too. An island that moves while someone is chopping is unsafe.
Build a Reinforced Base
Stock cabinets are normally supported across their base and secured to a wall or floor. They are not necessarily designed to carry their entire weight through four small caster mounting plates.
Create a rigid frame that spreads the load. Three-quarter-inch plywood can be cut to match the island footprint, or a rectangular frame can be built from straight structural lumber. Add crosspieces beneath the cabinet divisions so the platform cannot sag.
Dry-fit the base and casters before fastening anything. Position each caster near a corner but far enough inward for the mounting plate and screws to sit fully on solid material. Check that the wheels can rotate without striking the toe kick or trim.
Use bolts or structural screws appropriate for the caster and base materials. Do not fasten caster plates into thin cabinet panels, particleboard edges or a decorative toe-kick skin.
If the base raises the cabinets, include its thickness in your finished-height calculation. Paint or seal exposed wood before final assembly, including cut edges that may encounter spills during floor cleaning.
Connect the Cabinets
Set the cabinets together on a flat work surface and align their fronts and tops. Clamp the face frames firmly without damaging the finish. Confirm that the cabinets are square before drilling.
For framed cabinets, drill countersunk pilot holes through one face-frame stile and into the next. Use proper cabinet screws of a suitable length. Home Depot’s cabinet installation guidance recommends clamping adjacent frames flush and fastening through the face frames rather than the thin side panels.
Frameless cabinets use a different connection method, usually with screws or cabinet connectors through the adjoining sides. Follow the cabinet manufacturer’s instructions because panel thicknesses and approved fasteners vary.
Join the cabinets to the reinforced base through solid structural areas. Avoid driving screws where they could interfere with drawers, shelves or the caster hardware. Once everything is connected, stand the assembly upright and check that it does not rack or twist.
Finish the Back and Ends
A stock cabinet often has an unfinished back because it is intended to sit against a wall. On an island, that surface remains visible.
Cut a plywood panel to cover the full back of the joined cabinets. A single panel also helps the cabinets behave as one unit. Attach it to structural cabinet edges with short screws, adhesive or both, while ensuring that no fastener can penetrate a visible interior surface.
Finish exposed ends with matching cabinet panels, painted plywood or simple Shaker-style trim. A matching toe-kick strip can conceal unfinished areas at the bottom. Stock toe-kick products are designed to be trimmed and fitted across cabinet bases, as shown in this toe-kick installation example.
Prime cut edges before painting, particularly when working with MDF. Match the cabinet colour or use a contrasting finish to make the island look intentional.
Do not block access to the caster brakes. You should be able to lock and unlock them without reaching underneath with your hands.

Measure and Install the Countertop
Wait until the cabinet body is completely assembled before measuring the top. Stock cabinets can vary slightly from their advertised dimensions, and added panels alter the final footprint.
A small overhang protects cabinet fronts from drips and makes the island look finished. Keep it modest on a movable island. A deep breakfast-bar overhang invites people to lean on or climb against a structure that is not anchored to the floor.
Unsupported overhang limits vary by countertop material, thickness and manufacturer. Heavy materials may require brackets or steel supports. Home Depot’s laminate countertop instructions specifically recommend considering support brackets where an overhang is present.
Butcher block is a DIY-friendly option because it can be cut with common woodworking tools. Seal or finish it according to the product manufacturer’s directions, including exposed edges and cutouts. A finish described as suitable for countertops is not automatically approved as a direct cutting surface, so check its intended use.
Position the top carefully and measure the overhang on every side. Secure it through the cabinet’s top rails or mounting brackets. Use screws short enough that they cannot break through the work surface. Wood tops also expand and contract, so follow the countertop manufacturer’s instructions regarding slotted holes or mounting clips.
Stone and engineered-stone tops are better measured, transported and installed by professionals. Their weight must also be considered when selecting the base and casters.
Reinstall and Adjust Everything
Reinstall the doors, drawers and shelves after the countertop is secure. Add handles and adjust the hinges so gaps appear even.
Load the island gradually and keep heavier objects in the lower cabinets. This lowers the centre of gravity and improves stability. Avoid storing a heavy stand mixer near the edge of the countertop while moving the island.
Test the completed island before regular use:
- Lock every caster and push the island from several directions.
- Open each loaded drawer individually and check for tipping.
- Roll the island across its intended route.
- Confirm that the wheels clear thresholds and flooring transitions.
- Check all screws and caster mounts again after the first few uses.
Never allow children to climb on the doors, drawers or countertop. Do not use the island as a step stool, and avoid adding seating unless the structure was specifically designed and professionally assessed for that purpose.
Skip a built-in sink, cooktop or fixed electrical outlet on a genuinely movable island. Those additions introduce utility connections and code requirements that are not compatible with a simple rolling cabinet project. Consult licensed professionals if you want powered appliances or plumbing.
A Flexible Island Without Custom Cabinetry
The success of a rolling island depends less on decorative trim than on its proportions and structure. Stock cabinets handle the complicated storage work, but the reinforced base, properly rated casters and securely mounted countertop make the finished piece safe and useful.
Measure the final height before buying wheels, keep countertop overhangs conservative and never attach casters directly to weak cabinet material. With those details handled, a DIY kitchen island can look built-in when parked and roll away whenever the room needs more space.