

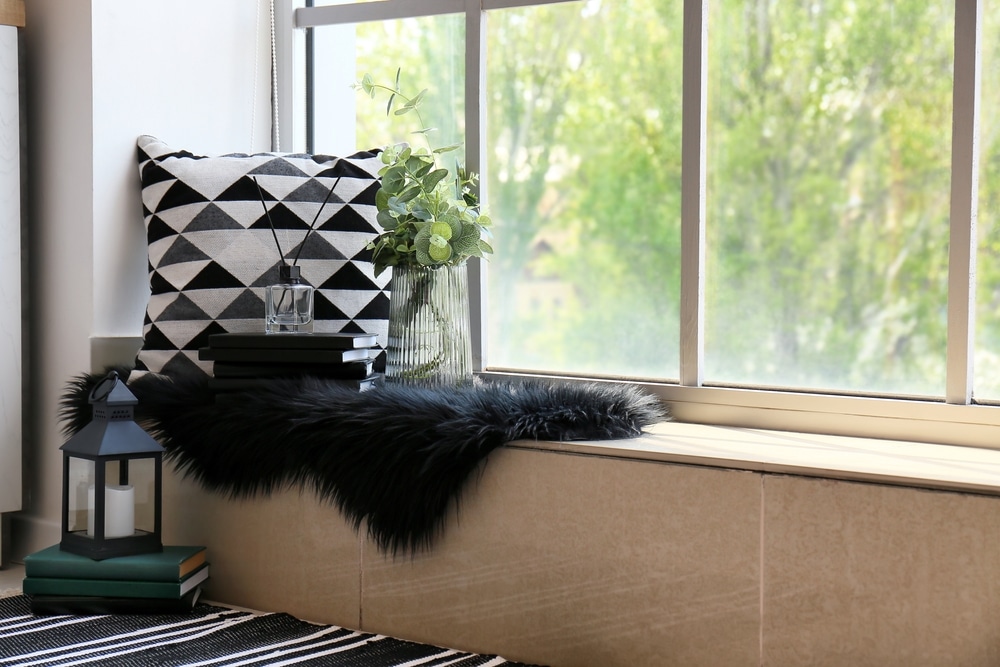
A window seat is one of those home upgrades that looks impressive but can also be surprisingly practical. It transforms an unused corner into a cozy place to relax while adding valuable storage for items that usually create clutter. Whether you want a reading nook, a place to enjoy your morning coffee, or extra room for blankets and board games, this project delivers several benefits at once. The best part is that DIY window seat storage can often be customized to fit your available space, making it a worthwhile weekend project for homeowners with basic woodworking skills.
Why a Window Seat Is Worth Building
A window seat does much more than provide an extra place to sit. It creates a focal point that makes a room feel warm and inviting while taking advantage of an area that might otherwise go unused. Many homes have windows with enough surrounding space to accommodate a built in bench, especially in living rooms, bedrooms, or hallways.
Adding storage beneath the seat makes the project even more valuable. Instead of placing another cabinet or shelving unit elsewhere in the room, you can keep everyday items neatly tucked away beneath the cushion. This approach helps maximize floor space without making the room feel crowded. A well planned DIY window seat storage project blends comfort with organization in a way that suits almost any decorating style.
Measuring Your Space Correctly
Before purchasing materials, spend time measuring the available area carefully. Measure the width of the window, the distance from the wall, and the desired height of the seat. Most window seats are around 18 inches high because that provides comfortable seating for most adults.
Think about how the seat will fit within the room. Leave enough space to walk around it comfortably and make sure it will not block heating vents or electrical outlets. Careful planning at this stage reduces mistakes later and makes installation much smoother. Even a simple sketch with accurate dimensions can help you visualize the finished result before cutting any wood.
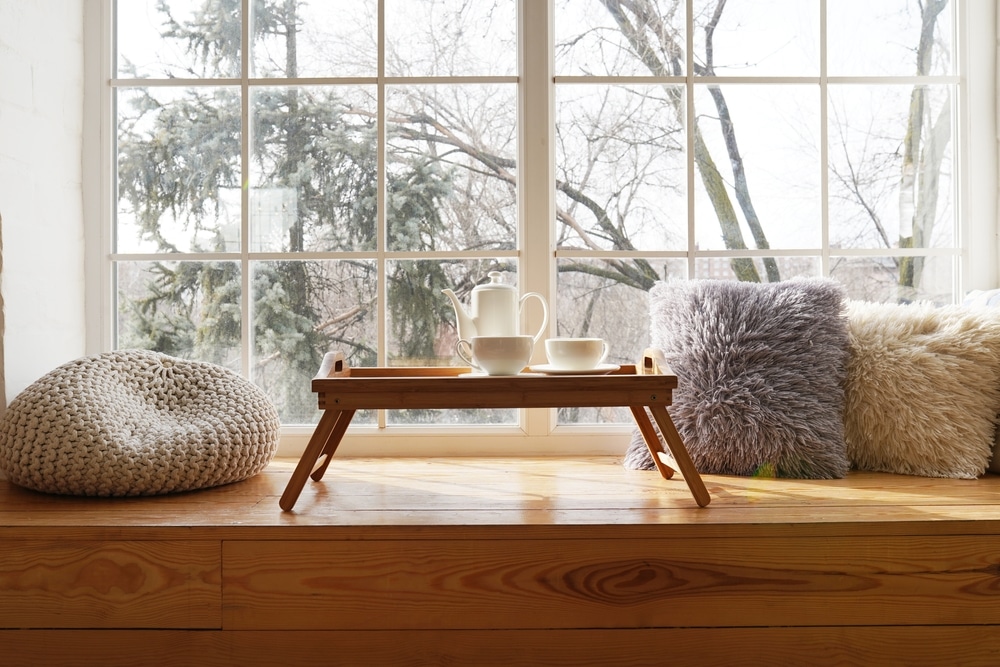
DIY window seat storage
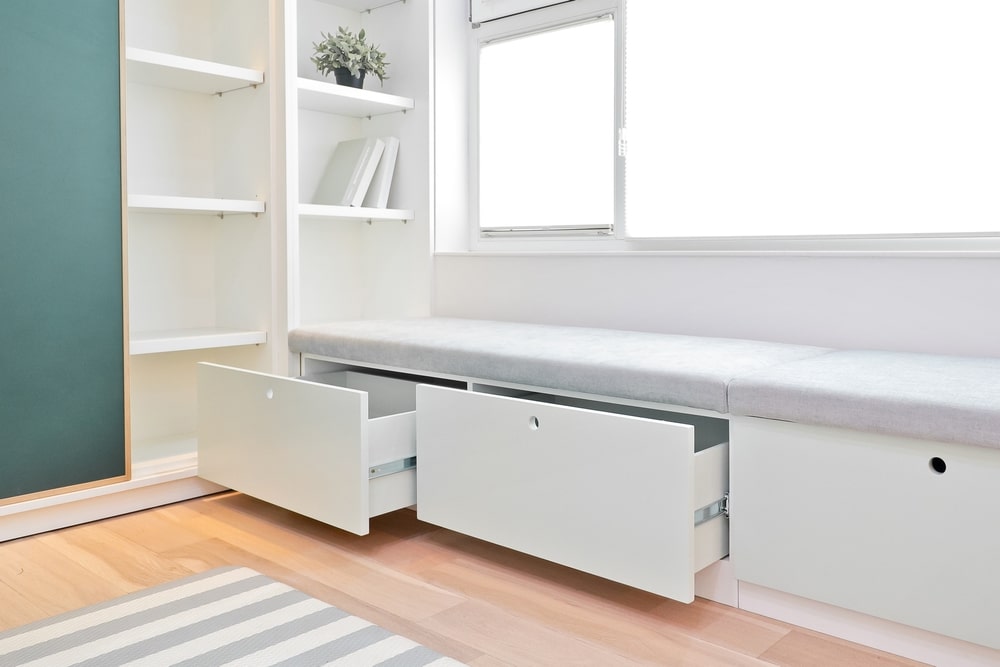
Choosing the right storage style depends on how you plan to use the bench. Lift up lids provide large compartments that are perfect for storing seasonal decorations, blankets, or bulky items. Pull out drawers make smaller belongings easier to access without removing cushions from the top.
Some homeowners prefer open cubbies with decorative baskets because they create a casual appearance while keeping frequently used items within easy reach. Whatever design you choose, remember that functionality should always come before appearance. A beautiful bench is even better when it solves everyday storage problems. DIY window seat storage works best when every inch is planned with a clear purpose.
Selecting Durable Materials
Plywood is one of the most popular materials for this project because it offers strength, affordability, and a smooth surface for painting. Medium density fiberboard can also work for painted finishes, although plywood generally handles moisture and heavy use better.
Choose quality hinges if you plan to build lift up lids, and install soft close hardware whenever possible to prevent slamming. Comfortable foam cushions and durable upholstery fabric complete the project and make the finished seat inviting. Investing in reliable materials means your DIY window seat storage will continue looking great for many years with minimal maintenance.
Building a Strong Foundation
The base is the most important structural part of the entire project. Use sturdy framing lumber to create a level platform that supports both the seat and the people using it. Check frequently with a level during assembly to avoid uneven surfaces that may become noticeable after installation.
Secure the frame firmly to wall studs whenever possible. This not only increases stability but also prevents movement over time. Once the frame is complete, attach the plywood panels and install the storage compartments. Taking your time during this stage creates a solid foundation that supports the finished bench without squeaks or shifting.
Adding the Finishing Details
After construction is complete, sand every visible surface thoroughly before applying primer and paint or stain. Smooth finishes create a professional appearance and make cleaning much easier. Fill nail holes and small gaps with wood filler before painting to achieve seamless results.
Add trim around the front and sides if you want the bench to resemble custom built cabinetry. Matching the trim style to existing baseboards helps the project blend naturally into the room. These finishing touches often make the difference between a homemade bench and one that looks professionally installed. A carefully finished DIY window seat storage project can increase both comfort and visual appeal.
Styling Your New Window Seat
Once construction is finished, decorating brings the space to life. Choose cushions with high density foam for lasting comfort, then add throw pillows in colors that complement the rest of the room. Soft blankets create an inviting atmosphere while making the bench more comfortable throughout the year.
Good lighting also enhances the area. A nearby floor lamp or wall mounted reading light turns the window seat into a relaxing place to unwind with a book. Plants placed nearby can brighten the space further without overwhelming it. Many homeowners discover that DIY window seat storage quickly becomes one of the most frequently used spots in the entire house.
A built in window seat is one of those rare home improvement projects that combines style, comfort, and practical storage in a single feature. With careful planning, accurate measurements, and quality materials, you can create a piece that looks custom made for your home while solving everyday storage challenges. Even beginners can achieve impressive results by working patiently and following each step carefully. Whether you use it for reading, relaxing, or keeping household items organized, DIY window seat storage is a rewarding project that adds lasting value and makes your home feel both more functional and more welcoming.
Do you want more amazing tips for DIY Projects in your home? Then visit our DIY Projects page right here