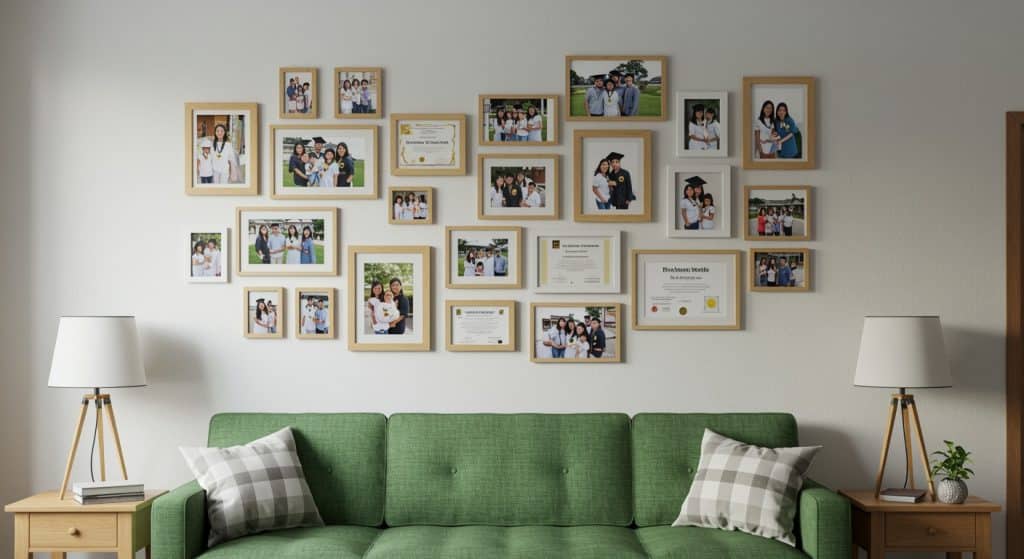
There’s a moment, somewhere between scrolling Pinterest and staring at your sad blank wall, when you decide you want a gallery wall. Then you start pricing frames, art, and “designer-curated” prints, and the dream quietly dies somewhere around €600. Here’s the truth nobody at the fancy home decor store wants you to know: a designer-looking DIY picture frame gallery costs almost nothing if you know how to shop, what to skip, and where the magic actually comes from. We’re talking under €60 for a wall that looks like you hired someone. The trick isn’t the budget — it’s the approach.
This is one of those decorating projects where being broke actually doesn’t matter. It might even help. Let’s walk through exactly how to do it.
Why Gallery Walls Look So Expensive
The reason gallery walls feel out of reach is that we’ve been trained to associate them with expensive original art and matching custom-cut frames. But here’s the secret: a designer DIY picture frame gallery doesn’t get its visual impact from any individual frame or print. It gets it from the arrangement. The cohesion. The negative space. The relationship between the pieces.
This is genuinely good news. It means you don’t need to spend money on individual items — you need to spend thought on how they work together. Cheap frames hung beautifully look more expensive than expensive frames hung randomly. Once you understand this, the whole game changes.
Step One: Decide on a Visual Anchor
Before you buy anything, decide what’s going to tie your wall together. This is the single most important step in any DIY picture frame gallery, and it’s the one most people skip entirely.
Your anchor can be a color palette (warm tones, all black-and-white, sage and cream), a frame finish (all black, all wood, mixed gold-and-black), or a theme (botanicals, vintage portraits, family photos, abstract shapes). Pick one. Maybe two. Three at most.
This is what separates “intentional and curated” from “random stuff on a wall.” When you have a unifying thread, you can mix wildly different sizes, styles, and pieces and it’ll still feel like a complete thought.
Step Two: Where to Find Cheap Frames That Look Expensive
Now we shop. The frame budget is where most people accidentally hemorrhage money, and it’s also where you can save the most.
Thrift stores and second-hand shops are the gold mine. Frames at thrift stores often cost €1-5 each and frequently look more expensive than new ones because they’re solid wood, have interesting profiles, or come in finishes you can’t easily find new. Don’t worry about the art inside — you’re buying the frame. Don’t worry about glass — many of the best frames at thrift stores don’t have it, which is actually fine for paper prints.
IKEA is the obvious second stop. Their RIBBA, KNOPPÄNG, and HOVSTA collections are inexpensive, come in standard sizes, and frankly look great for the price. You can build an entire DIY picture frame gallery out of just IKEA frames and nobody would ever know.
Marketplace and local Facebook groups are excellent for bulk frame buys — people often offload a dozen frames at once when they’re moving or redecorating.
The trick is mixing sources. A DIY picture frame gallery built from a mix of thrifted, IKEA, and budget-store frames looks more expensive than one built from any single source.
Step Three: Make Mismatched Frames Look Intentional
Here’s where the magic happens. Mismatched frames look amateur if you don’t know what you’re doing — and look like a designer pulled them together if you do. The difference comes down to two tricks.
Trick one: limit your finishes. Pick two or three frame colors max — black, wood, and gold is a classic combo. Or all black with one or two warm wood frames as accents. When you have ten frames in nine different finishes, it looks chaotic. When you have ten frames in three finishes repeated multiple times, it looks curated.
Trick two: spray paint. A €6 can of spray paint is the single best investment in this whole project. Found a beautiful frame in an ugly color? Paint it. Matte black, warm white, soft sage, deep navy, or unlacquered brass spray paints can transform a thrifted hodgepodge into a unified set in twenty minutes. When you spray paint your DIY picture frame gallery to a unified palette, you instantly upgrade the whole look. Designers do this constantly. So should you.
Step Four: Filling the Frames Without Spending a Fortune
Now for what goes inside the frames. This is where most people panic and assume they need expensive art. They don’t.
Free digital prints. Sites like Unsplash, the Rijksmuseum’s free public-domain collection, the Met Museum’s open-access archive, the New York Public Library Digital Collections, and Old Book Illustrations offer thousands of high-resolution images free to download and print. Vintage botanicals, classic portraits, abstract paintings — all completely free.
Etsy digital downloads. For €3-8 per print, you can buy curated sets of designer-looking digital art. One purchase often gives you 5-15 prints, making your cost per piece negligible.
Print at home or at a local copy shop. Print on regular paper for casual prints, on matte photo paper for nicer ones, or take a USB stick to a copy shop for affordable larger prints. A2 prints typically cost just a few euros.
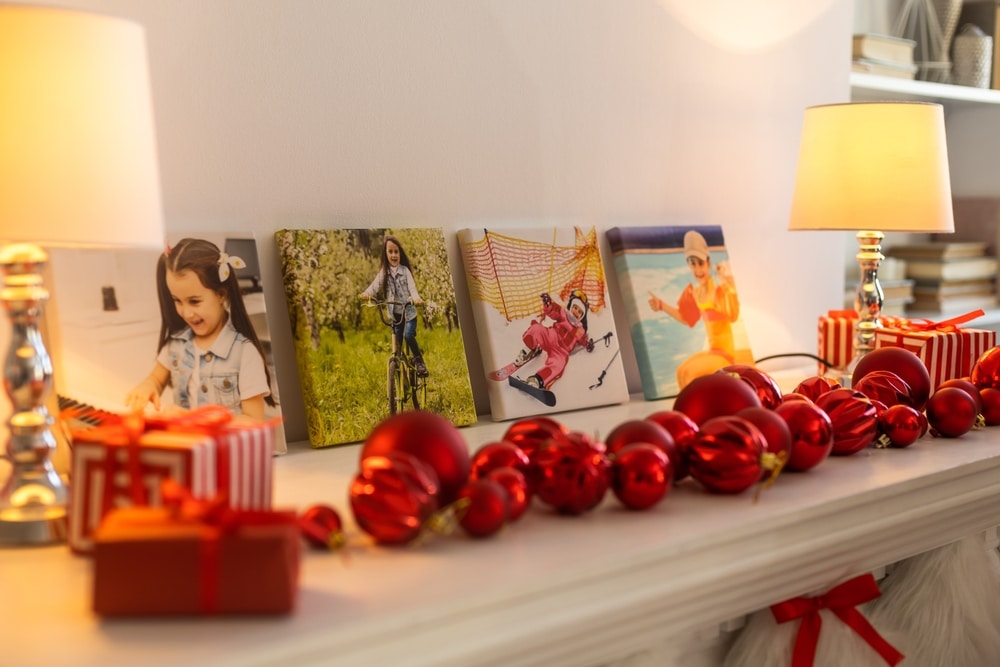
Personal photos. Black-and-white family photos look surprisingly elevated in a gallery wall. Travel snapshots in a uniform black-and-white treatment feel intentional and artistic.
Texture pieces. Mix in non-print elements: a pressed flower, a vintage postcard, a piece of decorative paper, a fabric scrap, a child’s drawing. These add dimension and personality.
The best DIY picture frame gallery you’ll ever build is one that mixes purchased prints with personal pieces. It feels like a real home, not a showroom.
Step Five: The Mat Trick That Makes Everything Look Expensive
Here’s a designer secret that costs almost nothing: matting. A simple white mat around a small print inside a larger frame instantly makes the print look gallery-quality.
You can buy pre-cut mats, but the cheap version is just as good — cut your own from white poster board (€2-3 for a large sheet) using a ruler and craft knife. The mat doesn’t need to be perfectly cut, because the frame covers the outer edges.
Even printer paper prints look expensive once they’re matted. This single trick is what makes a budget DIY picture frame gallery look like it belongs in a magazine.
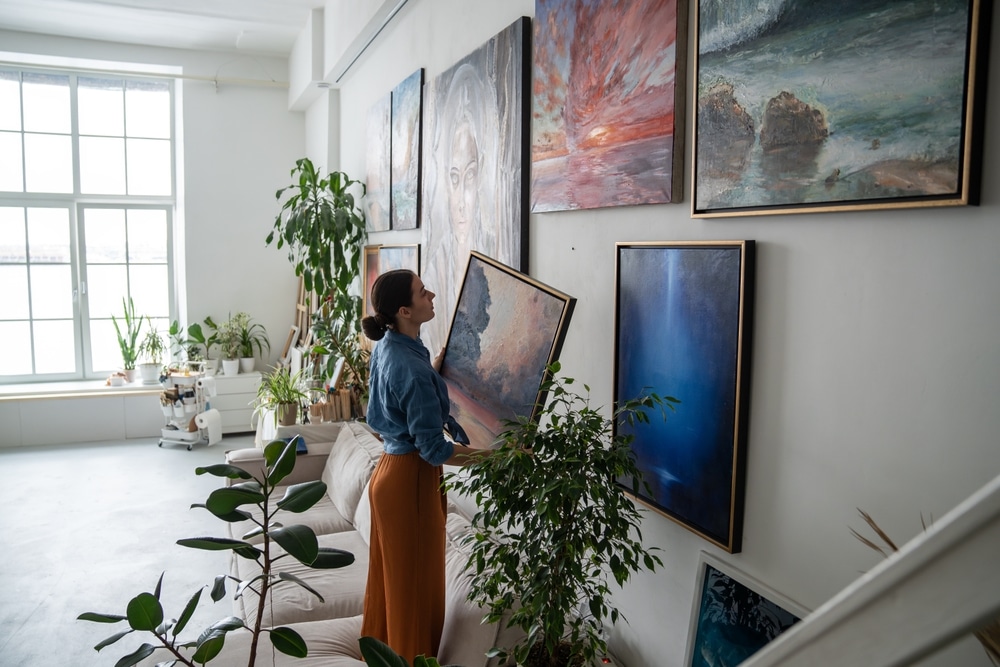
Step Six: The Layout (This Is Where Everyone Panics)
Lay everything out on the floor first. This is non-negotiable. Trying to arrange a gallery wall directly on the wall is how you end up with eighty extra nail holes and a mild breakdown.
A few layout principles that actually work:
Spread out similar pieces. Don’t cluster all your small frames in one corner and all your large ones in another. Distribute sizes, colors, and orientations evenly across the wall to keep the eye moving.
Avoid identical frames touching. If you have three black frames, don’t put them all next to each other. Let your eye travel.
Vary spacing intentionally. Equal spacing looks rigid. Slightly varied spacing (between 2-7 cm between pieces) feels more organic.
Anchor with a center piece. Your largest or most striking piece becomes the focal point. Build outward from it.
Once you’ve got a layout you like, take a photo. Then trace each frame onto kraft paper or newspaper, cut out the templates, and tape them to the wall in your chosen arrangement. Live with the paper for a day or two, and adjust before drilling a single hole. This is the move that turns a chaotic DIY picture frame gallery into a calm, curated one.
Step Seven: Hanging Like a Pro
When you’re ready to hang, mark the nail position on each paper template, hammer the nails through the paper, then tear the paper away. The frame goes right where the paper was.
For lighter frames, removable adhesive strips (Command brand or similar) work surprisingly well and save your walls if you rent. For heavier frames, proper picture hooks rated for the weight are worth the few extra euros.
Always use a level. A crooked frame ruins the entire look, and human eyes are weirdly precise about spotting tilt.
Mistakes to Avoid
A few quick warnings. Don’t go too small — a tiny gallery wall on a big wall looks lost. Aim for something that fills at least two-thirds of the wall’s width. Don’t use too many tiny frames; they create visual noise. Don’t skip the layout planning — winging it almost always looks worse than you’d hope. And don’t be afraid to leave one frame empty or with just a colored piece of paper; restraint reads as expensive.
A designer-looking DIY picture frame gallery isn’t about money. It’s about a unifying anchor, mixed-but-cohesive frames, smart sourcing of art, careful layout, and the patience to plan before you drill. Get those right and you can build a gallery wall for under €60 that looks like it cost ten times that.
Now grab a coffee, hit a thrift store this weekend, and start collecting your own DIY picture frame gallery. Your wall is about to get the upgrade it deserves.
Do you want more amazing tips for DIY Projects in your home? Then visit our DIY Projects page right here