
A bedroom should feel calm, organized, and easy to move around in. One of the simplest ways to create that feeling is by removing bulky furniture from the floor whenever possible. A wall mounted bedside table is a practical solution that also gives your room a modern appearance. Building a DIY floating nightstand is a rewarding weekend project because it combines useful storage with a clean, minimal look. Whether your bedroom is large or small, this project can make the space appear more open while giving you a custom piece of furniture that perfectly matches your personal style.
DIY floating nightstand Planning Your Project
Before cutting any wood, spend some time planning the size, placement, and appearance of your nightstand. Think about what you normally keep beside your bed. A phone charger, book, reading glasses, lamp, or glass of water all require enough surface space to stay organized. Measure the height of your mattress so the top of the shelf lines up comfortably with it. Careful planning also helps you avoid mounting the shelf too high or too low. Taking accurate measurements now will make building much easier later and reduce the chance of making costly mistakes.
Planning also means checking your wall construction. Most floating furniture needs to be attached securely to wall studs or supported with suitable anchors when studs are unavailable. Using a stud finder makes this job much easier and improves safety. During this stage, sketch your design on paper and list the materials and tools you will need. Visualizing the finished result helps you stay focused while building. A well planned DIY floating nightstand usually comes together more smoothly than one built without preparation, saving both time and frustration.
Choosing Materials for a DIY floating nightstand
Selecting the right wood is one of the biggest decisions in this project. Solid pine is affordable, easy to work with, and readily available at most home improvement stores. Oak offers greater durability and a premium appearance, while plywood with a quality veneer provides excellent stability at a reasonable cost. Whatever material you choose, inspect each board carefully for warping, cracks, or large knots that could weaken the finished piece. Buying straight, dry lumber is one of the easiest ways to improve the final result.
Hardware deserves just as much attention as the wood itself. Strong mounting brackets, heavy duty screws, wood glue, sandpaper, and a quality finish all contribute to a professional looking project. Decide whether you prefer a natural clear coat, painted finish, or wood stain before beginning construction. Matching the finish to other bedroom furniture creates a coordinated appearance throughout the room. Investing in reliable materials often pays off through greater durability, smoother installation, and a piece that continues looking attractive for many years.
Building and Mounting Your DIY floating nightstand
Construction begins by carefully cutting each component according to your measurements. A circular saw or table saw can produce clean, straight cuts when used properly. Dry fitting the pieces before applying glue allows you to spot alignment problems early. Clamp everything firmly while the glue cures, then reinforce joints with screws where appropriate. After assembly, sand every surface thoroughly, gradually working through finer grits until the wood feels perfectly smooth. Proper sanding makes paint and stain adhere more evenly while giving the finished furniture a polished appearance.
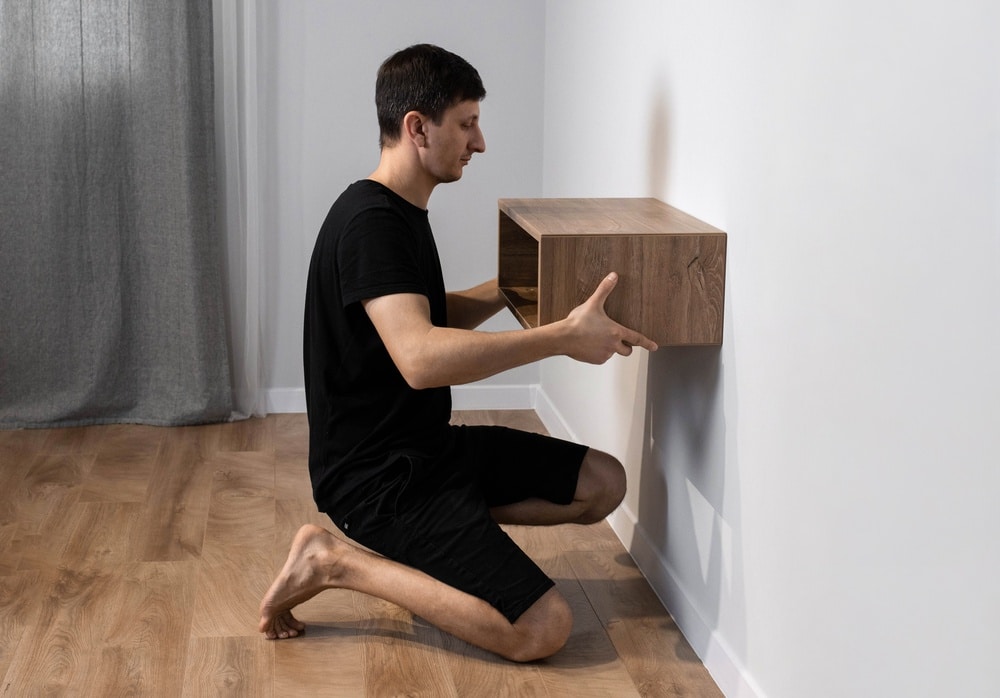
Once the shelf is complete, installation becomes the most important step. Use a level to mark the mounting height and double check every measurement before drilling. Whenever possible, secure the unit directly into wall studs for maximum strength. If studs are unavailable in the desired location, use anchors specifically rated for the expected weight. Installing a DIY floating nightstand correctly ensures it remains stable while supporting everyday items without shifting or loosening over time. Never rush this stage because safe installation is essential for long term reliability.

Styling and Maintaining a DIY floating nightstand
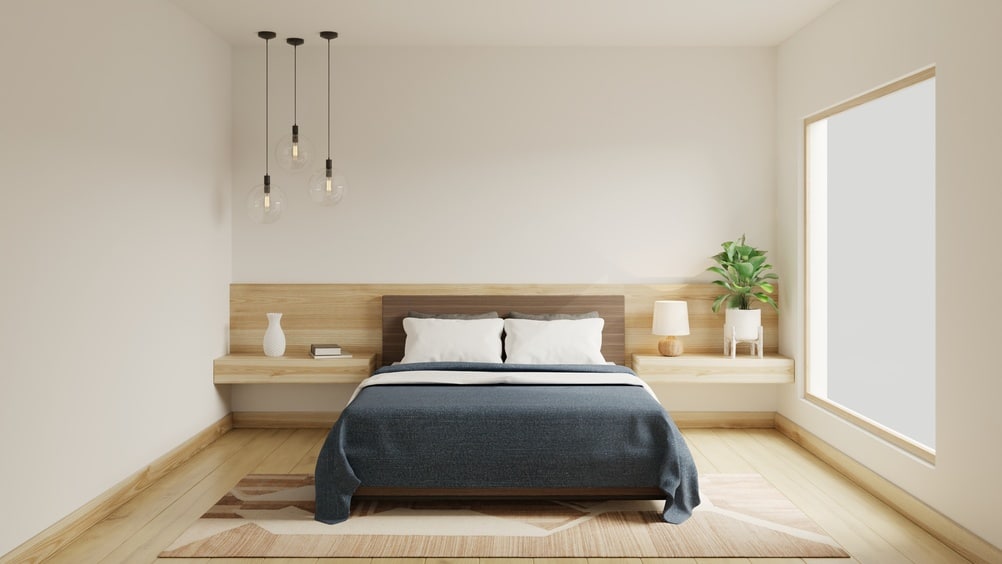
The beauty of floating furniture lies in its flexibility. Once mounted, you can personalize the surface with carefully chosen accessories that complement the rest of your bedroom. A compact table lamp, a framed photograph, a small plant, or a decorative tray can create a welcoming bedside arrangement without making the shelf appear cluttered. Leave enough empty space so practical items remain easy to reach. The open floor beneath the shelf also makes vacuuming simpler and creates a lighter visual effect throughout the room.
Keeping your furniture looking its best requires only basic maintenance. Dust regularly using a soft cloth and wipe away spills before moisture can penetrate the finish. Every few months, inspect the mounting hardware to ensure everything remains tight and secure. If the surface develops scratches, many can be repaired with light sanding and a fresh coat of finish. Looking after a DIY floating nightstand properly helps preserve both its appearance and structural integrity, allowing it to remain a useful feature in your bedroom for many years.
Custom Features That Make Your Project Stand Out
Once you master the basic construction, there are many ways to customize the design. Adding a small drawer creates hidden storage for chargers, notebooks, or personal items. Some builders include an open cubby underneath for books or tablets, while others drill a discreet cable hole to keep charging cords neatly organized. Soft close drawer slides and concealed hardware provide a more refined appearance without making the project significantly more difficult. These additions allow your nightstand to better match your daily routine.
Lighting can also become part of the design. Installing an LED strip beneath the shelf creates gentle nighttime illumination without taking up valuable surface space. Battery powered lighting is simple to install, while hardwired options offer a cleaner finish for those comfortable with electrical work. Whatever features you choose, avoid adding unnecessary complexity that could weaken the structure or interfere with mounting. Practical improvements generally provide the greatest long term satisfaction and keep the finished project functional as well as attractive.
Common Mistakes to Avoid
Many first time builders focus entirely on appearance while overlooking structural details. One common mistake is choosing hardware that cannot safely support the expected weight. Another is failing to locate wall studs accurately before drilling. Even a beautifully crafted shelf can become unsafe if it is mounted incorrectly. Measuring carefully, checking every mark twice, and reading the instructions supplied with your hardware greatly reduce the chance of installation problems later.
Rushing through finishing is another frequent error. Applying stain or paint before removing sanding dust often produces uneven results, while skipping protective topcoats can leave the wood vulnerable to scratches and moisture. Allow each finish to cure completely before mounting the shelf or placing objects on it. Patience during the final stages often makes the difference between a homemade project that merely functions and one that looks professionally built. Small details consistently have a big impact on the finished appearance.
Building furniture yourself is satisfying because it combines creativity with practical benefits. A floating nightstand not only provides useful bedside storage but also creates a more spacious feeling by keeping the floor visible. Taking time to plan carefully, choose quality materials, and install everything securely will reward you with a piece that lasts for years. Whether your style is modern, rustic, or somewhere in between, a DIY floating nightstand can easily be adapted to suit your home. Once completed, you will enjoy both the extra space and the satisfaction of using something you built with your own hands every single day.
Do you want more amazing tips for DIY Projects in your home? Then visit our DIY Projects page right here