
How to deep clean your oven. Natural oven cleaning sounds wonderfully simple until you are staring at six months of baked-on cheese, grease and mysterious black patches. At that point, a lemon cut in half can feel less like a cleaning solution and more like an optimistic garnish.
The good news is that you do not need an eye-watering oven spray or an afternoon of aggressive scrubbing. The real trick is time. Warm moisture softens the mess, a mild cleaner loosens it further, and a plastic scraper lifts what remains without scratching the oven.
Before reaching for the baking soda, however, check your appliance manual. Oven interiors are not all made alike, and a homemade cleaner that is safe for ordinary enamel may damage catalytic liners or other specialist coatings.
Check Your Oven Before Cleaning
Find the model number and look up its care instructions before applying anything. This step is not exciting, but replacing a damaged oven lining is considerably less fun. Your oven will usually have one or more of these cleaning systems:
Manual-Clean Oven
A conventional manual-clean oven has a smooth enamelled interior that must be cleaned by hand. Mild dish soap, water and—in many cases—a baking soda paste are suitable options, provided the manufacturer allows them.
Steam-Clean Oven
A steam-clean function uses water and low heat to soften light spills. It is gentler and quicker than a high-temperature self-cleaning cycle, but it may not remove layers of old, carbonised food in one attempt.
Follow the appliance instructions precisely. The correct water quantity and rack placement differ between models. Do not assume that an online steam-cleaning recipe applies to your particular oven.
Pyrolytic Self-Cleaning Oven
A pyrolytic cycle heats the oven to a very high temperature and reduces food residue to ash. It can be effective, but the process uses substantial energy, takes several hours and may produce smoke or odours.
Remove loose food first and ventilate the kitchen. Some racks must be removed because the heat can discolour them or damage their sliding mechanism. Other ovens include racks designed to remain inside. The manual has the final word.
Catalytic or Specially Coated Oven
Catalytic liners absorb and break down grease while the oven operates. Abrasive tools and unsuitable cleaners can damage their surface.
Some premium ovens use additional proprietary coatings with very specific care requirements. Manufacturers such as Miele explicitly warn that homemade baking soda and vinegar mixtures may damage certain finishes. If your oven has textured, porous or unfamiliar panels, pause and consult its instructions.
Gather a Small Cleaning Kit
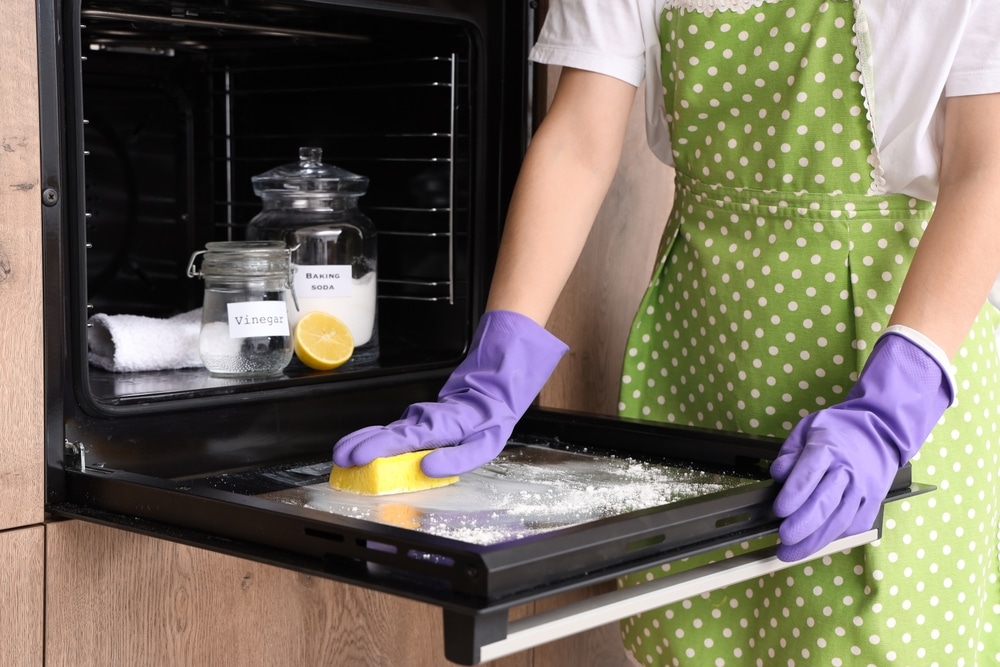
You do not need an overflowing bucket of supplies. For a typical manual-clean oven, collect:
- Warm water
- Mild dish soap
- Baking soda, if approved for the interior
- White vinegar, if approved
- A spray bottle
- Soft microfiber cloths
- A non-scratch sponge
- A plastic or silicone scraper
- A large towel
- A washing-up tub, sink or bathtub for the racks
- Rubber gloves
Gloves are still useful when working with mild ingredients. Baking soda can dry or irritate skin, while old grease is unpleasant enough without wearing it on your hands.
Never mix your homemade ingredients with leftover commercial oven cleaner, bleach, ammonia or other household products. Poison Control advises people to avoid mixing cleaning products, as some combinations can release dangerous gases. If a commercial cleaner was recently used, rinse the oven thoroughly according to its label before starting another method.
Start With a Completely Cool Oven
Turn the oven off and allow it to cool fully. If practical and permitted by the manual, disconnect its power. For a freestanding electric range, that may mean unplugging it. With a hard-wired oven or gas appliance, follow the manufacturer’s safety instructions rather than moving or disconnecting anything yourself.
Remove the racks, trays, thermometer and any other loose accessories. Take out large crumbs with a dry cloth, handheld vacuum or vacuum hose, making sure the appliance is cold and dry.
Do not remove heating elements, fan covers, door seals or fixed panels. Those are appliance components, not cleaning accessories.
Place a towel beneath the open door to protect the floor. Avoid leaning or putting heavy weight on the door, which can strain its hinges.
Soften the Grime With Steam
Steam does the first stretch of hard work. If your oven has a dedicated steam-clean setting, use it exactly as described in the manual.
For a manual oven without that feature, first check whether the manufacturer approves steaming with an oven-safe dish. If it does, place a shallow heatproof dish containing hot water on a rack. Heat the oven at a low temperature for approximately 20 to 30 minutes, then switch it off.
Keep the door closed for another 15 to 20 minutes so the moisture can continue softening residue. Allow the oven to cool until its surfaces are safe to touch before removing the dish. Open the door carefully because hot steam can burn.
Steam works best on grease and relatively recent spills. It will not magically dissolve a thick carbon layer, but it makes the next stage much easier. Whirlpool’s guide to steam-cleaning an oven also recommends removing loose debris before beginning.
If your manufacturer does not approve the bowl method, skip it. Apply warm, soapy water with a cloth and give it plenty of time to soak instead.
Make a Simple Baking Soda Paste
For a standard enamel interior that permits baking soda, combine it with small amounts of water until it forms a spreadable paste. Aim for the consistency of soft frosting rather than soup.
Apply a thin layer to dirty areas using a cloth or gloved hand. Keep it away from:
- Heating elements
- Gas openings and burners
- Fans and ventilation holes
- Temperature sensors
- Oven lights and electrical connections
- Door seals and gaskets
- Catalytic or self-cleaning panels
You do not need to coat every clean surface merely because it happens to be inside the oven. Concentrate on greasy patches and baked-on spills.
Close the door and leave the paste in place for several hours. For a heavily soiled oven, an overnight wait gives it more time to soften the residue. Do not turn on the oven while the paste is inside.
Electrolux includes a similar long-soak method in its electric oven cleaning guidance, while also advising users to avoid heating elements and abrasive tools.
Wipe Instead of Scrub
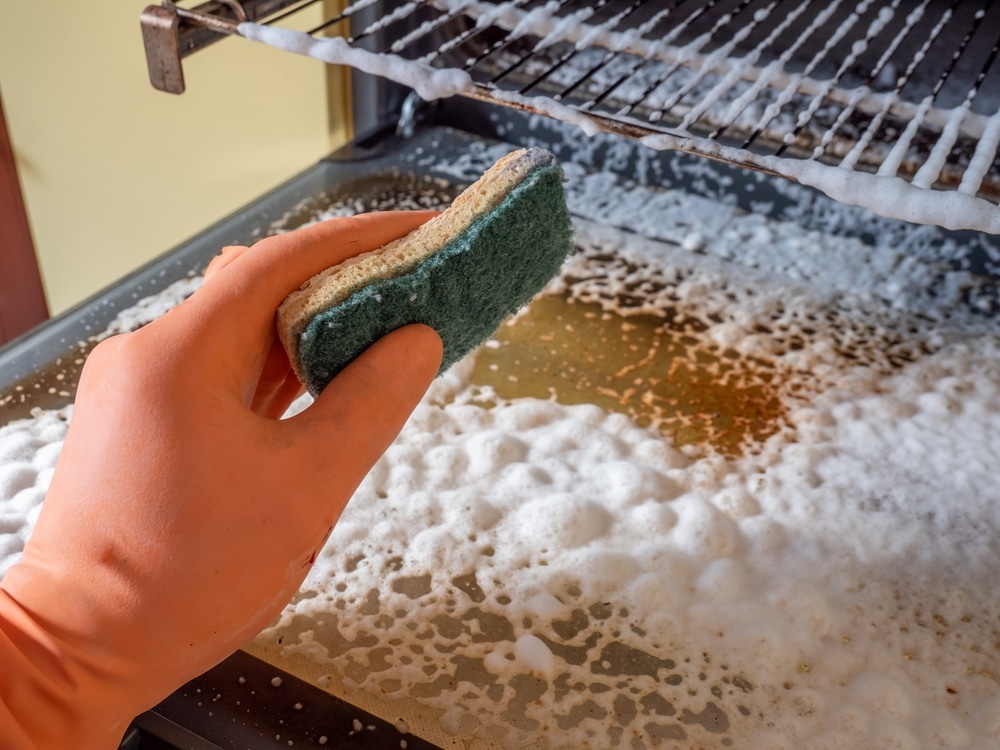
Once the soaking time is over, dampen a soft cloth with warm water and begin lifting away the paste. Work in sections, rinsing the cloth frequently.
The brown, unpleasant sludge is a sign that the soaking stage has done its job. For thicker spots, hold a warm wet cloth against the area for several minutes. Then slide a plastic or silicone scraper beneath the softened residue at a shallow angle.
This is the closest the job should come to scrubbing. You may need gentle pressure, but there should be no furious back-and-forth attack. If a patch refuses to move, apply another small amount of paste and wait. More soaking is safer than more force.
Do not use knives, razor blades, steel wool or a metal spatula inside the oven unless the manufacturer specifically approves a particular tool for a particular surface. Scratches in enamel are permanent, and damage to glass can make the door unsafe.
Expect to wipe the interior several times. Baking soda is excellent at turning grease into removable grime and equally talented at hiding as pale dust in every corner.
Use Vinegar Only as a Finishing Step
Baking soda and vinegar are often presented as a super-powered cleaning duo. The dramatic fizz looks productive, but the two substances largely neutralise each other when mixed.
Use vinegar after removing most of the baking soda, not as the main ingredient in the paste. If your manual permits vinegar, lightly mist remaining white residue and wipe it away with a damp cloth. The bubbling helps reveal where baking soda is still hiding, but it does not create a stronger long-term cleaner.
Do not saturate seals, vents or coated panels. Bosch advises against vinegar in some ovens and instead recommends soap, warm water and a damp cloth. Its oven-cleaning advice is a useful reminder that “natural” does not automatically mean compatible with every appliance.
Finish by wiping the entire cavity with clean water until no cleaner remains. Dry it with a soft cloth and leave the door open while the interior air-dries.
Clean the Door Carefully
The accessible inner glass usually responds well to warm water and a drop of dish soap. Place a damp cloth over greasy spots, leave it for 10 to 15 minutes and wipe them away. Use a manufacturer-approved plastic scraper for stubborn residue.
Avoid pouring water around the door edges. Liquid can work its way between the glass panels, producing streaks that cannot be reached from the surface.
Do not dismantle the door unless the manual provides clear instructions and you are confident completing the job. Oven doors can be heavy, spring-loaded and difficult to realign. Persistent grime between glass panels may be better handled by an appliance technician.
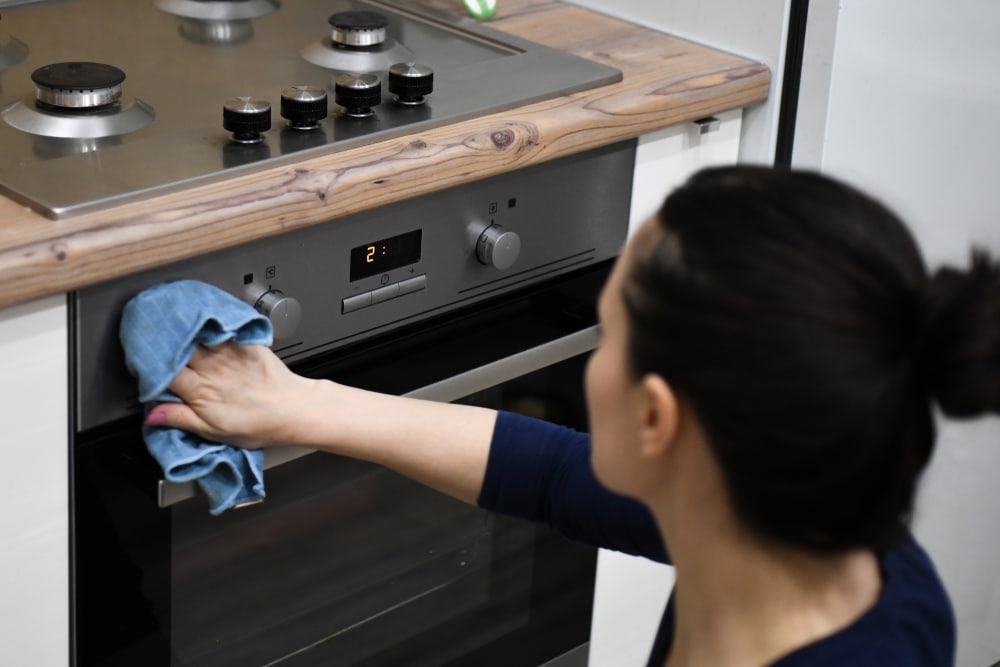
Clean the outside controls with a lightly dampened cloth rather than spraying them directly. Use the appropriate method for stainless steel, painted metal or glass, as recommended by the manufacturer.
Let the Racks Soak
Oven racks are much easier to clean outside the oven. Place an old towel in the bottom of a bathtub or large sink to prevent scratches, then add warm water and a modest amount of dish soap.
Submerge the racks if their care instructions allow it. After several hours, most softened grease should wipe away with a sponge or cloth. A non-scratch pad can handle more persistent areas without the wrestling match that happens when racks are cleaned inside the oven.
Telescopic racks require extra care because water or cleaner may affect their bearings and lubricant. Do not soak them unless the manufacturer explicitly allows it.
Dry every rack thoroughly before reinstalling it. Whirlpool recommends soap, water and a soft cloth for routine oven-rack cleaning, although permitted treatments for stubborn marks vary by rack type.
What If Burned-On Marks Remain?
A few dark stains do not mean the oven is dirty or unsafe. Enamel can become permanently discoloured, and repeated heavy cleaning may cause more damage than leaving a harmless mark alone.
If residue remains raised, sticky or smoky, repeat the soak-and-wipe process on that spot. Two gentle treatments are better than one abrasive assault.
Stop and consult a professional if you find:
- Chipped or cracked enamel
- A damaged door seal
- Exposed wiring
- A faulty heating element
- Persistent electrical or burning smells
- Heavy smoke after loose food and grease have been removed
- Cleaner trapped inside vents or between door panels
Never cover a stained oven floor with aluminium foil. Foil can interfere with airflow, trap heat and damage the oven surface.
Keep the Oven Clean With Less Effort
The easiest deep clean is the one you rarely need to perform. Once the oven is cool enough to handle safely, wipe fresh splashes before they harden. Place pies, casseroles and other likely overflow offenders on a baking tray rather than directly on a rack.
Do not place foil or a liner on the oven floor unless the appliance instructions specifically permit it. Many ovens rely on carefully designed airflow, and a liner can create dangerous heat buildup.
Check the cavity every few weeks and deal with visible spills. For an average-use kitchen, a deeper clean every few months is a reasonable starting point, although frequent roasting or baking may require it sooner. Smoke, unpleasant smells and visible grease are better indicators than the calendar.
Let Time Do the Hard Work
Effective natural oven cleaning is not about creating the fizziest homemade mixture. It is about using warm moisture, a mild approved cleaner and enough waiting time to release baked-on grime.
Check the manual, steam or soak the mess, apply baking soda only to compatible surfaces and lift stubborn spots with a plastic scraper. The process takes several hours, but most of that time belongs to the cleaner—not to you.
Your oven may not look factory-new afterward, and it does not need to. If the loose food, grease, residue and odours are gone, the job is done—without harsh fumes, damaged enamel or an exhausting scrubbing session.