A plain mirror can make a room feel unfinished, even when the rest of the space is beautifully decorated. Fortunately, there is a simple way to transform an ordinary mirror into a stylish focal point without spending a fortune. A DIY mirror frame can instantly add character, depth, and elegance to any room. Whether your style leans toward modern, rustic, farmhouse, or traditional, framing a mirror is a project that offers impressive results with relatively little effort. With the right materials, a bit of planning, and some creativity, you can create a custom look that rivals expensive designer pieces while staying within your budget.
Why Framed Mirrors Look More Expensive
One of the reasons designers often use framed mirrors is because they create a finished and intentional appearance. Large builder-grade mirrors, especially those commonly found in bathrooms, tend to look functional rather than decorative. By adding a frame, you introduce texture, color, and visual weight that help the mirror blend seamlessly with the room’s overall design.
A DIY mirror frame allows homeowners to customize the exact look they want. Instead of settling for standard options sold in stores, you can choose materials and finishes that complement existing furniture, cabinetry, and décor. The result is a mirror that feels like a carefully selected design element rather than an afterthought. This small upgrade can dramatically improve the appearance of an entire room.
Choosing the Right Style for Your Space
Before purchasing materials, it is important to decide on the overall style you want to achieve. Different frame designs can create completely different moods within a room. A sleek black frame often complements modern interiors, while distressed wood works beautifully in farmhouse or rustic settings. Metallic finishes can add a touch of luxury and sophistication.
When planning your DIY mirror frame, consider the colors and materials already present in the room. Matching or complementing these elements helps create visual harmony. For example, if your bathroom features brushed nickel fixtures, incorporating a similar metallic tone into the frame can create a cohesive look. Thoughtful design choices make the finished project appear professionally installed.
Materials That Work Best
One of the advantages of creating a mirror frame yourself is the wide variety of materials available. Wood remains the most popular option because it is easy to cut, paint, stain, and customize. Pine, poplar, and medium-density fiberboard are common choices due to their affordability and versatility.
Many homeowners prefer a DIY mirror frame made from simple trim boards purchased at a local hardware store. These materials are inexpensive yet capable of producing impressive results. Decorative molding can create a more traditional appearance, while flat boards provide a cleaner and more contemporary aesthetic. The material you choose should align with both your skill level and desired style.
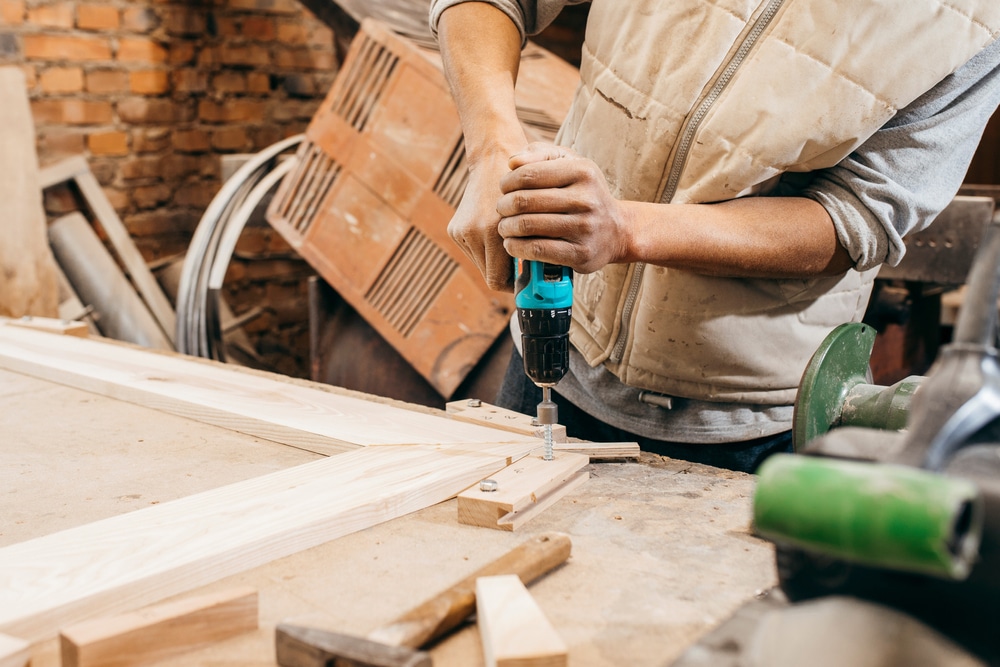
Measuring Carefully for Professional Results
Accurate measurements are one of the most important aspects of a successful mirror framing project. Even the most beautiful materials can look awkward if the dimensions are incorrect. Before making any cuts, measure the mirror multiple times to confirm the exact width and height.
A well-fitted DIY mirror frame should sit neatly around the mirror without leaving gaps or overlapping excessively. Taking extra time during the measuring stage can prevent costly mistakes later. Many experienced DIY enthusiasts recommend measuring twice and cutting once. This simple rule helps ensure a polished final appearance and reduces wasted materials.
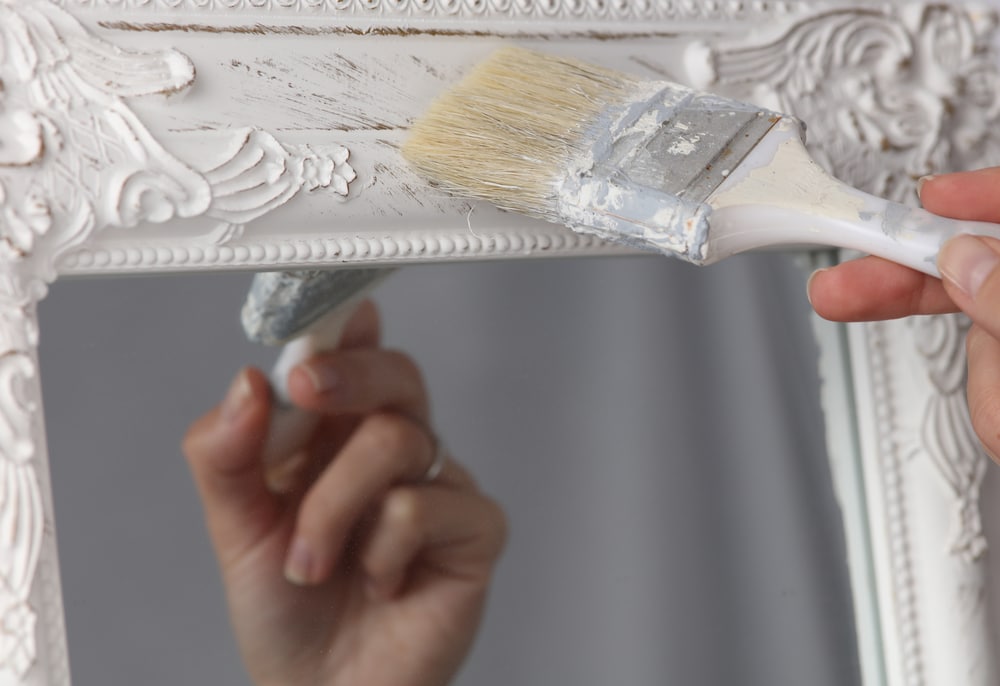
Finishing Techniques That Elevate the Design
The finish you choose can significantly impact the final appearance of the frame. Paint offers nearly endless color possibilities and works especially well for modern and contemporary spaces. Stain, on the other hand, highlights the natural beauty of wood grain and adds warmth to a room.
Many homeowners discover that the finishing stage is where their DIY mirror frame truly comes to life. Layering stains, using distressing techniques, or applying specialty paints can create unique effects that mimic high-end designer products. Even subtle finishing details can transform inexpensive materials into something that looks custom-made and professionally crafted.
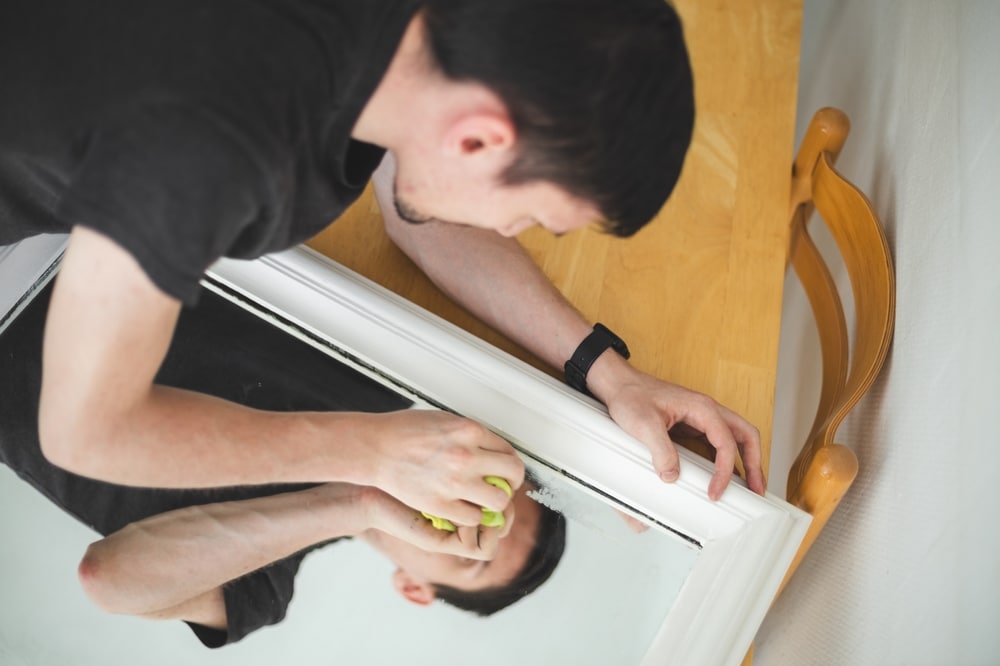
Installation Tips for a Secure Fit
Once the frame pieces are prepared, proper installation becomes the next priority. Depending on the mirror’s location and size, various attachment methods may be appropriate. Construction adhesive is commonly used because it provides a strong bond while keeping installation relatively simple.
A carefully installed DIY mirror frame should feel secure and stable for years to come. Before applying adhesive, test-fit all pieces to ensure proper alignment. Small adjustments made at this stage can greatly improve the final result. Patience during installation helps avoid uneven spacing and creates a cleaner, more refined appearance.
Budget-Friendly Luxury
One reason this project has become so popular is the impressive value it offers. Designer mirrors can cost hundreds or even thousands of dollars, depending on their size and style. Creating your own framed mirror often costs only a fraction of that amount while delivering a similar visual impact.
A DIY mirror frame allows homeowners to achieve luxury-inspired design without overspending. Because the project uses relatively simple materials, it remains accessible to beginners while still producing professional-looking results. This combination of affordability and visual appeal makes mirror framing one of the most rewarding home improvement projects available.
Common Mistakes to Avoid
While mirror framing is generally straightforward, a few common mistakes can affect the outcome. Rushing measurements, skipping surface preparation, or using inadequate adhesive can lead to disappointing results. Planning ahead and following instructions carefully can prevent most issues.
Another mistake occurs when a DIY mirror frame is designed without considering the room’s existing style. A frame that clashes with surrounding décor may draw attention for the wrong reasons. Taking time to coordinate colors, finishes, and materials helps ensure the finished project enhances the overall space rather than competing with it.
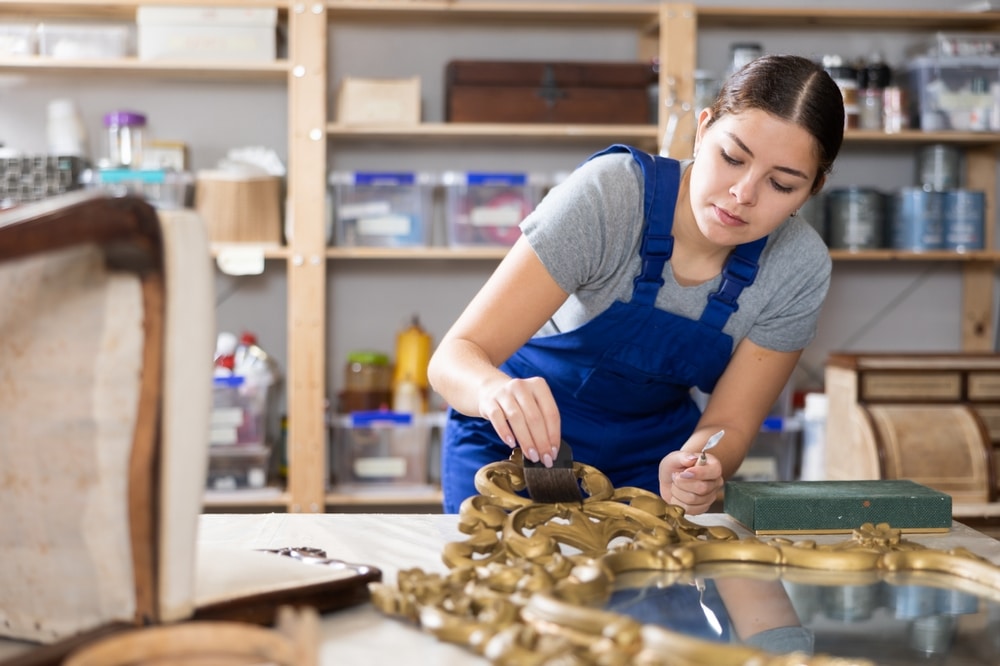
Adding Value Through Small Details
The most impressive design projects often succeed because of the details. Decorative corner accents, layered trim profiles, and carefully selected finishes can elevate a simple frame into a statement piece. These additions do not necessarily require a large budget but can significantly improve the final appearance.
Many homeowners are surprised by how much impact a DIY mirror frame can have on a room. What begins as a simple upgrade often becomes a defining feature that attracts compliments from guests. Small design enhancements can create the impression of a complete room renovation without the expense typically associated with major remodeling projects.
Upgrading a plain mirror with a custom frame is one of the easiest ways to bring designer style into your home. The project requires relatively few materials, basic tools, and a willingness to invest a little time into the process. Yet the visual transformation can be remarkable. A DIY mirror frame offers endless opportunities for personalization, allowing you to create something that perfectly matches your space and taste. Whether you are refreshing a bathroom, bedroom, hallway, or living area, a framed mirror can add sophistication and charm. With careful planning and attention to detail, this simple project can deliver results that look truly high end.
Do you want more amazing tips for DIY Projects in your home? Then visit our DIY Projects page right here