

Bathroom cabinet organization often begins with impressive enthusiasm and ends with three half-empty shampoo bottles falling over whenever you reach for the toothpaste. The problem is rarely a lack of containers. It is usually a lack of a system designed around what you actually use.
A lasting setup should make everyday items easy to grab, stop backup products from invading prime space and give every awkward little tube somewhere obvious to return. You do not need a bathroom the size of a spa—or a small fortune in matching organizers. You need a clear hierarchy, a few correctly sized containers and ten seconds of maintenance at a time.
Here is how to build a bathroom cabinet system that still makes sense after the initial organizing glow wears off.
Start by Emptying the Entire Cabinet
Taking everything out may feel unnecessarily dramatic, but sorting around existing clutter makes it difficult to see how much you own. Empty shelves reveal duplicate products, expired items, leaking bottles and storage space you may have forgotten existed.
Place everything on a towel or washable surface. As you remove products, loosely group similar items together: dental care, hair products, skincare, first aid, cleaning supplies, spare toiletries and so on.
Give the empty cabinet a proper clean before anything returns. Vacuum or wipe away loose debris, then clean the shelves according to their material. Dry everything completely, especially inside an under-sink cabinet where lingering moisture can encourage odors and damage cardboard packaging.
This is also the moment to inspect for leaks. Look around pipe joints, the base of the cabinet and any areas where the surface appears swollen, stained or soft. An organizer cannot compensate for a plumbing problem.
Make Four Decisions, Not Twenty Tiny Ones
Decluttering becomes exhausting when every travel-size conditioner receives a courtroom trial. Speed up the process by assigning each item to one of four destinations:
- Keep here: Used regularly and suitable for bathroom storage.
- Keep elsewhere: Needed, but better stored in a drier, safer or more spacious location.
- Use up soon: Still usable, but nearly empty or unlikely to be repurchased.
- Dispose of: Empty, expired, damaged or no longer wanted.
Be realistic about duplicates. Four sealed tubes of your regular toothpaste are useful backups. Four opened moisturizers you do not particularly like are clutter wearing a skincare label.
Check product packaging for expiration dates, storage instructions and the period-after-opening symbol where applicable. Do not keep products that have changed noticeably in smell, color or texture simply because the container is still mostly full.
Disposal also deserves some thought. Cosmetics, aerosols, chemicals and medicines may have different local disposal requirements, so avoid automatically emptying everything into the sink or toilet. The EPA’s household hazardous waste guidance explains why some everyday household products require special handling, but your local waste authority should have the final instructions for your area.
Move Medicines Out of the Bathroom
The traditional “medicine cabinet” is not necessarily a good place for medicine. Bathrooms regularly become warm and humid, particularly after a shower. MedlinePlus recommends keeping medicines in a cool, dry place because heat and moisture can damage them.
Move medications to an appropriate dry location unless their instructions specifically say otherwise. Keep them in their original packaging so that the label, dosage information and expiration date remain available.
If children can enter the home, “high up” is not the same as secure. Medicines should be locked away and kept out of sight and reach. Poison Control recommends locking up all medicines, including those belonging to visitors.
Do not casually throw unwanted prescriptions into the toilet or sink. Take-back programs are the preferred disposal route for most unused or expired medicines. The FDA’s medicine disposal guide covers take-back options and what to do when one is unavailable. Outside the United States, follow your pharmacy’s advice and local regulations.
Removing medicines may immediately free an entire shelf—and leave the bathroom cabinet for items that actually tolerate being there.
Organize by Routine, Not Just Product Type
Grouping every skincare product together sounds logical until you have to dig past occasional masks and unopened serums for the cleanser you use twice a day.
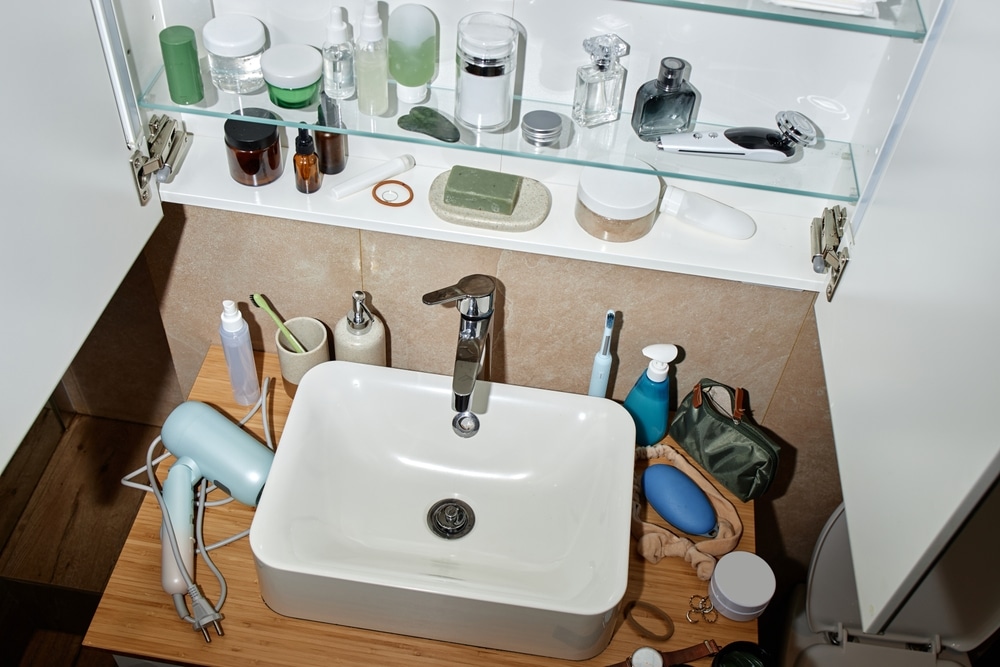
A more practical system combines product type with frequency. Divide the cabinet into simple routine-based zones:
Daily essentials
These deserve the easiest-to-reach shelf or the front of a drawer. Think toothpaste, deodorant, everyday skincare, contact-lens supplies and the hair product used each morning.
Weekly and occasional items
Hair masks, self-tanner, specialty treatments, nail supplies and similar products can sit higher, lower or farther back. They should remain accessible without occupying the cabinet’s best real estate.
Backups
Unopened replacement products belong together in one defined area. A single backup bin prevents spare soap, razor blades and toothpaste from appearing on every shelf.
Shared supplies
If several people use the bathroom, decide which products are communal and which are personal. One container per person can work better than forcing everyone’s items into highly specific categories. It also reduces confusion over whose nearly empty bottle is whose.
The rule is simple: the more often you use something, the fewer movements it should take to reach it.
Measure Before Buying Organizers
A beautiful bin that prevents the cabinet door from closing is not an organizational upgrade.
Measure the internal width, depth and height of each shelf. Remember to account for hinges, plumbing, shelf supports and the lip around the cabinet opening. Under a sink, measure the usable spaces on both sides of the pipework rather than treating the cabinet as one neat rectangle.
Then choose the simplest organizer that solves the actual problem.
Shallow, open-top bins are useful for small tubes and bottles because you can see and retrieve their contents easily. Taller bins can contain refills, but they may hide short products. A turntable can make bottles at the back of a deep cabinet reachable, although it sacrifices some corner space and works poorly when crowded with unstable items. Small drawer units are handy for tiny objects but become annoying if opening a drawer is an extra step you will regularly skip.
There is no requirement for every container to match. Reusing a sturdy washable tray or small box is perfectly reasonable. What matters is that the organizer fits, can be cleaned and does not add needless friction.
Give Small Items Hard Boundaries
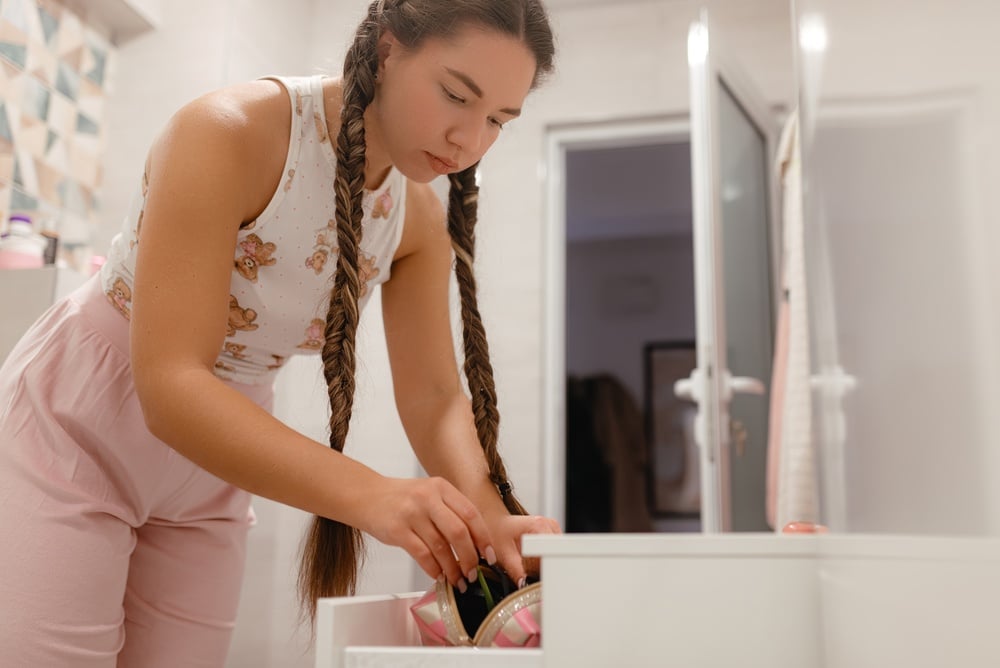
The smallest bathroom items create the biggest visual mess. Hair ties, floss picks, cotton swabs, razor cartridges and sample sachets spread until they occupy every spare gap.
Give each category a container with a firm size limit. When the container is full, it is time to use, relocate or discard something—not purchase a larger container automatically.
Avoid creating extremely narrow categories unless you own enough items to justify them. Separate boxes for “weekday hair ties” and “special hair ties” will not make life easier. A single hair-accessories container is usually enough.
Samples need particularly strict boundaries. Keep only products you genuinely intend to try, and place them somewhere visible. A small “use next” tray is more effective than a large sample bin that becomes a retirement home for miniature lotions.
Use Vertical Space Without Building an Obstacle Course
Bathroom cabinets often waste the area above short bottles. Shelf risers can create a second level, while stackable drawers can make better use of a tall, narrow section. Adhesive door pockets may hold light items if the cabinet material and product instructions allow them.
However, more storage layers are not always better. If reaching the mouthwash requires lifting a basket, sliding a tray and moving six bottles, the system is too complicated. You will eventually leave the mouthwash in front of everything—and the cabinet will unravel from there.
Keep daily items on one accessible level whenever possible. Use stacked storage primarily for backups and occasional supplies.
For an under-sink cabinet, leave the plumbing visible enough to notice leaks. Do not pack containers tightly around pipes or create a setup that takes fifteen minutes to remove when maintenance is needed.
Be Careful With Cleaning Products and Electrical Items
Cleaning supplies can share an under-sink cabinet only when that location is appropriate for the product and safe for the household. Follow label instructions, keep products in their original containers and never mix cleaners. If children or pets can access the cabinet, use a proper safety lock or store hazardous products somewhere more secure.
Separate cleaners from personal-care products. A leak-proof tray beneath cleaning bottles helps contain small drips and makes the area easier to wipe, but it is not a substitute for dealing with a damaged container.
Hair dryers, clippers and other electrical items need a dry storage area. Allow heated tools to cool fully before putting them away, and avoid winding cords tightly around appliances if the manufacturer advises against it. Do not store electrical devices where they may sit in leaked water beneath a sink.
Label for Speed, Not Decoration
Labels are helpful when a container’s purpose is not immediately obvious. “Backups,” “first aid” and “travel” can prevent unrelated objects from being dropped into the nearest open bin.
Do not label every transparent container merely because you own a label maker. If you can clearly see that a tray contains toilet rolls, the label adds little. The best labels remove uncertainty rather than decorate certainty.
Use broad wording that can survive small changes. A bin marked “hair care” remains useful if you change shampoo brands. One marked with a specific product name may become outdated after the next shopping trip.
Labels are especially valuable in shared bathrooms because they turn a private organizing plan into a system everyone can follow.
Create a Small “Use First” Zone
Nearly empty bottles have a talent for remaining nearly empty for months. Instead of mixing them with full products, create a small use-first area near the front of the cabinet.
Place only two or three items there at once: the final portion of a lotion, a partly used travel-size cleanser or a duplicate toothpaste tube. When an item is finished, recycle or dispose of the packaging according to local instructions and move another product forward.
This prevents half-used products from multiplying while allowing you to finish things without searching for them. The zone must remain small; otherwise, it becomes ordinary clutter with a more optimistic name.
Make Restocking Part of the System
A tidy cabinet can still encourage unnecessary buying if nobody knows what is hiding at the back. Keep all unopened replacements in one backup zone and check it before shopping.
You do not need a complicated inventory spreadsheet for six rolls of floss. Simply placing the newest purchases behind existing stock helps older items get used first. If you frequently overbuy a particular product, write a short shopping list inside the cabinet door or keep one on your phone.
Set a limit based on available space. For example, you might keep one unopened replacement of each daily essential rather than enough toiletries to stock a hotel. Larger quantities can make sense when you have plenty of storage and regularly use the products, but bulk buying is not a bargain if items expire, deteriorate or make the cabinet impossible to use.
Keep the System Alive With a Two-Minute Reset
The best bathroom cabinet organization system does not depend on a major monthly cleanup. It relies on tiny corrections.
When you notice an empty bottle, remove it. When you open a backup, move it out of the backup bin. When a product starts leaking, clean it immediately rather than sacrificing an entire shelf. Once a week, take two minutes to return stray items to their zones and wipe any fresh spills.
Every few months, do a slightly deeper check for expired products, forgotten samples and supplies that have migrated into the wrong category. If the same item repeatedly ends up outside its assigned container, change the system. Its natural landing spot is telling you where it belongs.
A Bathroom Cabinet That Stays Organized
A bathroom cabinet stays tidy when the setup matches real routines: daily products at the front, occasional items farther away, backups in one controlled zone and small objects inside clearly defined containers. Move medicines to a suitable dry and secure location, store risky products safely and avoid filling every inch simply because space exists.
The goal is not a cabinet that looks untouched. It is a cabinet you can use on a rushed morning without knocking over half its contents—and reset just as quickly when life gets messy.