
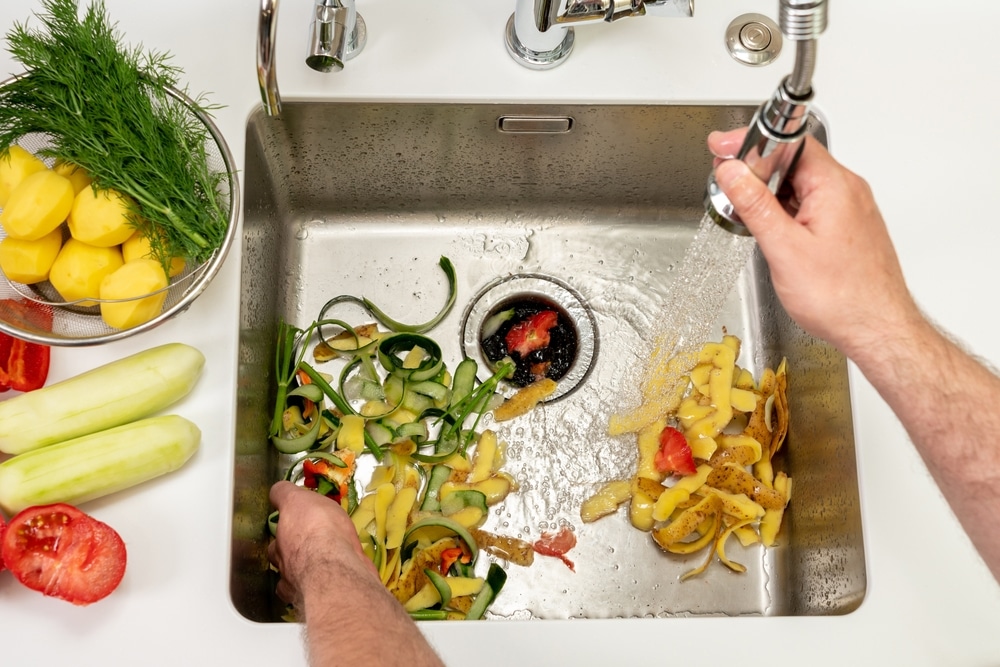
A bad-smelling garbage disposal can make the entire kitchen seem dirty, even when the counters sparkle and the sink is empty. Fortunately, you usually do not need aggressive chemicals or a plumber to fix it. The best way to clean garbage disposal odors is to remove the food residue causing them, especially from the surprisingly grimy underside of the splash guard.
Deodorizing products may briefly cover the smell, but they cannot scrub away a layer of old sauce, grease and vegetable scraps. A proper clean tackles the reachable parts first, flushes the grinding chamber and then deals with any underlying drainage problem.
Here is how to do it safely—and how to stop the smell from staging a comeback.
Why Does a Garbage Disposal Start Smelling?
A disposal does a respectable job of grinding food, but it does not necessarily send every last particle sailing cleanly through the plumbing. Bits of waste can remain on the walls of the grinding chamber, around the upper lip and underneath the rubber splash guard.
That last location is often the real troublemaker. You see the relatively clean top of the rubber flaps every time you use the sink, while the residue-coated underside quietly faces the disposal.
Grease makes matters worse because it can coat surfaces and catch more debris. Insufficient water during or after grinding can also leave particles behind. According to Whirlpool’s disposer-care guidance, odors commonly develop from food and grease buildup in the grinding chamber or around the baffle. Slow drainage and standing water can produce smells too.
Before cleaning, run the faucet and watch how quickly the sink empties. If water drains normally and the odor is concentrated around the disposal opening, a thorough cleaning will often solve it. If the water moves sluggishly, backs up or produces loud gurgling noises, you may be dealing with a partial clog rather than a dirty appliance.
Gather a Few Simple Cleaning Supplies
You do not need a shopping basket full of specialty products. For a routine deep clean, gather:
- Rubber gloves
- A small nylon brush or old toothbrush
- Dish soap
- Warm water
- A sponge or washable cloth
- Tongs or needle-nose pliers
- A flashlight
- Baking soda, if your manufacturer allows it
A purpose-made disposal cleaner is another option, but check that it is approved for your model and follow the package directions. More cleaner is not automatically more effective.
Start by Making the Disposal Safe
This is the one step that should never be rushed.
Turn the disposal off at the wall switch. Then unplug it beneath the sink. If the appliance is hardwired and cannot be unplugged, switch off its circuit at the electrical panel. Do not assume the wall switch alone provides enough protection while you are working near the opening.
Even with the power disconnected, avoid putting your hand into the grinding chamber. A disposal does not have spinning knife blades in the way many people imagine, but its grinding components can still cause an injury. Use tongs or needle-nose pliers to retrieve visible objects.
Shine a flashlight into the opening and look for trapped food, utensils, bottle caps, glass or other debris. Remove only what you can safely grasp from above. If you see broken glass or an object jammed deeper inside, stop and consult the manual or call a qualified professional.
Clean the Splash Guard Thoroughly
If you do only one thing, make it this.
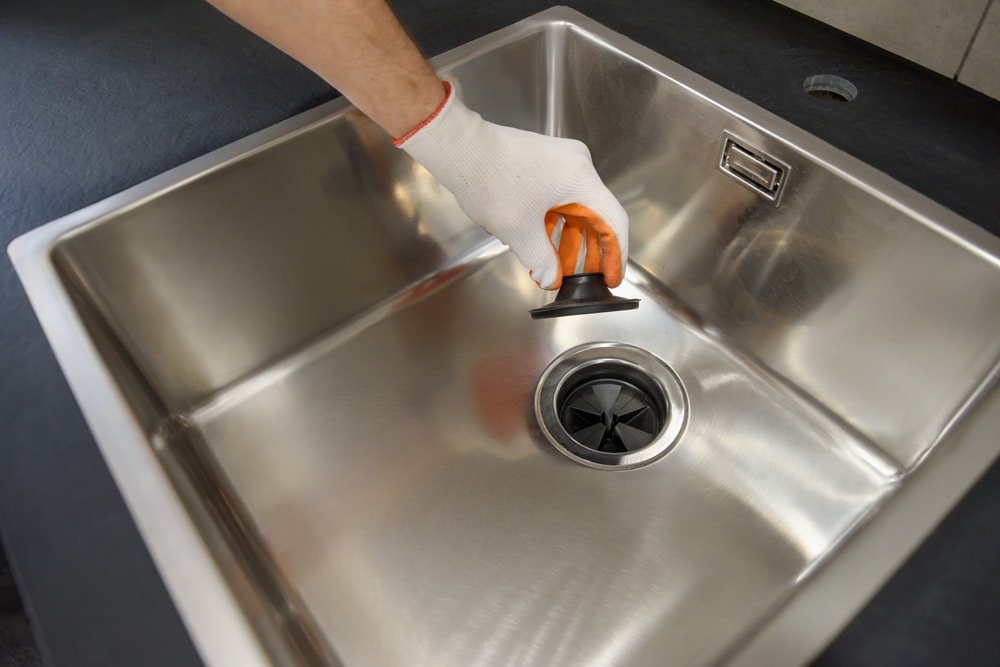
The rubber splash guard—or baffle—catches residue on its underside whenever food and water move through the opening. That hidden film can smell much worse than the chamber itself.
Some guards pull out from the top, while others are fixed in place. Check your owner’s manual rather than yanking at it. Moen’s odor-removal instructions specifically advise cutting the power before removing a splash guard and note that removable versions may be cleaned separately.
For a removable guard:
- Lift it out only after disconnecting the power.
- Wash both sides with warm water and dish soap.
- Scrub between the flaps and around the inner rim with a nylon brush.
- Rinse it completely and reinstall it correctly.
If the guard is not removable, lift each flap carefully and scrub its underside with a soapy brush. Wipe around the upper inside lip of the disposal as well. Keep rings, bracelets and loose sleeves away from the opening, and resist the temptation to reach farther down.
A permanently greasy, cracked or misshapen guard may need replacing. Use a part made for your disposal rather than choosing one solely because it looks roughly the right size.
Wash Out the Grinding Chamber
Once the visible grime is gone, restore the power and give the chamber a controlled rinse.
Put the sink stopper in place and fill the basin about halfway with warm water. Add a small amount of dish soap and swish it through the water. Remove the stopper while running the disposal, allowing the volume of water to rush through the chamber and carry loosened debris into the drain.
After the sink empties, switch off the disposal. Turn on a strong stream of cold water, start the unit again and let it run until the grinding sound settles. Turn the disposal off first, then leave the cold water running for at least another 15 seconds to help move waste through the drainpipe.
Cold water is the usual choice while grinding food. It helps keep greasy material firmer so the disposal can break it up and flush it away, instead of allowing melted fat to coat the plumbing.
Use Baking Soda for Lingering Odors
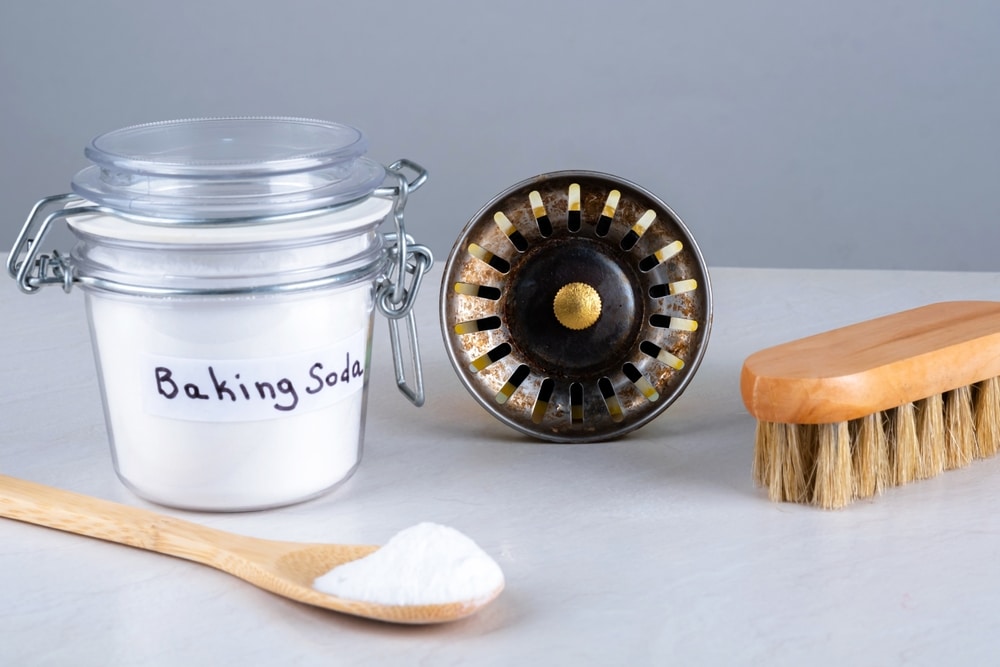
If the disposal still smells after physical cleaning, baking soda can provide an additional deodorizing rinse. Follow your model’s instructions, since recommended methods differ slightly among manufacturers.
One manufacturer-supported approach is to mix about ¼ cup of baking soda into a half-full sink of warm water. Release the stopper while the disposal is running, letting the mixture flush through the chamber.
Baking soda works best as a finishing step, not as a substitute for scrubbing. Pouring powder into a disposal without removing the sticky debris under the guard is rather like spraying air freshener into a full trash can: optimistic, but incomplete.
The popular baking-soda-and-vinegar volcano is not essential. The fizz looks busy, yet the two ingredients largely neutralize one another. More importantly, adding assorted cleaners to a drain becomes risky when you do not know what another household member has already poured into it.
Do Ice and Citrus Peels Actually Help?
Ice can help clean the grinding components, although it does not “sharpen the blades”—garbage disposals generally use impellers and a stationary grinding ring rather than conventional blades.
Some manufacturers recommend grinding ice with baking soda or an approved scouring product. For example, GE Appliances suggests ice and baking soda as one possible cleaning method. Instructions vary on the amount of ice and whether water should run during that specific procedure, so consult your manual before trying it.
Citrus peel can leave a fresher scent and may help clean the grinding chamber. If your manufacturer permits it, use a few small pieces of lemon or orange peel with plenty of cold running water. Feed them in gradually rather than forcing an entire fruit into the disposal.
Citrus is a finishing touch, not a cure for decomposing residue. Large quantities of rind can also be difficult for less powerful units to process. If the disposal is already draining slowly, adding more solid material is not a clever experiment.
Skip Harsh Drain Cleaners
A smelly disposal does not need a chemical ambush. Caustic drain openers can damage internal metal parts, and splashing chemicals are a hazard when inspecting or working on the appliance. GE explicitly advises against chemical drain cleaners in a garbage disposal.
Never combine bleach with vinegar, ammonia, drain opener or another household cleaner. Mixing bleach with acids can release chlorine gas, while combining it with ammonia can create chloramine gas. The National Capital Poison Center’s guidance is simple: do not mix bleach with other household chemicals.
If you have already poured a chemical cleaner down the drain, do not follow it with a homemade remedy. Read the product label, ventilate the room and keep your face away from the sink opening.
Keep the Smell From Returning
A clean disposal stays fresher when you treat it as a food-waste processor rather than a second trash can.
Run a strong stream of cold water before switching it on. Add scraps gradually, let the disposal finish grinding and switch it off before stopping the water. Continue the rinse for at least 15 seconds so particles travel beyond the disposal rather than settling nearby.
Keep cooking fat, oil and grease out of the sink. Pour cooled grease into a suitable container for disposal according to local rules. Coffee grounds, large amounts of starchy food, fibrous stalks, husks and expandable foods can also contribute to blockages, particularly when fed into the unit in bulk.
Scrape most leftovers into the trash or compost where local collection permits it. The disposal is best used for the small scraps left behind during meal preparation and cleanup.
Clean the splash guard whenever you notice a visible film. Regular light cleaning is far less unpleasant than excavating several months of mystery residue.
When the Smell Means Something Else
If the odor returns immediately after a proper cleaning, the disposal itself may not be responsible.
A slow or blocked drain can hold dirty water and food debris. A dry or leaking P-trap, an improperly connected dishwasher drain hose or a plumbing-vent problem may also allow odors into the kitchen. Check beneath the sink for moisture, drips or swollen cabinet material.
Call a plumber if the sink repeatedly backs up, the odor resembles sewer gas, water leaks from the disposal housing, or cleaning makes no meaningful difference. Electrical trouble, smoke, a burning smell or a unit that hums without grinding also warrants stopping the appliance rather than continuing to test it.
A Fresh Disposal Starts With Removing the Grime
The right way to clean and deodorize a smelly garbage disposal is refreshingly unglamorous: disconnect the power, remove visible debris with tools, scrub the splash guard, wash the upper chamber and flush the system properly with water. Baking soda, ice or citrus can help afterward when permitted by the manufacturer, but none replaces physical cleaning.
Once the hidden residue is gone, use plenty of cold water during every grinding cycle and keep grease out of the drain. That combination removes the odor instead of merely giving it a lemon-scented disguise.