
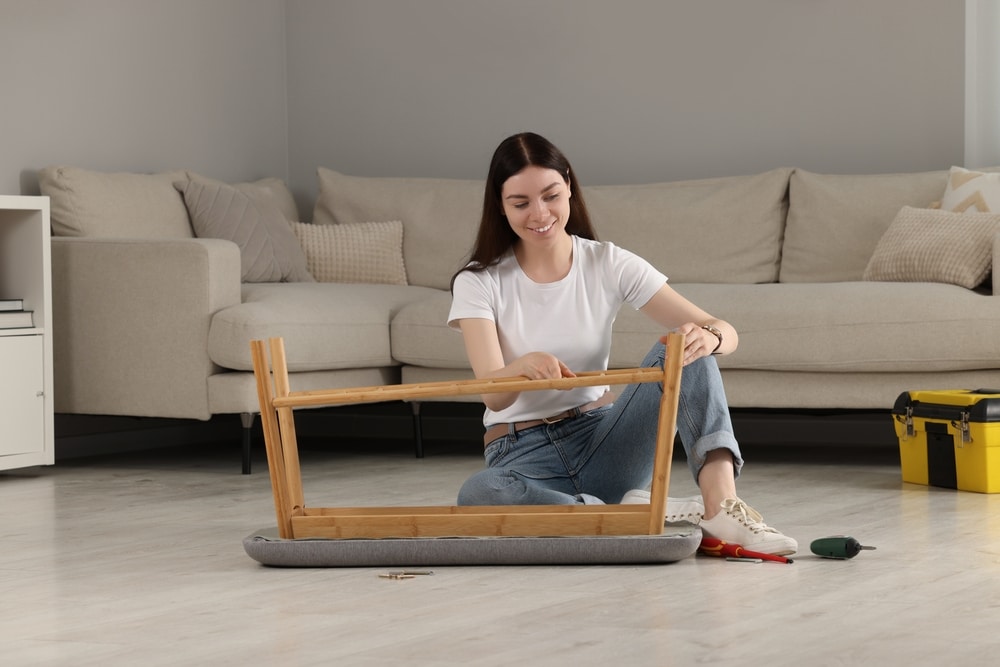
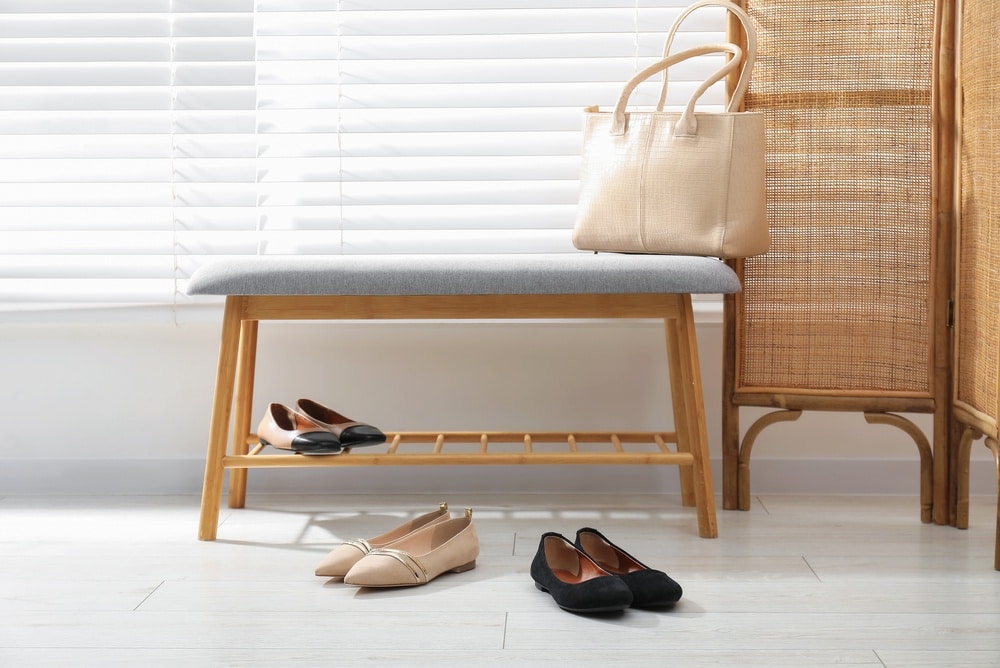
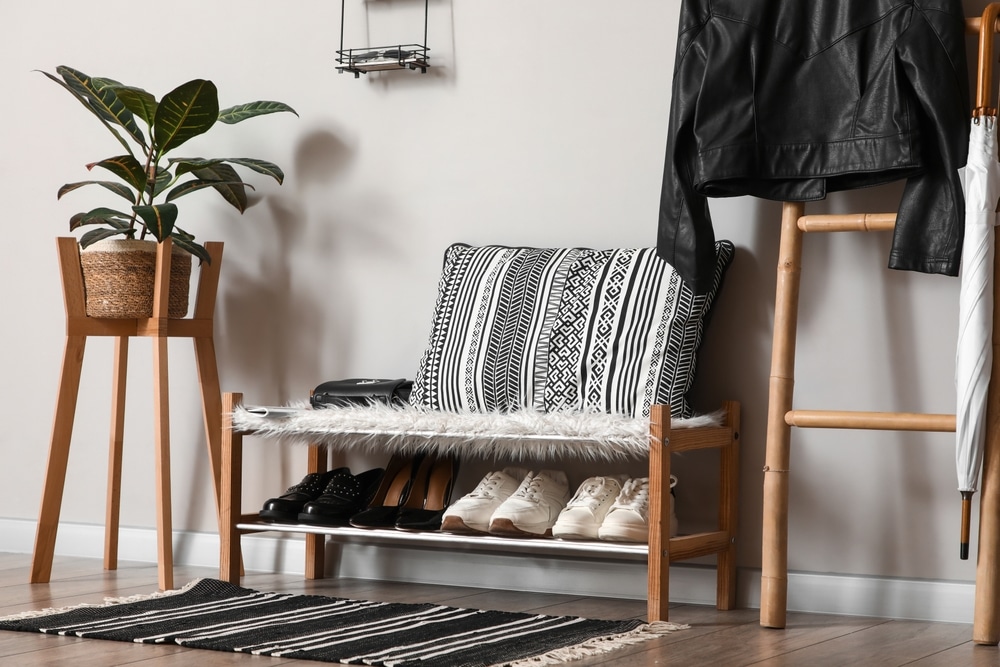
A DIY shoe storage bench tackles two entryway problems at once: it gives stray shoes a proper home and provides somewhere to sit while you wrestle with laces, boots or a stubborn pair of wellies. Better still, you do not need advanced woodworking skills or a workshop full of machinery to build one.
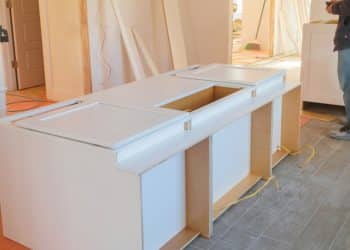
This plan creates a simple plywood bench measuring approximately 43½ inches wide, 16 inches deep and 18 inches high. Three open cubbies keep everyday footwear visible, while optional removable shelves double the available shoe space. The clean, boxy shape is easy to paint, stain or adapt to suit your hallway.
Plan the Bench Around Your Entryway
Before buying timber, measure the space where the bench will live. Check the width at floor level as well as above the baseboards, and make sure the bench will not interfere with a door, radiator, electrical outlet or heating vent.
Depth deserves particular attention in a narrow hallway. A 16-inch-deep seat is compact enough for many entryways while still being usable. Mark the proposed footprint on the floor with painter’s tape, then walk past it several times. If everyone has to turn sideways, reduce the depth or width before cutting anything.
The finished height in this plan is 18 inches. That falls within the 17-to-19-inch seat-height range specified for certain accessible benches by the U.S. Access Board, making it a useful starting point for a comfortable perch. It does not automatically make this homemade bench ADA-compliant, but it is a more practical target than guessing.
Think about the shoes too. Low trainers and flats can share shallow compartments, while ankle boots need more headroom. That is why removable shelves work better than permanently dividing every cubby. You can use two cubbies for everyday shoes and leave the third open for taller footwear.
What You Will Need
The main structure uses one sheet of ¾-inch furniture-grade plywood. Birch plywood gives exposed edges a neat striped appearance, while sanded softwood plywood is often less expensive and works well when painted. Avoid very thin sheet material: this is a seat, not merely a decorative shoe rack.
You will need:
- One 4-by-8-foot sheet of ¾-inch plywood
- Wood glue
- 1¼-inch pocket-hole screws, or suitable wood screws
- Wood filler
- Sandpaper in medium and fine grits
- Primer and furniture paint, or stain and a protective clear finish
- Optional 5 mm shelf pins
- Optional iron-on plywood edge banding
- Optional felt pads or rubber feet
- An appropriate wall restraint if the bench could be climbed on
For tools, gather a tape measure, pencil, square, drill, countersink bit, clamps and a circular saw with a straightedge. A table saw makes repeat cuts easier but is not essential. A pocket-hole jig produces hidden joints; without one, you can drill countersunk screws through the outside faces and fill the heads afterward.
Wear eye and hearing protection while cutting. Work outdoors or use dust extraction where possible, especially while sanding. OSHA’s guidance on controlling wood-dust exposure emphasizes extraction or ventilation as the preferred approach rather than simply allowing dust to circulate around the workspace.
Cutting List for a 43½-Inch Bench
This cutting list assumes the plywood is exactly ¾ inch thick:
- Top: one piece at 43½ by 16 inches
- Side panels: two pieces at 17¼ by 15¼ inches
- Bottom shelf: one piece at 40½ by 15¼ inches
- Vertical dividers: two pieces at 13½ by 14½ inches
- Rear support rail: one piece at 40½ by 4 inches
- Optional removable shelves: three pieces at 12⅞ by 14¼ inches
Plywood sold as ¾ inch is not always precisely that thickness. Measure the sheet before cutting. If it is thinner, calculate the bottom shelf and rear rail width by subtracting twice the actual plywood thickness from 42 inches, which is the outside width of the cabinet beneath the overhanging top.
Ask the timber supplier to break down the sheet if transporting or accurately cutting a full panel will be difficult. Even rough cuts can make the remaining pieces much easier to manage at home.
Cut the Panels Accurately
Mark every piece and label it before cutting. A strip of masking tape marked “left side” can prevent a surprising amount of confusion later.
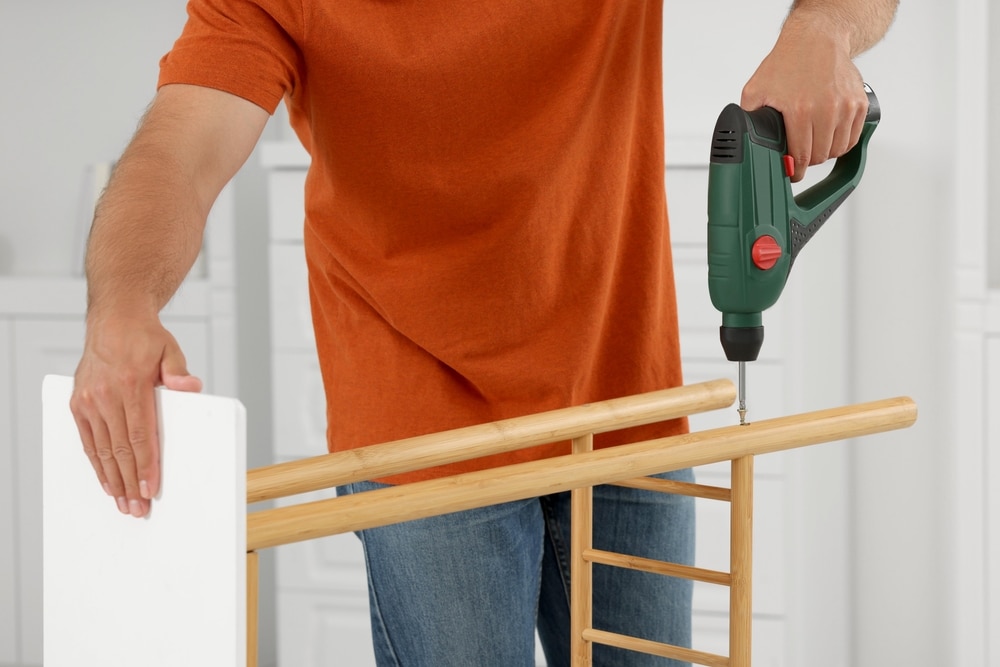
Clamp a straightedge parallel to the cut line when using a circular saw. Remember that the guide must be offset by the distance between the blade and the edge of the saw’s base plate. Support both sides of the plywood so the offcut cannot fall and tear away the final corner.
Cut the two side panels together if your clamps and saw setup allow it. Matching parts matter more than hitting a theoretical measurement perfectly: two sides that are equally tall will produce a level seat, even if both are a millimetre shorter than planned.
Lightly sand the cut edges to remove splinters, but do not round over the edges yet. Square edges are much easier to align during assembly.
Prepare the Hidden Joinery
Pocket holes make this design particularly tidy. Drill them on the underside of the bottom shelf so they face the floor, and at the top of both side panels so the screws will enter the seat from below.
Add pocket holes to the dividers at both ends. Those at the bottom attach each divider to the bottom shelf; those at the top secure the seat. Drill additional holes along the upper edge of the rear rail.
Choose screws according to the material’s measured thickness, not merely the size printed on the timber rack. Kreg’s pocket-hole screw guide also recommends matching the thread to the material: coarse threads are commonly used for plywood and softwood, while fine threads suit dense hardwoods.
No pocket-hole jig? Drill through the outer side panels into the ends of the bottom shelf using countersunk wood screws. The top can be screwed down into the sides, rail and dividers, after which the holes can be filled. It takes more cosmetic work, but the finished structure functions in the same way.
Assemble the Outer Box
Lay the side panels on their back edges and mark a line 3 inches above the floor end of each panel. This is where the underside of the bottom shelf will sit. Raising the shelf creates a recessed base, keeps shoes slightly above the floor and makes the bench look less like a plywood crate.
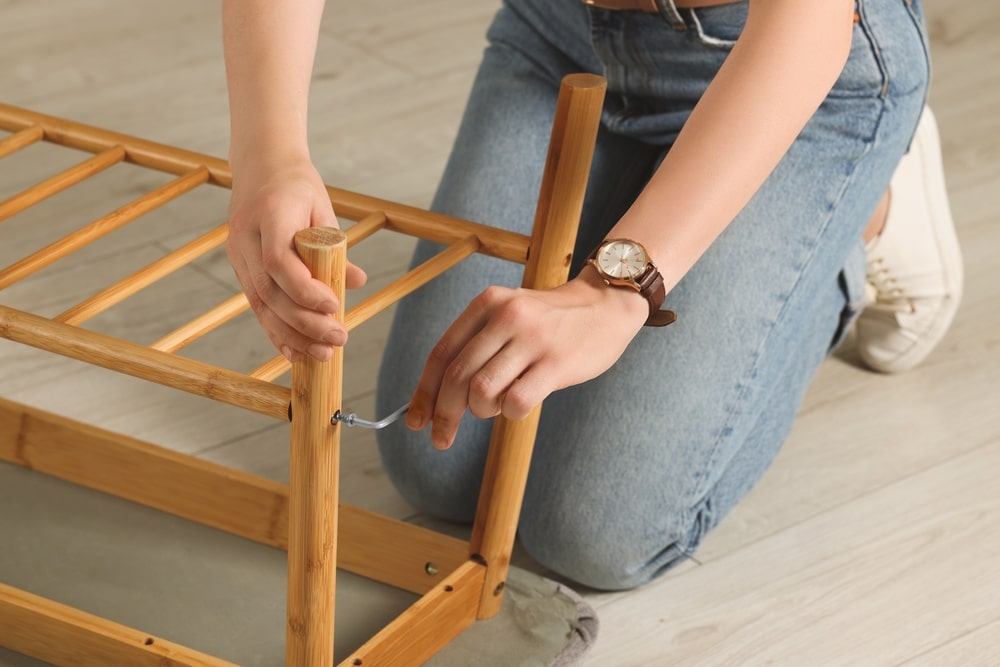
Apply a thin bead of glue to one end of the bottom shelf. Clamp it between the side panels with its underside aligned to the marks, check the corner with a square and install the screws. Repeat at the opposite end.
Next, fit the rear rail between the sides, flush with their back edges and directly beneath the future seat. Glue and screw it into place. The rail reduces sideways wobble and provides another fastening surface for the top without enclosing the cubbies.
Measure both diagonals across the assembly. If they match, the box is square. If not, gently push the longer diagonal inward until the measurements agree, then leave the glue to set while the structure is clamped or braced.
Divide the Storage Space
The internal width is 40½ inches. With two ¾-inch dividers and three equal openings, each cubby will be approximately 13 inches wide.
Starting from the inside face of the left side panel, mark the first divider at 13 inches. The second begins at 26¾ inches. Use a square to carry those marks across the bottom shelf so the dividers do not drift out of alignment.
Glue and screw both dividers to the bottom shelf. Their rear edges should stop just before the back rail, while their front edges align with the front of the cabinet. Temporarily place the top on the bench and confirm that the dividers touch its underside without forcing it upward.
If you want removable shelves, drill matching shelf-pin holes before fixing the top. A scrap-wood drilling guide helps keep every hole at the same height. Position one set around the middle of each cubby, or add several vertically spaced sets for adjustment. Be especially careful with the central dividers: they need corresponding holes on both faces without drilling all the way through.
Skip the extra shelves if your household mainly wears boots or bulky footwear. Large open cubbies are less space-efficient, but they are far more flexible.
Attach the Seat
Place the top on the cabinet with roughly ¾ inch of overhang on both ends and a small overhang along the front. The back can sit flush against the rear of the structure.
Check the alignment from every side, then clamp the top in place. Drive screws upward through the pocket holes in the side panels, dividers and rear rail. Do not overtighten them; excessive force can strip plywood layers or pull the screw tip through the seat.
If you plan to add a cushion, use a loose non-slip bench pad or attach it with hook-and-loop strips. A thick cushion increases the sitting height and may make the bench less comfortable for shorter users, so include its thickness when planning the final dimensions.
Before regular use, place the bench on a level floor and test it gradually. Watch for movement, gaps, splitting, loose fasteners or flex in the top. This homemade plan does not come with a tested weight rating, so its capacity depends on the plywood, fasteners, joinery and quality of construction.
Smooth and Finish the Bench
Fill visible screw holes, dents and plywood voids with wood filler. Once dry, sand the entire bench, soften sharp corners and remove every trace of dust.
For a painted finish, prime the plywood—particularly the exposed edges—before applying two thin coats of durable furniture or cabinet paint. Exposed plywood edges can absorb paint unevenly, so either seal them carefully or cover them with iron-on edge banding.
For a natural look, stain a test offcut first. Plywood faces and edges often accept stain differently. A clear protective finish makes the seat easier to wipe clean when wet coats, muddy hands and shopping bags inevitably land on it.
Allow each product to dry and cure according to its label. “Dry to the touch” does not necessarily mean ready for shoes, baskets or daily sitting. The Home Depot furniture-painting guide offers a useful overview of preparing, priming, painting and sealing wooden furniture.
Make the Storage System Easy to Maintain
A bench only solves clutter if putting shoes away is easier than dropping them beside it. Reserve the cubbies for frequently worn pairs rather than trying to store every shoe in the house.
Give each person a cubby, dedicate one section to seasonal footwear or slide in a washable basket for gloves, dog leads and shoe-care supplies. Leave a little empty space. Storage packed to maximum capacity becomes irritating to use, and irritating storage is usually abandoned.
Place a removable tray or washable mat beneath muddy footwear. Avoid lining the cubbies with material that traps moisture around damp shoes. Wet footwear should be allowed to dry with airflow rather than being sealed inside a closed bin.
Add felt pads to protect hard flooring and compensate for minor unevenness. In a home with young children, consider securing the bench to a wall stud with an appropriate anti-tip restraint, particularly if a child might treat the cubbies as climbing steps. The U.S. Consumer Product Safety Commission recommends anchoring furniture that presents a tip-over risk.
A Simple Bench With a Big Entryway Payoff
Building a DIY shoe storage bench is mostly a matter of making square cuts, checking the dimensions and assembling the panels in the right order. The raised bottom, supporting back rail and divided interior create a practical everyday seat without demanding complicated joinery.
Measure your hallway first, adapt the cubbies to the footwear you actually own and do not rush the finishing stage. The result is a sturdy-looking, easy-to-clean landing zone that turns a cluttered entryway into a space that finally has somewhere for the shoes to go.