
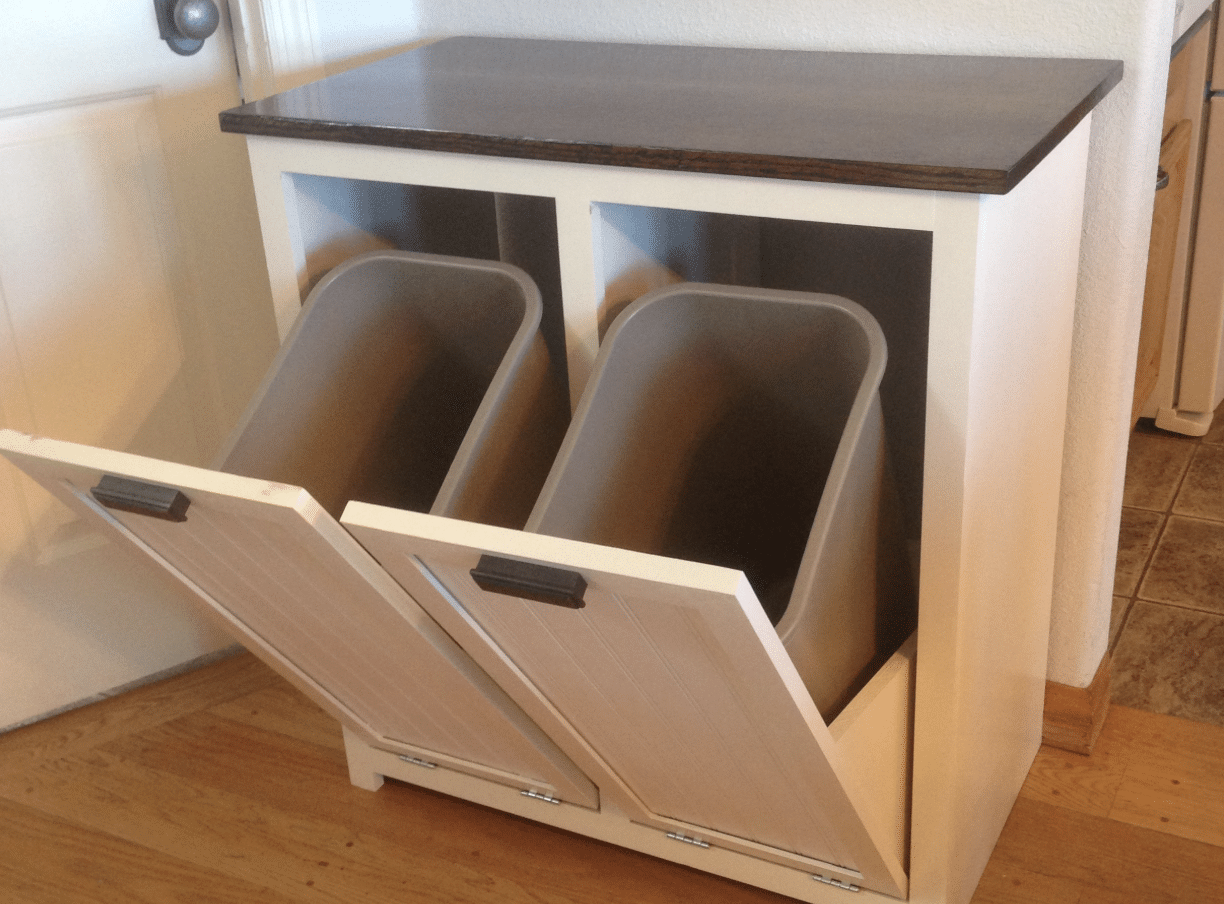
A trash can is useful, unavoidable and rarely the highlight of a kitchen. Leave it freestanding and it interrupts the room; push it into a corner and it becomes a target for pets, children and anyone carrying a full plate.
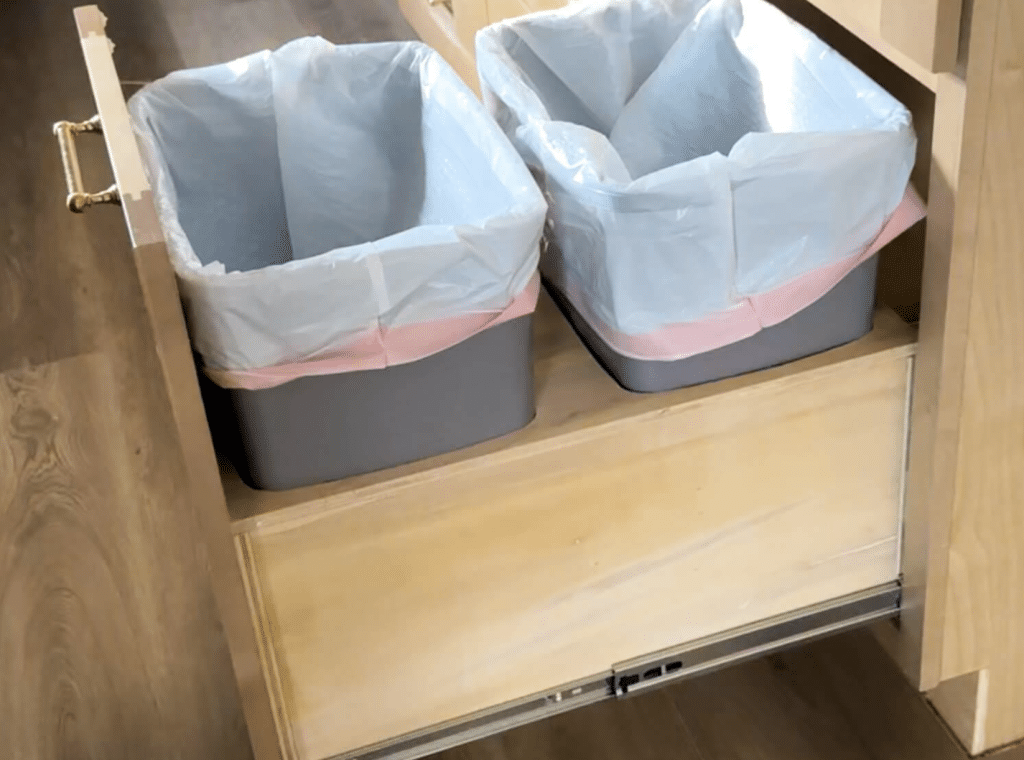
A DIY hidden trash bin solves the problem without requiring a complete kitchen renovation. The bin sits on a sturdy tray inside a base cabinet and slides forward like a deep drawer. Close the door and the rubbish disappears. Open it and the entire container comes within easy reach—no crouching, reaching or wrestling with a lid beneath the counter.
This project is manageable for a confident beginner, but good measurements matter far more than advanced woodworking. Drawer slides are not especially forgiving of guesswork, and a bin that technically fits may still catch on a hinge or collide with the countertop.
Decide Which Cabinet You Will Use
The easiest version starts with an existing base cabinet that has a full-height door and no internal drawer. A narrow cabinet can hold one bin, while a wider opening may accommodate separate containers for rubbish and recycling.
Choose a cabinet close to the main food-preparation area, but avoid sacrificing storage you use every day. A hidden bin is less convenient if installing it means moving pots and cleaning products into three different cupboards.
The cabinet beneath a sink can work, although plumbing often limits the available height and depth. Check the waste pipe, water lines, shut-off valves and sink bowl before buying anything. The pullout must travel forward without touching them, and it must not block access to valves that may be needed during a leak.
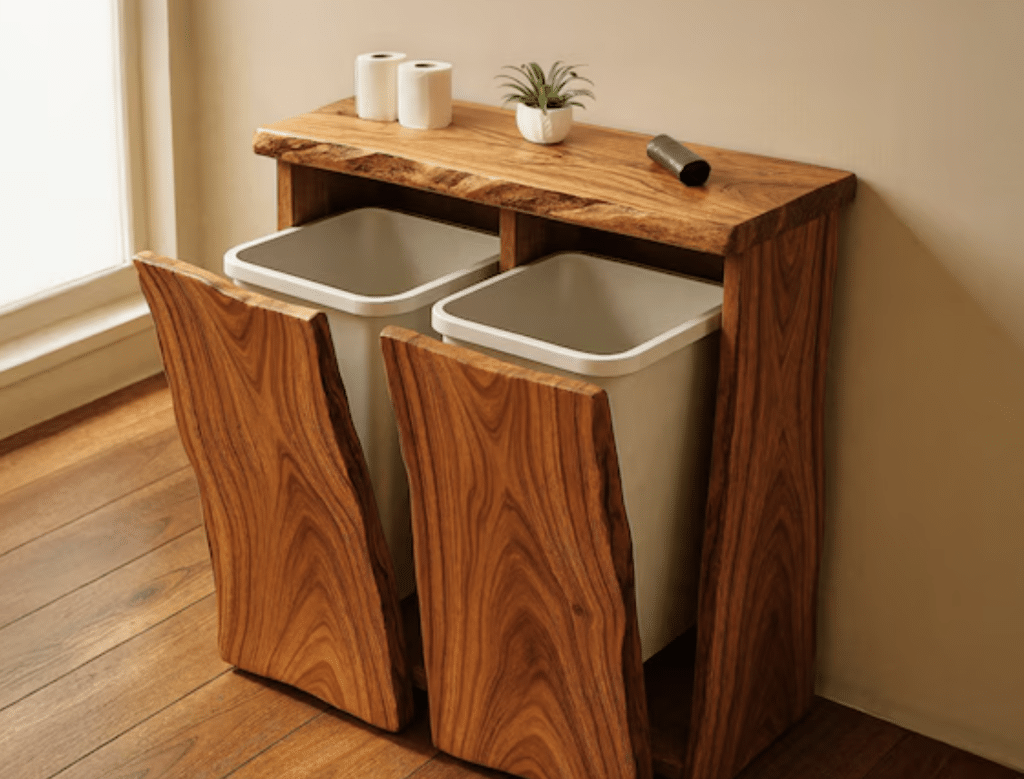
Another option is a freestanding cabinet built specifically for the bin. This creates more flexibility in a utility room or kitchen with limited cabinetry, but the unit must be secured properly. Extending a heavy bin moves weight beyond the cabinet’s front edge, increasing the risk of tipping. The US Consumer Product Safety Commission’s Anchor It guidance explains why freestanding furniture should be fixed securely, especially in homes with children.
Pick a Door Style Before Building
There are two ways to arrange the cabinet front.
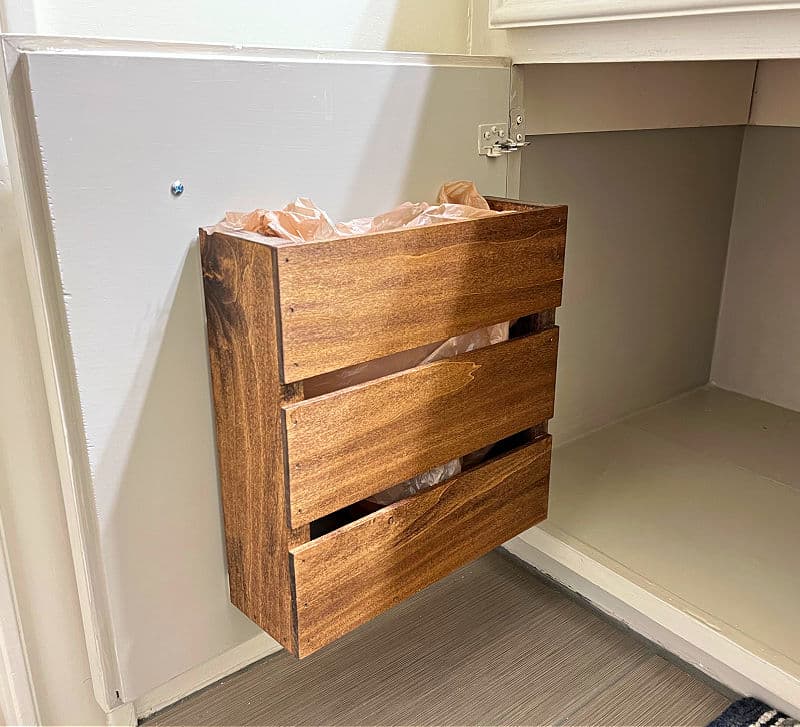
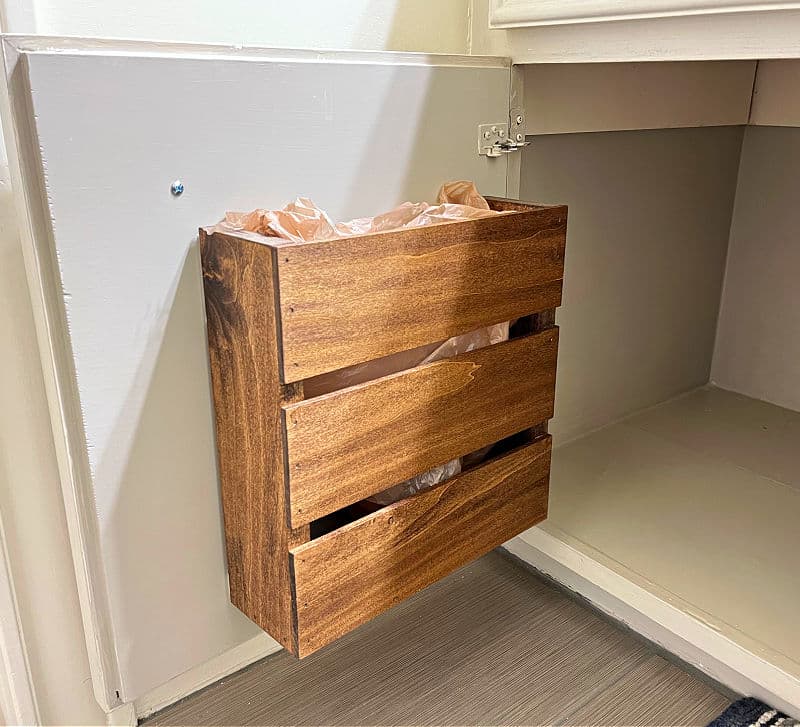
The simpler option keeps the existing door on its hinges. Open the door normally, then pull out the bin using a handle on the tray. This method requires fewer alterations and makes the project easier to reverse.
The neater option attaches the cabinet door directly to the sliding tray. Pull the door and the bin comes with it in one movement. This looks more like a purpose-built kitchen feature, but aligning the door requires patience. The hinges must be removed, and the door needs brackets or a strong wooden mounting panel behind it.
If this is your first cabinet project, consider building and testing the pullout with the door still hinged. You can always convert the front later once you know the tray moves smoothly.
Measure the Cabinet, Not the Door
Cabinet doors often overlap their openings, so measuring the visible door gives the wrong dimensions. Open the cabinet and record the clear internal space.
Measure:
- The narrowest width of the opening
- The usable depth from the front edge to the back
- The available height beneath shelves, drawers or plumbing
- The distance between any face-frame edges
- The position of hinges and other obstructions
Take each measurement in several places. Older cabinets are not always perfectly square, and the opening near the top may differ slightly from the width near the floor.
Measure the bin with its rim and lid attached. If the lid flips upward, test its full movement inside the cabinet. A container that fits when closed may be impossible to open beneath a drawer.
Commercial pullout manufacturers also work from minimum opening width, depth and height rather than the nominal cabinet size. Rev-A-Shelf’s cabinet measuring guidance is a useful visual reference for identifying face-frame and frameless cabinets and checking for obstacles.
Leave enough space above the bin to lift out a full bag. A liner packed with rubbish becomes surprisingly annoying when it must be dragged sideways from beneath a countertop.
Choose Between a Kit and a Fully DIY Tray
A ready-made pullout kit is the quickest route. It normally includes a metal or wooden frame, matched bins, slides and mounting hardware. Some models also include brackets for attaching the cabinet door.
Kits cost more, but they remove much of the calculation. They are particularly useful in face-frame cabinets, where the narrow opening and wider interior can make slide placement awkward.
A homemade tray is usually cheaper and can be sized around a bin you already own. It consists of a plywood base, low retaining sides and a pair of drawer slides. The trade-off is that you must match every dimension yourself.
Do not buy slides based only on length. Check three specifications:
- Required installation clearance
- Extension type
- Load rating
Full-extension slides allow the bin to move completely beyond the cabinet opening, making bags easier to remove. Soft-close slides feel pleasant but are optional. More important is a load rating comfortably above the combined weight of the tray, bins and their contents.
Slide clearances vary by model. Some side-mounted slides require a specific gap on each side, while bottom-mounted systems follow entirely different rules. Use the dimensions in the instructions supplied with your exact hardware rather than assuming a universal half-inch allowance.
Tools and Materials
For a basic wooden pullout, you will need:
- A suitably sized waste bin
- A pair of full-extension drawer slides
- Plywood for the base
- Plywood strips or solid wood for the retaining frame
- Wood screws
- Wood glue
- Sandpaper
- Primer, paint or clear finish
- A drill and driver
- A saw suitable for clean, straight cuts
- Measuring tape, pencil and square
- Clamps
- A spirit level
- Scrap wood for spacers or mounting cleats
Eye protection is essential when cutting and drilling. Hearing protection and a dust mask are also sensible when using powered saws or sanding plywood.
Before driving screws into an existing cabinet, check their length. A screw that is perfect for joining two pieces of wood may pass straight through a thin cabinet side and create a sharp surprise in the neighbouring cupboard.
Build the Pullout Tray
Cut the tray base according to the available opening and the clearance required by your chosen slides. For side-mounted hardware, the finished tray width must include the manufacturer’s specified space on both sides.
The tray does not need tall walls. Low rails are enough to stop the bin shifting when the drawer opens. Cut two side pieces and front and rear rails, then dry-fit everything around the bin before adding glue.
Allow a little movement around the container. A tight wooden box may look precise, but kitchen bins change shape slightly when overfilled, and the rim of a liner can add bulk. The goal is to hold the bin in place, not clamp it permanently.
Glue and screw the frame together, checking that it remains square. Measure diagonally from corner to corner in both directions. Matching diagonal measurements indicate a square assembly.
Sand sharp edges and seal the wood. Bare plywood absorbs spills and odours, so use a durable washable finish. Paint, polyurethane or another cabinet-safe coating can work, provided it is fully cured before the tray returns to service.
For an especially tidy fit, cut an opening in a larger top panel so the bin drops through its rim. This prevents movement but demands more accurate cutting and makes it harder to replace the bin with a different model later. Simple retaining rails are more forgiving.
Install the Drawer Slides
Separate the cabinet and drawer sections of the slides if the design allows it. Fasten the drawer members to the tray at identical heights on both sides.
Next, position the cabinet members. They must be level, parallel and aligned with each other. Even a small difference can cause binding.
A frameless cabinet usually provides flat side walls for mounting. A face-frame cabinet may require wooden spacers or cleats to bring the slides level with the inside edge of the opening. Fasten those supports to structural cabinet material, not merely a thin back panel.
Use a square or spacer block to keep both slides at the same height. Begin with screws in the adjustable slots if the hardware provides them. These slots let you make small corrections before installing the remaining screws.
Slide the tray into place and test it empty. It should move freely without scraping the face frame or twisting. If it sticks, do not force it. Remove the tray and check the spacing, level and parallel alignment.
Add the empty bin and test again. Then place some weight inside to confirm that the tray remains stable and the slides stay smooth.
Attach the Cabinet Door
Skip this step if you are keeping the original hinged door.
For a door-mounted pullout, remove the hinges and temporarily position the door in its closed location. Use thin spacers to create even gaps around its edges. Painter’s tape across neighbouring doors can provide visual reference lines.
From inside the cabinet, mark where the pullout’s front brackets or wooden mounting panel meet the door. Attach the door using screws short enough to remain inside its material. Cabinet fronts are easy to puncture, so check the required screw length twice.
Tighten the hardware lightly, close the pullout and inspect the gaps. Adjust the door until it lines up with adjacent fronts, then secure all fasteners.
Install a handle if the door does not already have one. Avoid pulling the cabinet open by its top or side edge; repeated force in an awkward direction can loosen the mounting hardware.
Make the Bin Pleasant to Use
A hidden trash cabinet still needs airflow and regular cleaning. Closing food waste inside a dark cupboard does not stop smells; it merely gives them private accommodation.
Use well-fitting liners and wipe spills promptly. A removable tray liner or washable mat beneath the bin can protect the finished wood. Clean the cabinet floor and slide hardware periodically, as crumbs can collect around the runners.
If odour is a recurring problem, use a bin with a fitted lid and empty it more frequently rather than attempting to make the cabinet airtight. Trapped moisture encourages unpleasant smells and can damage cabinet materials.
Separate rubbish and recycling only if the arrangement matches local collection rules. Do not place batteries, paint, solvents, pesticides or other potentially hazardous products in the concealed household bin. The US Environmental Protection Agency recommends checking local programmes for the safe handling of household hazardous waste.
Common Mistakes to Avoid
The most common failure happens before the first cut: choosing a bin that is too large. Remember that the opening, slides, tray walls and door hardware all consume space.
Another mistake is installing short or partial-extension slides. These may leave the rear bin trapped beneath the countertop. Full extension is especially valuable in a double-bin design.
Do not mount slides to unsupported cabinet panels. Thin material can flex or tear away under the repeated weight of a loaded container. Add solid cleats where necessary and use suitable fasteners.
Finally, test the entire movement before finishing the installation. Confirm that the cabinet door clears neighbouring handles, the tray does not strike the baseboard and the bin can be lifted out when full.
A Small Project with a Big Visual Payoff
A slide-out bin does not transform how a kitchen cooks, but it greatly improves how the room looks and functions. The rubbish stays close to the work area, recycling can share the same cabinet and one of the least attractive household necessities disappears behind a matching door.
Measure the true opening, follow the clearance requirements for your slides and build the tray around the actual bin. Add a washable finish and sturdy mounting points, then make small adjustments until the pullout runs smoothly.
Done carefully, a DIY hidden trash bin feels less like a homemade workaround and more like a feature the kitchen should have had all along.