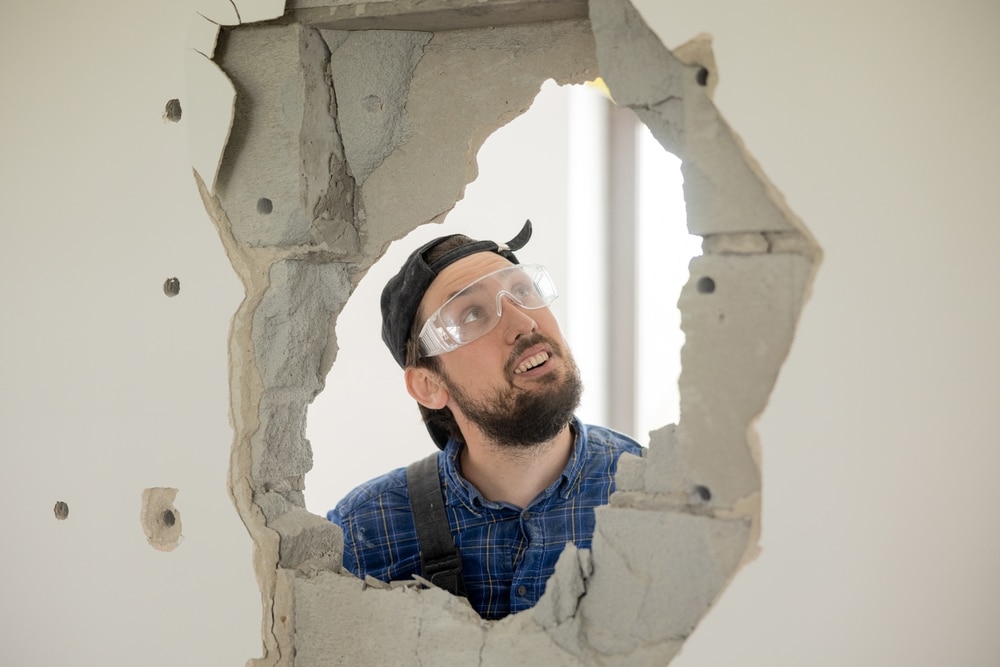
A random hole in your wall can feel like a disaster. Maybe it happened while moving furniture, mounting a TV, or during an overenthusiastic game indoors. The good news is that you don’t need to call a professional for every dent or crack. Learning how to patch wall holes is easier than most people think, and with the right tools and a little patience, you can make your wall look brand new again. In this guide, you’ll discover practical, proven steps to patch wall holes and prevent them from coming back.
Why You Should patch wall holes Quickly
It’s tempting to ignore small dents and cracks. After all, they don’t seem urgent. But when you patch wall holes as soon as you notice them, you prevent bigger problems later. Small openings can collect dust, trap moisture, and even weaken the surrounding drywall over time.
Learning to patch wall holes also keeps your home looking well cared for. If you ever plan to sell or rent your property, visible damage can lower its appeal. Even in your own space, smooth and clean walls simply feel better. A quick repair today can save you time and money tomorrow.
Understanding Different Types of Wall Damage
Not all wall holes are the same. Before you grab your tools, it helps to understand what you’re dealing with.
Small holes are usually caused by nails, screws, or picture hooks. These are typically less than half an inch wide and are the easiest to fix.
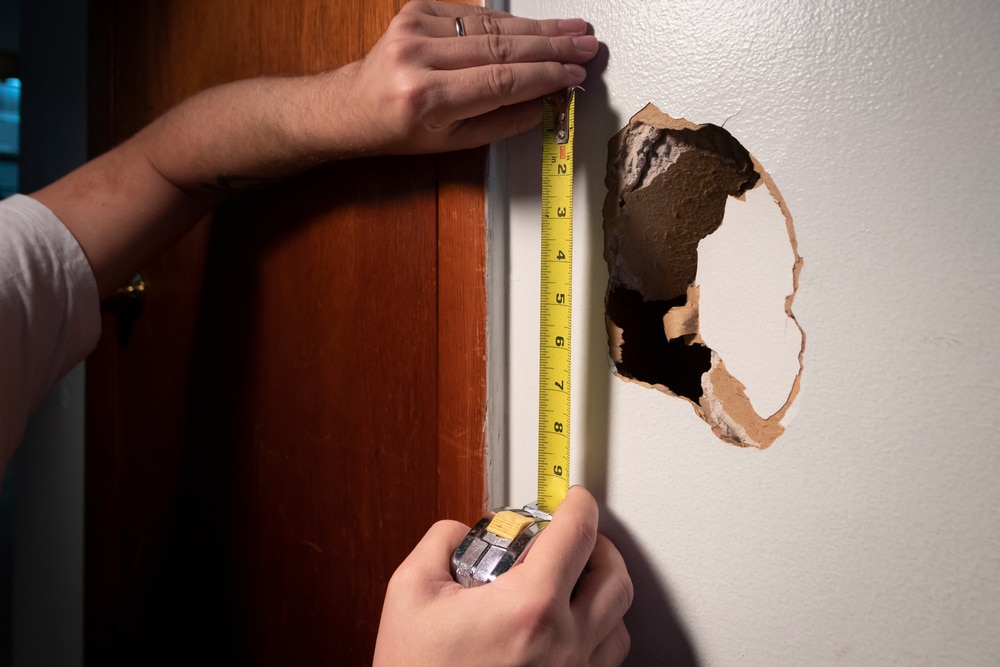
Medium holes can result from door handles hitting the wall or minor accidents. These may be one to two inches wide and often require a patch kit.
Large holes are usually caused by more serious impacts, such as a fall or heavy object hitting the wall. These require more preparation and sometimes a drywall replacement piece.
Identifying the type of damage helps you choose the right materials and method.
Tools and Materials You’ll Need
Before starting your repair, gather everything you need. Having your materials ready makes the process smoother and less stressful.
For small holes, you usually need:
- Lightweight spackling compound
- A putty knife
- Fine-grit sandpaper
- A damp cloth
- Matching paint
For medium to large holes, you may also need:
- A wall repair patch or mesh tape
- Joint compound
- A drywall saw
- Primer
Most of these items are available at any hardware store. Many stores even sell complete wall repair kits designed specifically to patch wall holes of different sizes.
How to patch wall holes the Right Way
Preparation is key when you want a smooth, invisible finish. To patch wall holes properly, start by cleaning the area. Remove any loose drywall pieces or chipped paint. Wipe the surface with a damp cloth to eliminate dust.
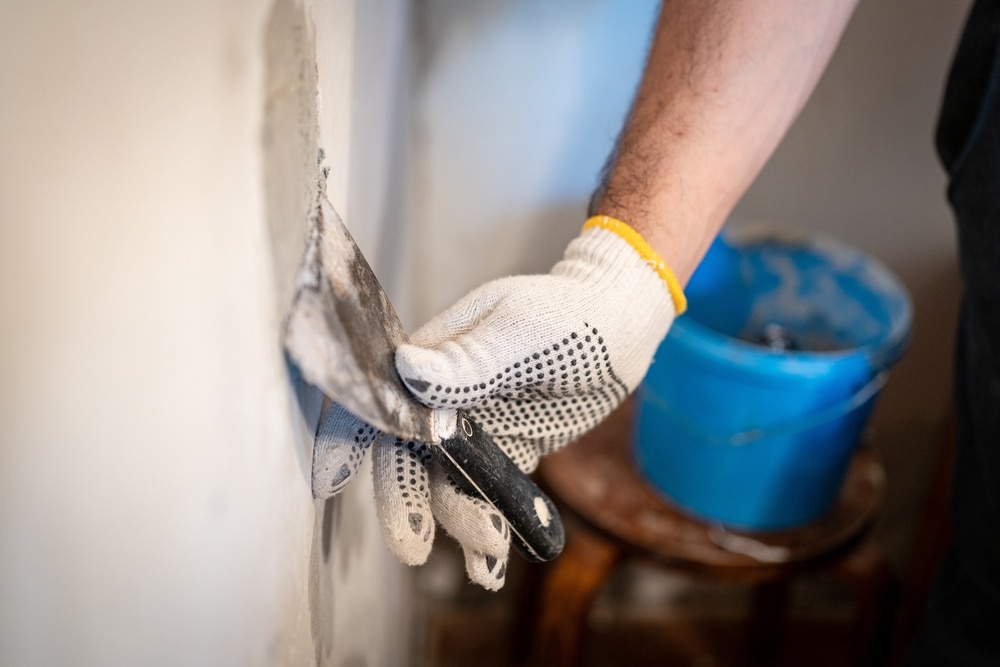
For small holes, apply a small amount of spackling compound with your putty knife. Press it firmly into the hole and smooth it out so it’s flush with the wall. Let it dry completely according to the manufacturer’s instructions. Once dry, lightly sand the area until smooth. Wipe away dust and apply touch-up paint.
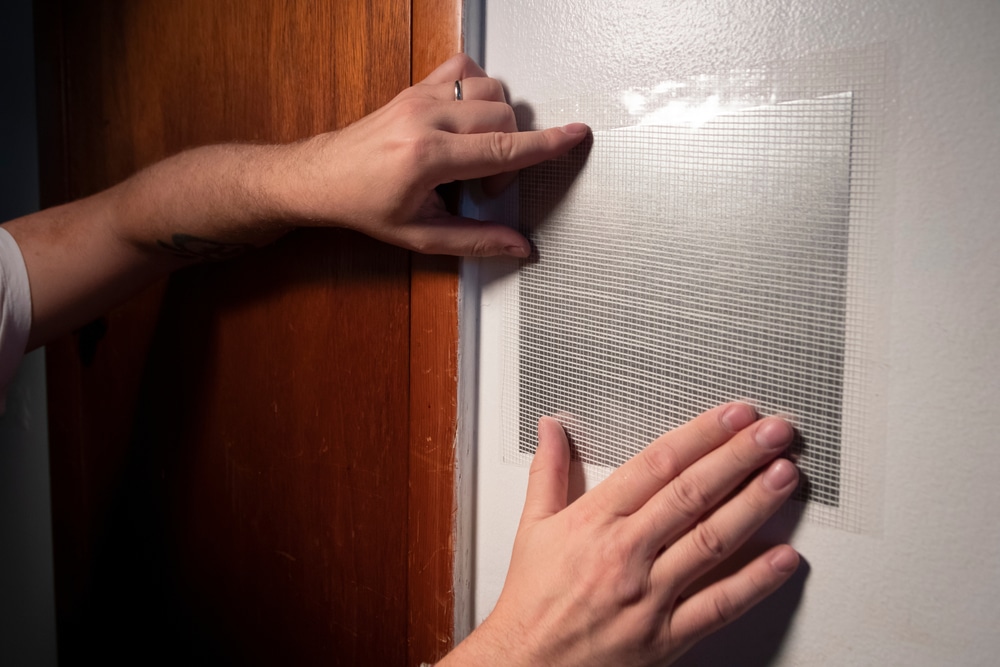
If you need to patch wall holes that are larger than a nail hole, you may need a mesh patch. Place the adhesive patch over the hole, then apply joint compound over it using a putty knife. Spread the compound beyond the edges of the patch to blend it into the wall. Let it dry, sand it smooth, and apply a second coat if necessary. Finish with primer and paint.
For very large holes, you may need to cut out the damaged section into a neat square, insert a new piece of drywall supported by backing strips, and then tape and mud the seams. This takes more time but follows the same basic principles: secure, smooth, sand, and paint.
Common Mistakes to Avoid
Many people rush to patch wall holes without allowing enough drying time. This is one of the biggest mistakes. If you sand or paint too soon, the surface can crack or look uneven.
Another common error is applying too much compound at once. Thick layers take longer to dry and are harder to sand smoothly. It’s better to apply thin layers and build up gradually.
Skipping primer is also a mistake. Primer helps the paint adhere evenly and prevents the repaired spot from flashing or looking different in certain lighting. Even if the repair seems small, primer makes a big difference in the final appearance.
When the Damage Is Serious
Sometimes the hole reveals a deeper issue. If you notice water stains, mold, or crumbling drywall, you may need more than a simple attempt to patch wall holes. Water damage, for example, should be fixed at the source before repairing the surface.
If a hole exposes wiring or plumbing, turn off power or water before proceeding. In such cases, consulting a licensed professional may be the safest option. Structural damage, especially in load-bearing walls, should never be treated as a simple cosmetic fix.
Knowing your limits is part of being a smart DIYer. While it’s empowering to patch wall holes yourself, safety should always come first.
Making the Repair Invisible
After you patch wall holes, the final look depends on your finishing touches. Sanding is where the magic happens. Use fine-grit sandpaper and gentle pressure. Run your hand over the area to feel for bumps or uneven spots.
Lighting can reveal imperfections. Shine a flashlight across the wall at an angle to spot shadows and ridges. If necessary, apply a thin skim coat of compound and sand again once dry.
Matching paint can be tricky. If you have leftover paint from the original job, that’s ideal. If not, try to get a color match at a hardware store. Even with a good match, you may need to paint a larger section of the wall to blend everything seamlessly.
Painting Tips After You patch wall holes
Once you patch wall holes, patience during painting pays off. Start with a coat of primer and let it dry fully. Then apply your matching paint using a small roller or brush, feathering the edges outward to blend with the surrounding area.
Sometimes one coat is not enough. Let the first coat dry before deciding if you need another. Good lighting helps you evaluate the finish. Remember that paint may look slightly different when wet compared to dry.
Avoid overworking the paint. Too many brush strokes can create visible texture differences. Smooth, even strokes give the best results.
Preventing Future Damage
While it’s easy to patch wall holes, preventing them in the first place saves time and effort. Use door stoppers to keep handles from slamming into walls. When mounting shelves or TVs, use proper anchors and follow weight guidelines.
If you have children or pets, consider adding protective panels in high-traffic areas. Rearranging furniture carefully and using felt pads can also reduce accidental bumps.
Regularly inspecting your walls helps you catch small issues before they become big repairs. A tiny crack today is much simpler to handle than a large, neglected hole later.
Building Confidence With DIY Repairs
The first time you repair a wall, it might feel intimidating. But once you understand the basic steps, the process becomes straightforward. Each time you patch wall holes, you build confidence and improve your skills.
DIY repairs also create a sense of ownership over your living space. Instead of feeling frustrated by damage, you see it as a manageable project. Over time, these small improvements add up, making your home more comfortable and visually appealing.
You don’t need to be an expert contractor to achieve great results. With patience, the right materials, and attention to detail, anyone can handle minor wall repairs successfully.
A hole in the wall doesn’t have to ruin your day. With the right approach, you can patch wall holes quickly and effectively, restoring your space without stress. From tiny nail marks to larger dents, each repair follows simple, proven steps. When you patch wall holes carefully, allow proper drying time, and finish with smooth sanding and paint, the results can look professional. The more you practice, the easier it becomes. So next time you spot damage, don’t panic. Grab your tools, take your time, and transform that flaw into a flawless wall once again.
Do you want more amazing tips for DIY Projects in your home? Then visit our DIY Projects page right here