Floating shelves are one of those home upgrades that look impressive but feel intimidating. Scroll through social media and you’ll see perfectly styled walls with clean wooden planks holding plants, books, and framed photos. It looks simple, but the idea of drilling into your wall can quickly turn that excitement into stress. The good news is that you really can install floating shelves without turning your home into a construction zone. With the right tools, clear steps, and realistic expectations, anyone can do it. In this beginner-friendly guide, you’ll learn exactly how to install floating shelves safely, securely, and without the drama.
Why Floating Shelves Are So Popular
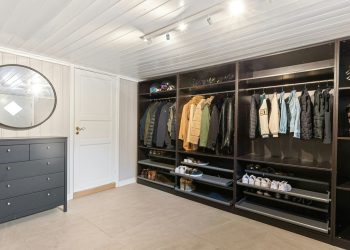
Floating shelves are loved for a reason. They create storage without bulky brackets, making a room feel open and modern. Because the hardware is hidden inside the shelf or behind it, the final look appears clean and minimal. That’s why so many homeowners choose to install floating shelves in living rooms, kitchens, bathrooms, and even bedrooms.
Another reason people decide to install floating shelves is flexibility. You can place them above a desk, beside a fireplace, or in a small bathroom that needs extra storage. They work in tight spaces where cabinets would feel heavy. They also give you the freedom to refresh your decor whenever you want. Rearranging items on a shelf is much easier than repainting a wall.
Most importantly, floating shelves are practical. They hold books, plants, dishes, toiletries, and decorative pieces. When you install floating shelves properly, they can support a surprising amount of weight.
Understanding How Floating Shelves Work
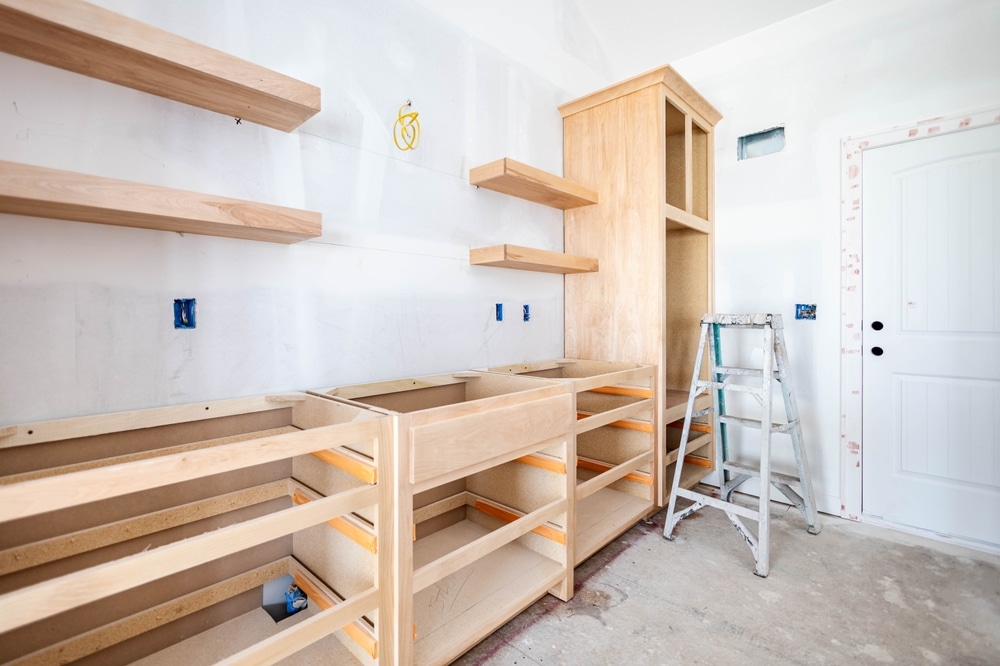
Before you install floating shelves, it helps to understand how they stay up. Despite the name, they are not magically floating. They rely on hidden brackets or rods that anchor into wall studs or heavy-duty wall anchors.
There are two common systems. The first uses a metal bracket that attaches directly to the studs inside your wall. The shelf then slides onto the bracket and is secured in place. The second system uses heavy-duty anchors when studs are not in the right position. Stud mounting is always stronger, so whenever possible, you should install floating shelves into studs.
The strength of your shelves depends on three things: the bracket quality, the wall material, and how well you secure the hardware. Drywall alone cannot hold much weight without anchors. That is why careful preparation is key.
Tools You Need Before You Install Floating Shelves
The biggest source of stress when you install floating shelves is not having the right tools. Fortunately, the list is short and manageable:
A stud finder
A level
A drill and drill bits
A tape measure
A pencil
Wall anchors if needed
Screws that match your bracket system
A stud finder is especially important. Guessing where studs are can lead to weak support and crooked shelves. A level prevents the classic beginner mistake of slightly tilted shelves. Even a small angle becomes obvious once you place objects on top. Preparation is what makes it possible to install floating shelves smoothly instead of scrambling halfway through.
Choosing the Right Location
Location matters more than most people realize. Before you install floating shelves, think about both structure and style. Structurally, you need enough wall support. Try to position shelves where at least one stud can be used. If that’s not possible, make sure you use high-quality anchors rated for the weight you plan to place on the shelf.
From a design perspective, consider spacing. Shelves above a couch usually look best when centered and placed about 10 to 12 inches above the backrest. In kitchens, spacing depends on what you plan to store. Plates require different height clearance than spice jars.
Measure twice. Mark lightly with pencil. Step back and look at your markings before drilling. Many people rush this stage, but thoughtful placement makes all the difference when you install floating shelves.
Step by Step: How to Install Floating Shelves
Now let’s walk through the process in a simple, beginner-friendly way.
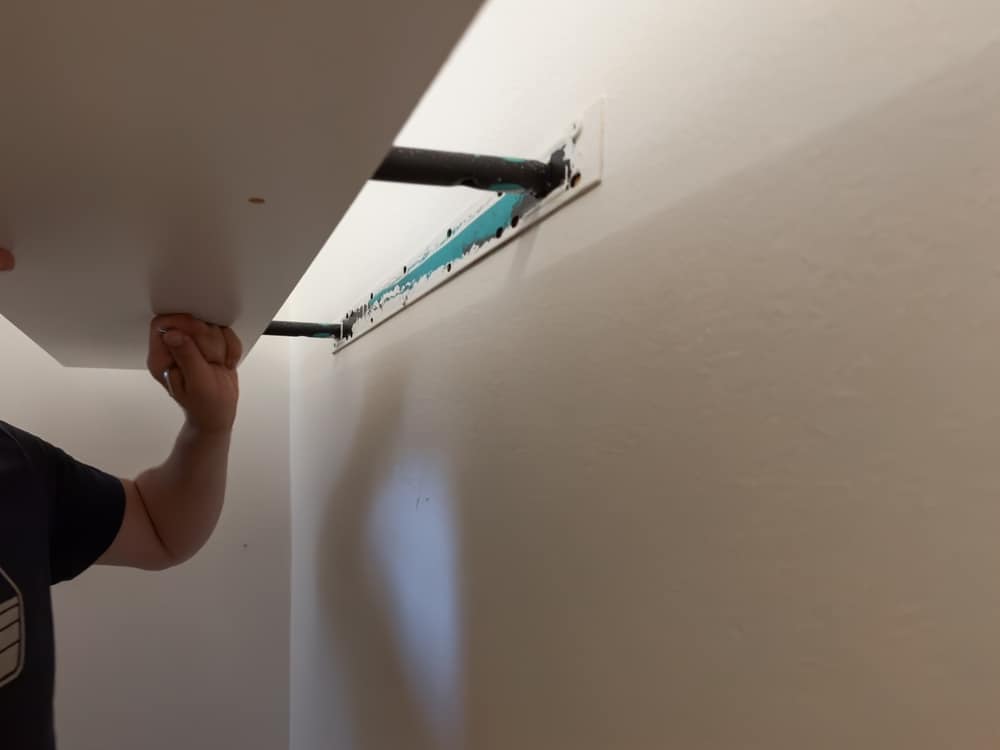
First, use your stud finder to locate studs. Mark their positions clearly. If your bracket holes line up with studs, great. If not, you’ll need anchors for additional support.
Second, hold your bracket against the wall at the desired height. Use your level to ensure it is straight. Mark the screw holes with a pencil.
Third, drill pilot holes into the studs or drywall. If using anchors, insert them according to the manufacturer’s instructions.
Fourth, screw the bracket firmly into place. Tighten the screws securely, but avoid over-tightening, which can damage drywall.
Finally, slide the shelf onto the bracket and secure it as instructed. Most floating shelves include small screws underneath to lock the shelf onto the bracket.
When you install floating shelves carefully and patiently, the result is sturdy and professional-looking.
Common Mistakes to Avoid
Many beginners feel nervous to install floating shelves because they’ve heard horror stories. Most problems happen due to simple mistakes.
One common issue is ignoring weight limits. Just because a shelf looks solid does not mean it can hold heavy books or kitchen appliances. Always check manufacturer guidelines before loading it up.
Another mistake is skipping the level. Even if a shelf looks straight to your eye, small misalignments become obvious over time.
Finally, some people rely only on drywall anchors when they could have used studs. Studs provide much stronger support. Whenever possible, anchor into solid wood framing.
Avoiding these mistakes will help you install floating shelves with confidence.

How Much Weight Can Floating Shelves Hold
Weight capacity depends on the bracket system and how securely you mount it. Shelves anchored into studs can often support 40 to 100 pounds or more, depending on design. Shelves mounted only with drywall anchors typically support less weight.
If you plan to store heavy objects, choose thick solid wood shelves and heavy-duty metal brackets. Always follow product guidelines.
Understanding weight limits gives you peace of mind when you install floating shelves. You will know exactly what they can handle instead of guessing.
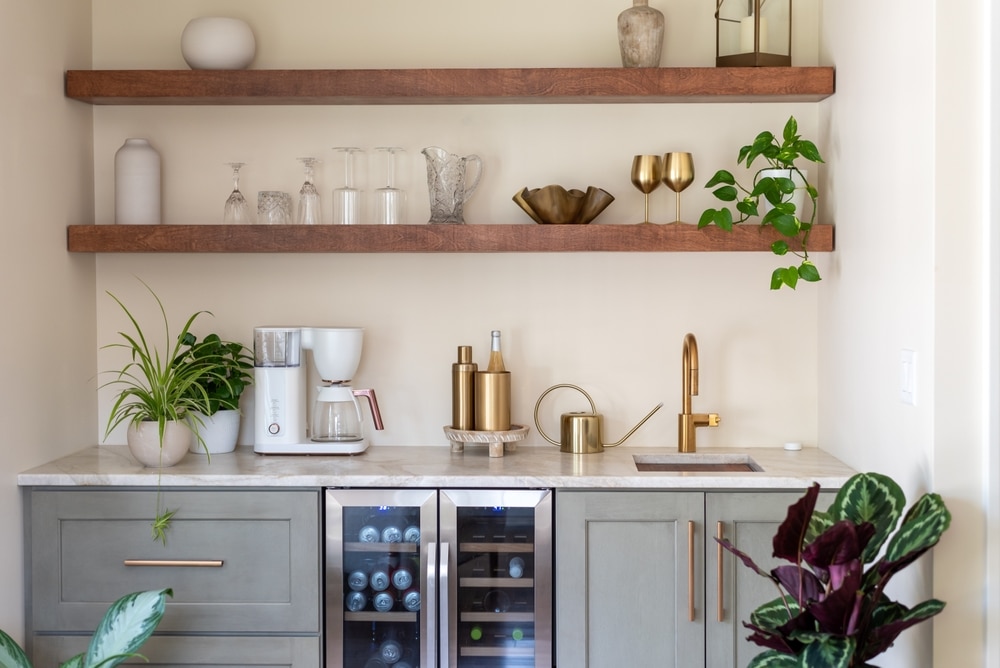
Styling Your Floating Shelves
After you install floating shelves, the fun part begins. Styling is about balance. Mix vertical and horizontal items. Stack books and place a small plant on top. Add framed photos or decorative objects.
Avoid overcrowding. Floating shelves look best when they have breathing room. Negative space makes the design feel intentional.
In kitchens, combine practical and decorative items. In living rooms, mix personal pieces with neutral decor. Because you took the time to install floating shelves properly, you can confidently display items without worrying about stability.
Maintaining and Checking Your Shelves
Even after you install floating shelves successfully, occasional maintenance is smart. Every few months, check for any loosening screws or slight sagging. Tighten hardware if needed.
Humidity can affect wooden shelves, especially in bathrooms or kitchens. Make sure shelves remain level over time.
Regular checks take only minutes but prevent long-term problems. Once you install floating shelves securely, they usually require very little maintenance.
Building Confidence with DIY Projects
Learning to install floating shelves is more than just a home improvement task. It builds practical confidence. Many people avoid DIY projects because they seem complicated. In reality, most projects are manageable when broken into steps.
The first time you install floating shelves may feel slow. The second time will be much easier. With each project, your comfort with tools and measurements grows. Floating shelves are a perfect beginner project because they combine function, style, and skill-building in one manageable task.
Floating shelves might look intimidating at first glance, but they are absolutely within reach for beginners. When you take time to plan, measure carefully, and use the right tools, you can install floating shelves safely and securely. Understanding how brackets work, choosing strong anchor points, and avoiding common mistakes removes most of the stress. Once installed, floating shelves offer practical storage and modern style in almost any room of your home. With patience and preparation, you can install floating shelves without the drama and enjoy the satisfaction of a clean, polished upgrade that you completed yourself.
Do you want more amazing tips for DIY Projects in your home? Then visit our DIY Projects page right here