Grout has a talent for making an otherwise clean bathroom look neglected. Your tiles might shine, your sink might sparkle, and your mirror may be streak-free — but those dark, dingy grout lines quietly ruin the effect. If you’ve ever tried to clean bathroom grout with a toothbrush and a strong cleaner, you already know how exhausting it can be. You bend down, you scrub furiously, your arm starts burning, and somehow the grout still looks gray instead of fresh.
Here’s the truth most people don’t realize: scrubbing harder is not the solution. In fact, the more aggressively you attack grout, the more you risk damaging it. The real secret to clean bathroom grout without scrubbing for hours is strategy. When you understand why grout gets dirty and how to loosen buildup properly, you can let chemistry and time do most of the work. That means less effort, better results, and grout that actually stays cleaner longer.
Why Grout Gets So Dirty So Fast
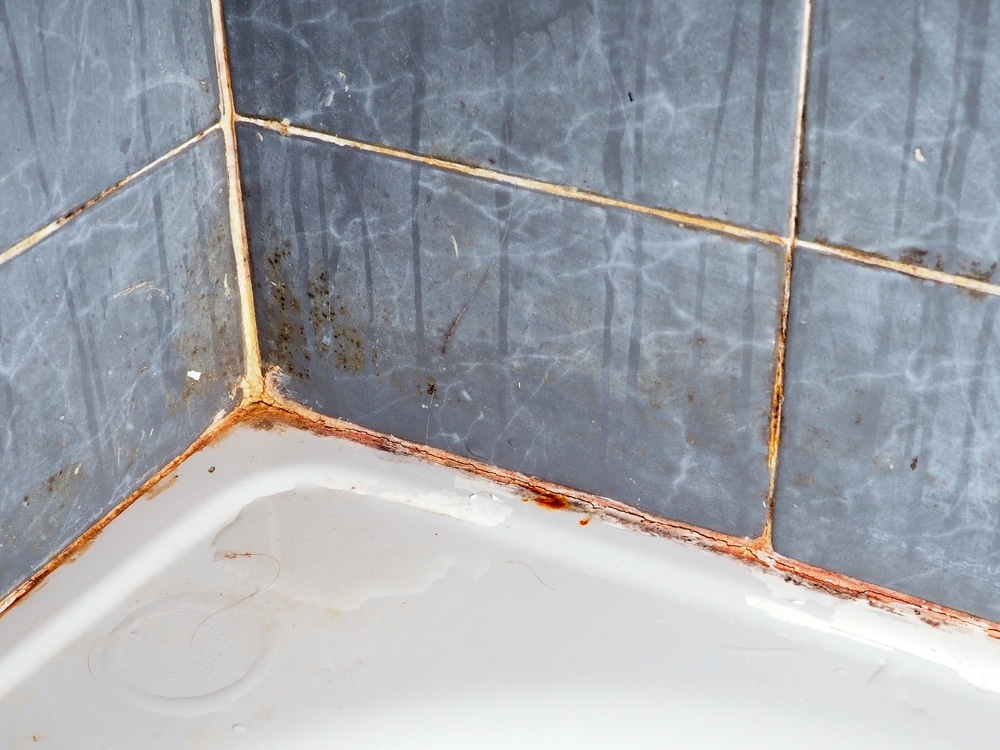
Before you fix the problem, it helps to understand it. Grout is porous by nature. Unlike glazed tiles, which have a smooth, sealed surface, grout contains tiny holes that absorb moisture and residue. Every shower leaves behind soap scum. Hard water deposits minerals. Shampoo and conditioner create buildup. Body oils settle into the lines. Over time, all of that seeps into the grout.
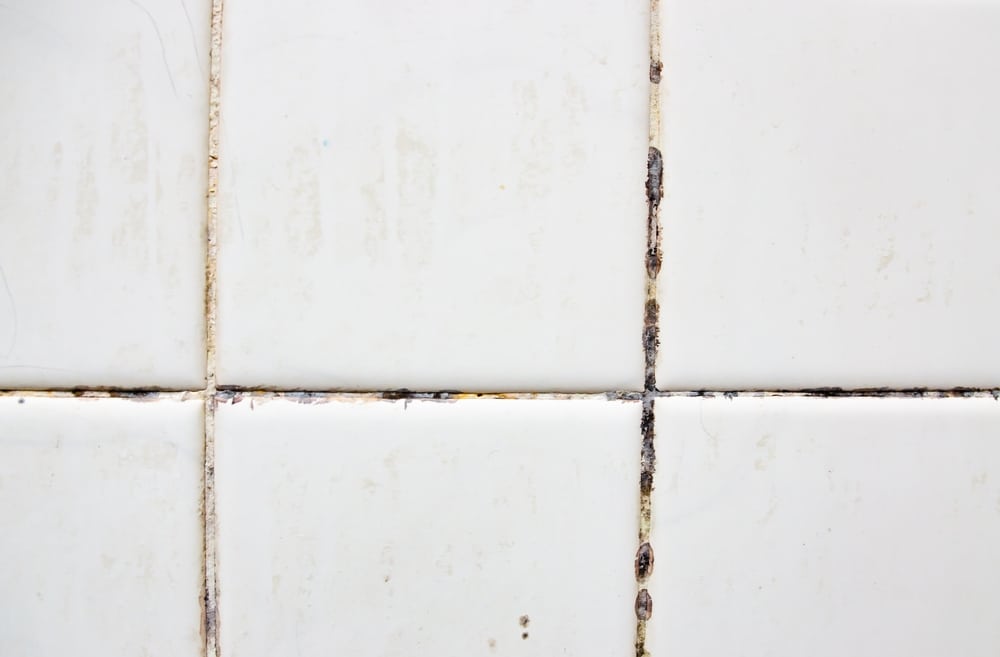
Bathrooms also create the perfect environment for mold and mildew. Warmth, moisture, and limited airflow allow spores to grow quickly. Even if you clean your tiles regularly, the grout can slowly darken beneath the surface. That’s why surface wiping rarely restores grout to its original color.
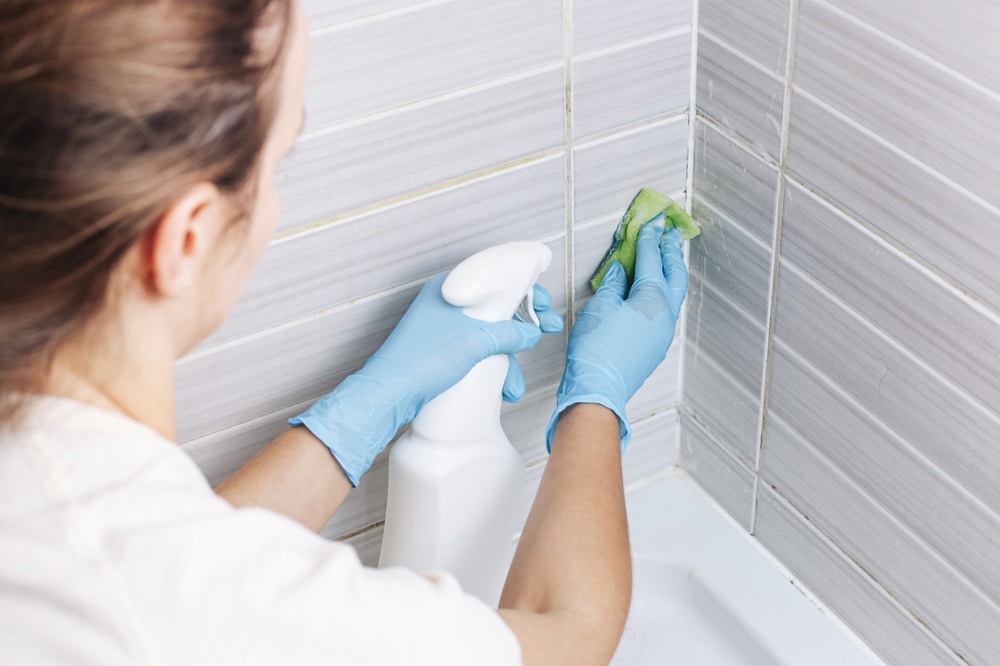
Another common mistake is using the wrong technique. Many people spray a cleaner and immediately start scrubbing. But most cleaning agents need time to penetrate and break down grime. Without that waiting period, you’re simply pushing dirt around and exhausting yourself. If you want to clean bathroom grout effectively, patience matters more than pressure.
Understanding this changes everything. Instead of scrubbing first, you apply a solution, allow it to work, and then use minimal agitation to lift what has already been loosened.
Clean Bathroom Grout Without Scrubbing for Hours
If your goal is to clean bathroom grout without turning it into an arm workout, focus on methods that rely on soaking and chemical reaction rather than brute force. The following approaches reduce scrubbing dramatically while delivering noticeably better results.
One of the most reliable methods combines baking soda and hydrogen peroxide. Baking soda acts as a gentle abrasive and deodorizer, while hydrogen peroxide helps break down stains and kill mold. To create the mixture, combine baking soda with enough hydrogen peroxide to form a thick paste. It should stick to vertical grout lines without dripping.
Spread the paste generously over the grout and make sure it fully covers stained areas. Now resist the urge to scrub immediately. Let the mixture sit for at least 15 to 30 minutes. During this time, the peroxide works its way into the porous grout, loosening embedded dirt and discoloration. When you return, use a soft brush or an old toothbrush and apply light pressure. You’ll notice that the grime lifts easily because it has already been softened. Rinse with warm water and wipe clean. In many cases, this method allows you to clean bathroom grout with only minimal scrubbing.
Another powerful option is steam cleaning. A handheld steam cleaner directs concentrated heat into grout lines, breaking apart grime and killing bacteria simultaneously. The heat penetrates deep into the porous material, loosening buildup that ordinary sprays cannot reach. Move the steam nozzle slowly along each grout line and allow the heat to do the work. After steaming, wipe the area with a cloth. You may need a quick, gentle brush over stubborn spots, but compared to traditional scrubbing, the effort is minimal. Steam cleaning is especially effective for mold and mildew in shower areas.
For larger surfaces like bathroom floors, oxygen bleach can be a game changer. Unlike chlorine bleach, oxygen bleach works by releasing oxygen ions that lift stains from porous surfaces. Mix the powder with warm water according to package directions and apply it generously over the grout lines. Let it soak for at least 30 minutes. The longer it sits, the more it penetrates and loosens discoloration. After soaking, a light scrub and rinse usually reveal significantly brighter grout. This method is ideal if you need to clean bathroom grout across a wide area without spending hours on your hands and knees.
For ongoing maintenance, a simple vinegar spray can help prevent heavy buildup. Mix equal parts white vinegar and water in a spray bottle and apply it to grout lines once or twice a week. Let it sit for about 10 minutes before wiping. This prevents soap scum and mineral deposits from accumulating deeply in the grout. While vinegar alone may not restore severely stained grout, it is highly effective at keeping already cleaned grout looking fresh.
The Biggest Mistakes People Make When Cleaning Grout
Even with the right tools, certain habits can make the job harder and less effective. One common mistake is relying solely on chlorine bleach. While bleach may temporarily whiten grout, it does not always remove the underlying dirt. In some cases, it can even weaken grout over time. Bleach also fails to penetrate deeply into porous material, meaning stains may quickly return.
Another mistake is scrubbing too aggressively with stiff or metal brushes. Excessive force can erode grout, making it more porous and more likely to absorb dirt in the future. Over time, this creates a cycle where grout becomes harder to maintain because it has been damaged.
Some people also mix cleaning products without realizing the risks. Combining vinegar with bleach, for example, creates toxic fumes. Always use one product at a time and rinse thoroughly before switching solutions.
Finally, skipping the waiting period is a major error. If you spray and scrub immediately, you’re missing the most important step. When you allow a cleaner to sit, it dissolves buildup so you don’t have to rely on muscle alone. If your goal is to clean bathroom grout efficiently, patience truly pays off.
How to Keep Bathroom Grout Clean Longer
Once you’ve restored your grout, the next priority is preventing heavy buildup from returning. Maintenance makes future cleaning dramatically easier and eliminates the need for deep scrubbing sessions.
One of the most effective preventive measures is sealing your grout. Grout sealers create a protective barrier that reduces absorption. When sealed properly, grout is far less likely to trap soap scum, moisture, and bacteria. Most bathrooms benefit from resealing once a year.
Ventilation also plays a major role. After showers, leave the bathroom fan running for at least 20 minutes or open a window if possible. Reducing humidity limits mold growth and helps grout dry faster.
Using a squeegee after each shower can also prevent mineral deposits from settling into grout lines. It takes less than a minute but dramatically reduces buildup over time.
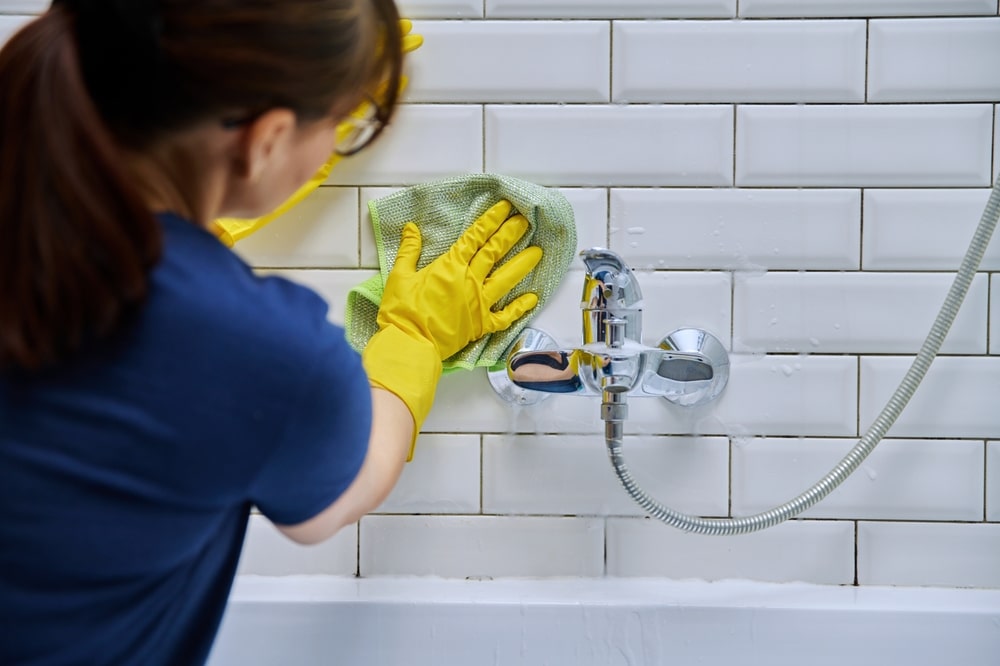
Weekly light cleaning is another key habit. A gentle spray with a pH-neutral cleaner or diluted vinegar solution keeps grime from penetrating deeply. When you maintain grout consistently, you rarely need to clean bathroom grout with heavy-duty methods.
Even switching to liquid body wash instead of bar soap can help. Bar soap tends to leave more residue behind, contributing to soap scum accumulation. Small changes like this can make a noticeable difference.
When It’s Time to Re-Grout Instead of Cleaning
Sometimes, no matter how well you clean, grout simply doesn’t bounce back. If grout is crumbling, cracking, or permanently stained despite multiple treatments, it may be time to consider re-grouting.
Grout that flakes or falls out when brushed has likely deteriorated beyond simple cleaning. Persistent mold that returns immediately after treatment may indicate moisture trapped beneath tiles. In these cases, cleaning is only a temporary fix.
Re-grouting can sound intimidating, but in small areas it is manageable for many homeowners. Removing old grout and replacing it not only improves appearance but also strengthens the integrity of your tile installation. Once new grout is sealed properly, maintenance becomes much easier.
Knowing when to stop trying to clean bathroom grout and instead replace it can save you time and frustration. If repeated cleaning efforts yield minimal improvement, structural wear may be the real issue.
A Smarter Approach Means Less Effort
The idea that grout requires endless scrubbing is outdated. The smarter way to clean bathroom grout focuses on softening and lifting stains rather than attacking them with force. Whether you use baking soda and hydrogen peroxide, steam cleaning, oxygen bleach, or consistent maintenance sprays, the principle remains the same: apply, wait, and gently agitate.
When you shift from aggressive scrubbing to strategic soaking, the difference is immediate. Cleaning becomes faster. Your grout looks brighter. And your arms don’t feel like you just finished a workout.
Grout may be porous and prone to discoloration, but it doesn’t have to be a permanent eyesore. With the right approach, you can restore it without spending hours on your hands and knees. Once you experience how easy it is to clean bathroom grout the right way, you’ll never go back to scrubbing endlessly again.