Building a functional home project in a single afternoon sounds almost too good to be true, but crafting your own entryway solution can actually be that simple. A DIY entryway organizer offers a practical way to transform clutter into order without requiring advanced woodworking skills. In just a few hours, you can create something that looks great, solves a real problem, and gives you the satisfaction of building it yourself. In this guide, we’ll walk through the steps, the tools, and the common pitfalls so you can enjoy a calm, clutter-free space the moment you walk through the door.
Why Build Your Own Entryway Organizer?
Most of us dream of that blissful moment when we come home and everything has a place: keys, jackets, shoes, mail, bags, and the random items that somehow collect near the door. Mentioning a DIY entryway organizer often makes people think of complicated shelves and carpentry, but the truth is much simpler. Creating your own allows you to customize every detail, from the dimensions to the style, ensuring it fits your lifestyle and your space.
Another benefit of designing your own DIY entryway organizer is the cost. Store-bought units can be expensive, especially those made of solid wood or designed with trendy finishes. Building it yourself means high quality at a low price, and you get to control the materials.
Tools and Materials for a Successful Build
Before diving into the construction process, gathering supplies is essential. With even basic tools, you can create a surprisingly sturdy and attractive piece. While the design can vary, most builds only require a few items: wood boards, screws, a drill, sandpaper, hooks, wood glue, and paint or stain if you want a finished look. As you plan, think about how your DIY entryway organizer will be used every day.
Choosing durable materials ensures your DIY entryway organizer holds up to backpacks, jackets, and daily wear. Opting for real wood rather than particleboard will increase longevity and make the piece look more polished. Even if you only have a handsaw instead of a power saw, you can still create clean cuts with a bit of patience. This should feel like an achievable project, not an intimidating one.
Planning the Design of Your DIY entryway organizer
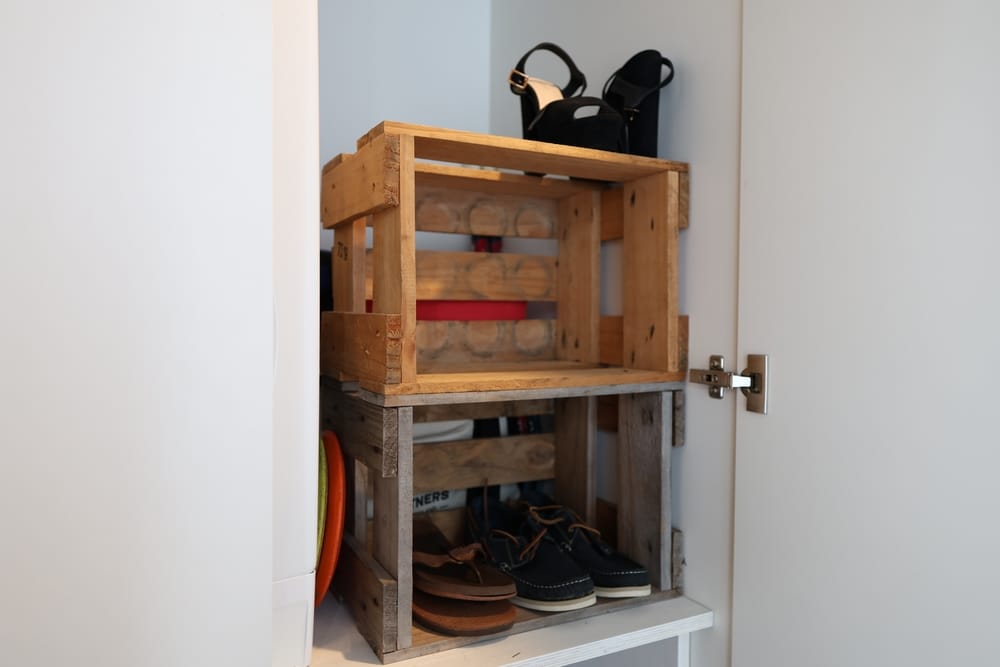
The best builds start with a plan, even if it’s just a quick drawing on paper. Sketch the organizer’s shape, including the frame, shelves, and hook placement. Since this is a DIY entryway organizer, you can tailor it to your exact needs—perhaps you want a deep shelf for shoes, or maybe a small cubby for keys and sunglasses. Planning ahead prevents mistakes later and saves time during assembly.
As you map out the dimensions, think about how your DIY entryway organizer will interact with your space. If you have a narrow hallway, a slim vertical design works well. If you live in a busy household, consider adding multiple rows of hooks or compartments. Making these decisions early ensures the final product looks intentional rather than improvised. And with a bit of thought, you can make it both attractive and incredibly functional.
The design stage also encourages you to look at inspiration photos or visit hardware stores for ideas. Sometimes seeing different materials or colors sparks creativity. Your organizer doesn’t need to be complex—simple lines and balanced proportions often look the most modern. Remember, the goal is a practical piece you can build in an afternoon, not a project that requires weeks of effort.
Cutting and Assembling the Frame
Once your layout is complete, it’s time to bring it to life. Start by cutting the boards according to your measurements. Precision matters, but small imperfections can usually be fixed with sanding. Lay out the cut pieces on the floor before connecting them to ensure everything matches your plan. Building the frame is where your DIY entryway organizer starts to take shape, making this step particularly satisfying.
With the frame assembled, reinforce the structure using screws and wood glue. This combination gives both strength and durability. Over time, items like heavy coats or large bags can put stress on the joints, so securing everything properly is important for longevity. By taking your time here, you ensure your DIY entryway organizer remains sturdy for years to come.
Adding Hooks, Baskets, and Finishing Touches
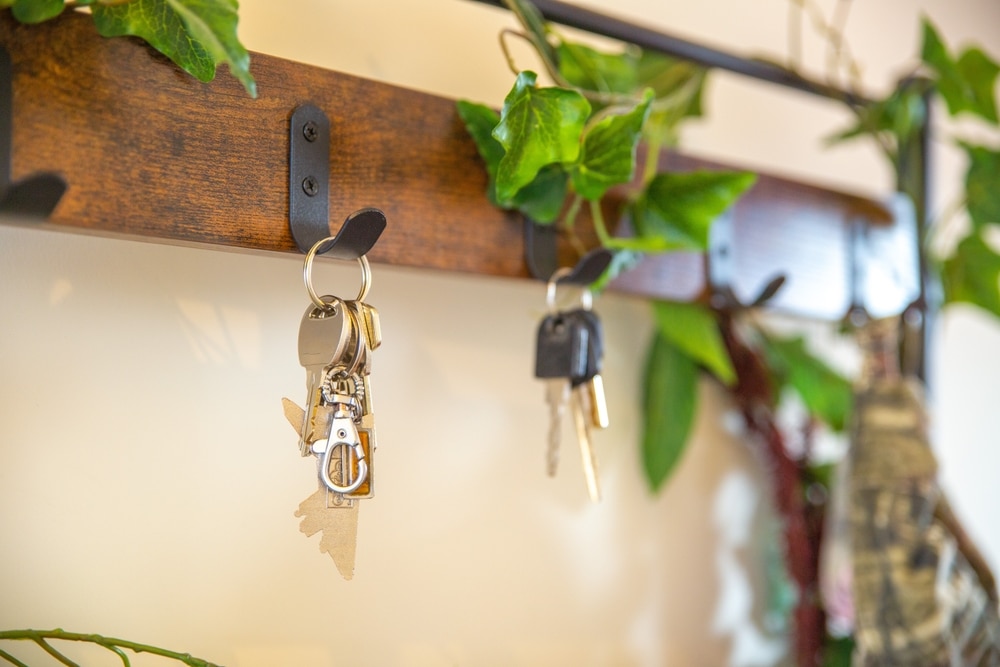
Now comes the stage where your project really begins to feel personalized. Hooks can be added for jackets, dog leashes, and tote bags. A simple basket provides a catch-all spot for mail or gloves. Choose colors and materials that complement your home decor. Whether you prefer black metal hooks, rustic rope baskets, or sleek modern lines, these details elevate the overall look of your organizer.
A good DIY entryway organizer balances style and practical use. You can paint or stain the wood depending on whether you want a bold statement or a subtle finish. Sanding the surface beforehand makes the paint adhere better and reduces rough edges. Adding protective sealant helps it withstand everyday wear. With the finishing touches complete, your DIY entryway organizer should look polished and functional.
Common Mistakes and How to Avoid Them
Even a straightforward project has potential pitfalls, but knowing them ahead of time saves frustration. One common issue is miscalculating the dimensions, which can lead to crooked shelves or gaps between boards. Double-check all your measurements before cutting. Another mistake is forgetting to pre-drill holes—this avoids splitting the wood and keeps everything aligned. Many beginners also rush through finishing, but taking an extra few minutes to smooth the edges makes a huge difference in appearance.
When assembling your DIY entryway organizer, be sure to test weight distribution. Hang a few heavy items on the hooks before fully installing it on the wall, ensuring it can handle everyday use. Thinking ahead prevents future repairs and ensures the organizer remains both beautiful and practical.
By the time you complete this project, you’ll not only have solved an everyday household challenge but also built something with your own hands. A DIY entryway organizer proves that functional furniture doesn’t need to be complicated or expensive. Instead, it can reflect your personal style, your home’s needs, and your creativity. In one afternoon, you can transform the busiest spot of your home into a tidy and welcoming space.
When you walk through the door and see everything in its place, you’ll be glad you invested the time. A second DIY entryway organizer might even be in your future—after all, once you see how easy it is, you may want one for another room. Enjoy the satisfaction that comes from building something useful and stylish, and let this project inspire more small improvements throughout your home.
Are you not done yet? Do you want to learn other ways to improve your DIY skills? Then visit our DIY Projects category page.
