Creating a homemade all-purpose cleanser is one of the easiest and cheapest ways to keep your home clean, and it starts with a simple ingredient you probably already have in your kitchen cabinet. In this guide, you’ll learn how to craft a reliable DIY vinegar cleaner that actually works, why vinegar has been a cleaning staple for generations, and how to use it safely and effectively around the house. This method is straightforward, affordable, and based entirely on well-established cleaning science, making it a trustworthy approach to greener cleaning habits.
The Science Behind Using Vinegar for Cleaning
Vinegar’s cleaning power isn’t magic; it comes down to its natural acidity. Most household vinegar contains around 5 percent acetic acid, a concentration strong enough to break down mineral deposits, soap scum, and some types of grime. While vinegar isn’t a disinfectant strong enough to kill every microorganism, it does reduce certain bacteria and is great for everyday maintenance cleaning. When people use a DIY vinegar cleaner, they’re taking advantage of this acidity to dissolve buildup, neutralize odors, and give surfaces a streak-free finish.
Acetic acid also helps loosen dirt by disrupting the chemical bonds that hold particles together. This is why vinegar is effective on hard water stains, window streaks, and dried-on residues in the kitchen. Just remember that vinegar works best on non-porous surfaces, and its effectiveness depends on the type of mess you’re dealing with.
Why a DIY vinegar cleaner Works
A DIY vinegar cleaner relies on the same principles as many mainstream natural cleaning products. Instead of synthetic fragrances or surfactants, vinegar offers a straightforward cleansing action: dissolve, deodorize, and rinse. Since it’s both biodegradable and readily available, it’s also kinder to the environment and your wallet. The transparency of what goes into the mixture is one of its biggest advantages. You know exactly what you’re spraying around your home.
Surprisingly, vinegar’s deodorizing effect is one of its most appealing traits. The sharp vinegar smell evaporates as it dries, taking unwanted odors with it. This makes it especially helpful for refrigerators, microwaves, and garbage bins. And when combined with other simple ingredients like citrus peels or mild soap, you can boost its grime-cutting performance without compromising safety.
What You Need to Make Your Cleaner
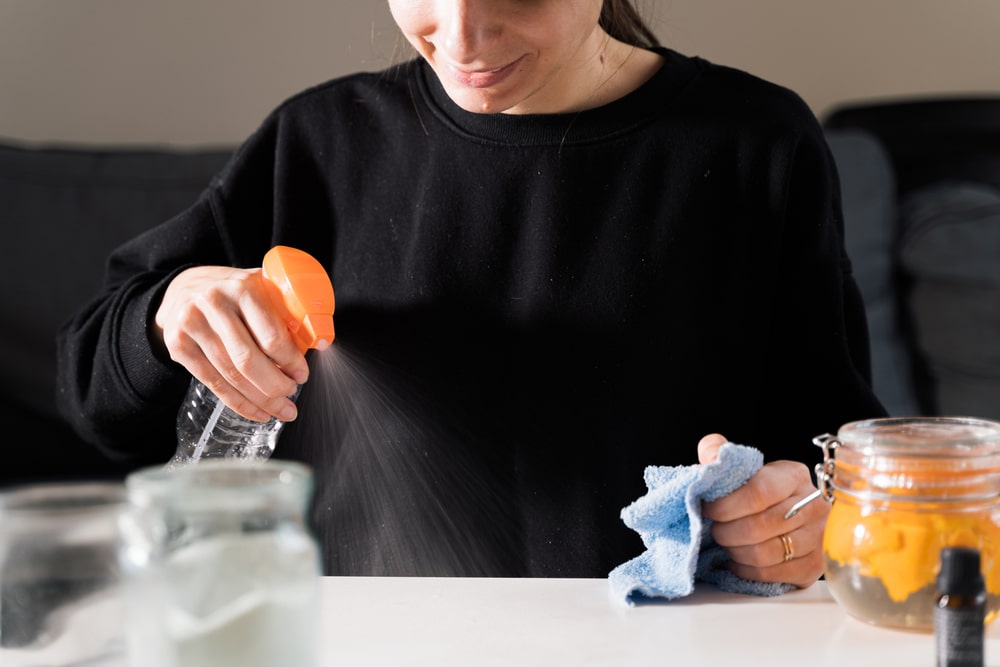
To make your homemade cleaner, you only need a few items: distilled white vinegar, water, and a spray bottle. Optional ingredients include citrus peels, essential oils, or a tiny amount of natural dish soap. The basic recipe calls for a 1:1 mixture of water and vinegar, which keeps the acidity strong enough for effective cleaning while remaining safe for most household surfaces.
This ratio has been tested in kitchens and households for decades. Keeping the formula simple also ensures that your DIY vinegar cleaner won’t react unpredictably with other substances. The goal is consistency, safety, and ease of use.
Step-by-Step: How to Make Your All-Purpose Cleaner
Start by choosing a clean spray bottle, preferably one made of glass, as vinegar can slowly degrade some types of plastic over time. Fill the bottle halfway with distilled white vinegar. Add an equal amount of water, creating the classic 50/50 blend.
If you’d like a pleasant scent, add citrus peels directly to the mixture before letting it infuse for a couple of days. This mild natural infusion softens the vinegar smell but doesn’t affect its cleaning power. Once your mixture is set, you’ve created a fully functional DIY vinegar cleaner without unnecessary chemicals or additives.
Shake the bottle gently before each use to ensure the ingredients stay well mixed. While the mixture is stable, giving it a quick swirl helps maintain consistency. Some people also add a single drop of gentle dish soap to improve grease-cutting ability, but this is optional.
Where Your Cleaner Works Best
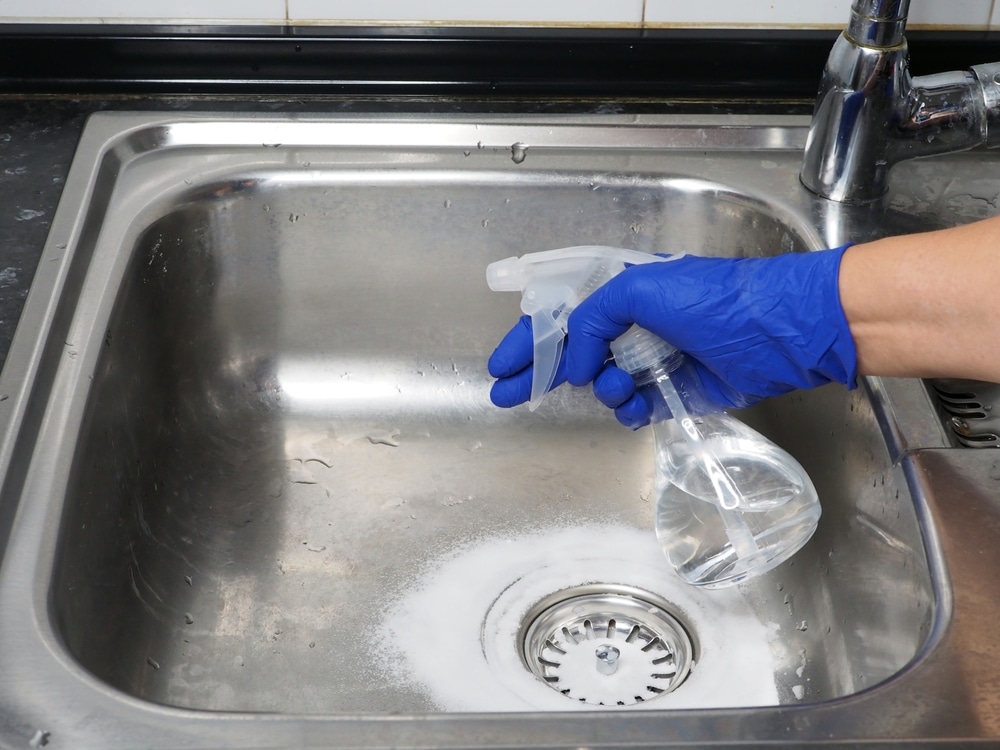
A DIY vinegar cleaner is ideal for kitchens, bathrooms, windows, and other smooth surfaces. On glass, the acidity helps eliminate streaks. On stainless steel, it removes fingerprints and smudges. On counters, it lifts residue left behind from cooking or spills.
One of its biggest strengths is tackling mineral buildup. Hard water leaves calcium and magnesium deposits on faucets, showerheads, and tiles. Vinegar dissolves these mineral layers naturally, returning surfaces to their original shine.
This solution also works well inside microwaves, where dried splatters can be difficult to remove. Vinegar softens the mess, making wiping easier. In the refrigerator, the mild deodorizing effect helps neutralize odors without using artificial scents.

Surfaces You Should Avoid
While incredibly useful, a DIY vinegar cleaner isn’t suitable for every surface. Avoid using it on natural stone like marble, granite, or limestone. The acidity can slowly erode stone surfaces and dull their finish. It’s also not recommended for hardwood floors that are waxed or untreated, as vinegar can degrade the finish over time.
Electronics, screens, and delicate surfaces should also be avoided. These items often have protective coatings that can react poorly to acidic solutions. The key to using vinegar safely is understanding where its strengths lie and where a gentler or more specialized product is necessary.
Enhancing Your Cleaner Naturally
If you’re looking to elevate your cleaning mixture, there are several safe ways to enhance your DIY vinegar cleaner without compromising its simplicity. Adding a few drops of essential oils—like lemon, tea tree, or lavender—can provide a pleasant aroma and add light antimicrobial properties. Citrus peels add a natural fragrance and a subtle boost to cleaning power due to the oils they release.
Another option is adding a small amount of rubbing alcohol to improve drying times on glass and mirrors. This helps prevent streaking and gives a crisp finish. Always make sure to research your additions to avoid combinations that can irritate skin or react poorly with vinegar.
How to Use Your Cleaner in Day-to-Day Life
The beauty of a DIY vinegar cleaner is that it’s versatile and easy to integrate into your cleaning routine. For kitchen counters, simply spray and wipe with a cloth. For windows, spray lightly and use a microfiber cloth for a streak-free shine. In the bathroom, spray on shower walls or faucets, let it sit for a few minutes, then wipe to remove soap scum.
If you’re tackling a stubborn mineral stain, apply the mixture directly and allow it to sit for ten to fifteen minutes. This soaking time gives the vinegar acidity a chance to break down deposits more effectively. Rinsing afterward ensures no residue remains.
For deodorizing garbage bins or lunch boxes, spray the inside, let it air out, and then wipe. Vinegar’s natural odor-neutralizing properties take care of lingering smells quickly and safely.
Storage, Shelf Life, and Safety
Your DIY vinegar cleaner can be stored at room temperature in a tightly sealed bottle. Because vinegar is naturally acidic and self-preserving, the mixture does not spoil easily. Most batches stay effective for months. If you added citrus peels or essential oils, shake gently before each use to maintain a consistent mix.
Keep the bottle away from direct sunlight, which can weaken certain added ingredients like essential oils. Safety-wise, vinegar is mild, but it can still irritate eyes or small cuts, so avoid spraying in those areas. Always label your cleaner so it’s clear what’s inside, especially in households with children or pets.
Crafting your own all-purpose cleaner is straightforward, affordable, and surprisingly satisfying. With only a handful of ingredients, you can create a DIY vinegar cleaner that works well for everyday maintenance, reduces unnecessary chemical exposure, and makes cleaning a little more enjoyable. There’s comfort in knowing exactly what’s in your spray bottle and confidence in using time-tested, science-backed ingredients. Whether you’re cleaning windows, tackling kitchen grime, or freshening up your bathroom, this homemade mixture proves that simple solutions often work the best. Give it a try, adjust it to your preferences, and enjoy a cleaner home powered by nature.
Are you not done yet? Do you want to learn other ways to make your cleaning life easier? Then visit our Cleaning Tricks category page.
