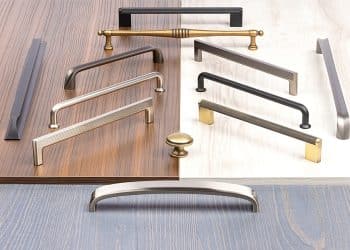


A cabinet upgrade is the furniture equivalent of changing a tired outfit’s accessories. The dresser, bedside table or sideboard stays exactly where it is, but the dated wooden knobs, chipped ceramic handles or shiny faux-chrome pulls disappear. In their place: something cleaner, smarter and much more intentional.
Better still, this makeover can cost around €10 for a small piece of furniture, especially if you buy a multipack, shop clearance bins or reuse vintage hardware. No sanding marathon. No paint fumes. No dismantling the entire cabinet in the garage. In the easiest cases, all you need is a screwdriver and ten minutes.
The trick is choosing hardware that fits both the furniture and its existing holes. Get that part right, and an unremarkable old cabinet can suddenly look like something you hunted down in a very tasteful antique shop.
Why New Hardware Makes Such a Big Difference
Handles and knobs may be small, but they sit at the most visible and frequently touched points on a piece of furniture. Their shape, color and finish quietly tell you whether an item feels traditional, modern, rustic or unmistakably stuck in another decade.
A plain pine chest with round wooden knobs can look basic. Add slim black pulls and it feels sharper. Put aged-brass knobs on the same chest and it leans warmer and more traditional. Soft cream ceramic knobs can make it feel cottage-like, while simple brushed-metal handles create a cleaner, more contemporary result.
Hardware also reveals wear quickly. Loose knobs, flaking finishes and discolored backplates can make an otherwise solid piece seem more tired than it really is. Replacing them removes those obvious signs of age without hiding the wood, veneer or painted finish underneath.
However, new hardware will not solve structural problems. A sagging drawer, damaged veneer or loose cabinet joint still needs a proper repair. Think of this swap as a visual refresh, not furniture rehabilitation in disguise.
Start by Studying the Existing Hardware
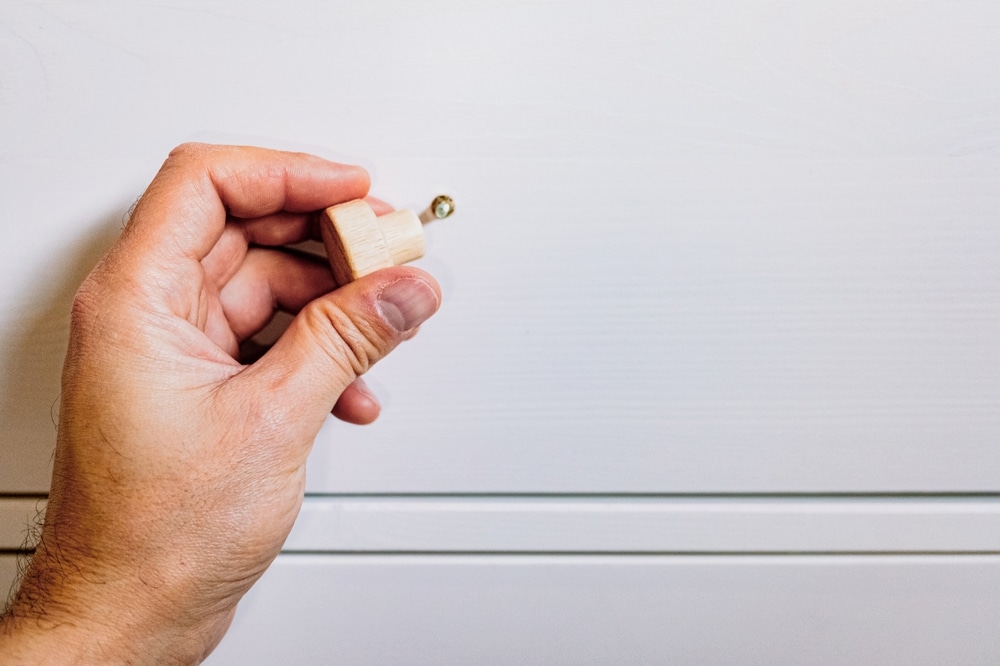
Resist the urge to buy the first attractive pack of handles you see. Remove one old piece first and inspect what is underneath.
Most knobs use a single screw that passes through the drawer or door. Handles and pulls usually use two. With a two-screw handle, the crucial measurement is the distance between the centers of the two holes, commonly described as the “center-to-center” measurement.
Do not measure the total length of the handle. A 140 mm pull might have mounting holes spaced 96 mm apart, 128 mm apart or at some less convenient distance. Measure from the middle of one screw hole to the middle of the other, preferably in millimeters.
Next, check the following:
- How thick is the drawer front or cabinet door?
- Are there faded marks or indentations around the old hardware?
- Is the existing hole clean, enlarged or damaged?
- Does the handle have one screw or two?
- Are all the handles actually spaced the same way?
Older and handmade furniture can contain small inconsistencies. Measuring several drawers is safer than assuming they are identical.
Place the old screw somewhere secure while you shop. Taking the handle and screw with you is even better. You can compare the mounting points, screw diameter and thread directly instead of trying to remember them beside a wall of nearly identical hardware.
The Simplest Route: Match the Existing Holes
If you want this project to remain quick and genuinely inexpensive, choose replacement hardware that uses the holes already in the furniture.
For a single-hole knob, that is easy: almost any new knob will work if its screw fits and the base covers the old mark. A two-hole handle requires an exact center-to-center match. Even a small mismatch matters; forcing the screws at an angle can damage the threads, enlarge the holes or leave the handle sitting crooked.
Matching the existing spacing saves you from drilling, filling and refinishing. It is especially useful on veneered, laminated or glossy furniture, where a patched hole can be difficult to disguise.
Watch the size of the new hardware’s base too. Years of use may have left a dark outline, compressed finish or small scratches beneath the old handle. A new pull with narrow attachment points might expose all of it. Choose a handle with wider bases or add a compatible backplate to cover the marks neatly.
Backplates are particularly handy when replacing ornate vintage pulls. Rather than pretending the old footprint never existed, they cover it and make the larger shape look deliberate.
How to Choose a Style That Looks Intentional
The best hardware does not have to match the furniture’s original era, but it should share something with the piece: its proportions, visual weight, color or overall mood.
Chunky furniture generally suits hardware with some presence. Tiny knobs can look lost on broad drawers, while oversized cup pulls may overwhelm a narrow bedside table. Before buying a full set, hold one option against the furniture and step back. A handle that looks modest in your hand can look enormous on a small drawer.
Finish matters just as much as shape. Matte black creates strong contrast against pale wood and painted furniture, although it shows dust and fingerprints more readily than some softer finishes. Brushed brass adds warmth without the mirror-like shine of polished brass. Nickel and stainless-steel tones feel crisp and practical, while bronze and darkened brass sit comfortably on older wood furniture.
You do not need to match every metal finish in the room. A dresser handle does not have to be identical to the curtain rod, lamp and door hinge. Repeating the finish once or twice nearby is usually enough to make it feel connected.
For a mixed set of secondhand knobs, create one rule that holds everything together. Use different shapes in the same color, for example, or repeat two designs in a balanced pattern. Completely random hardware can be playful, but it can also make the furniture look unfinished.
Can You Really Do It for €10?
For a bedside cabinet, small chest or cupboard with two to four knobs, yes. Budget shops, DIY stores, online multipacks, flea markets and architectural salvage bins can all produce options within that range.
A large sideboard with eight pulls is less likely to fit a strict €10 budget unless you find a discounted multipack. The headline price works best for a small item or a targeted swap rather than an entire kitchen.
Count every handle before buying. Multipacks can look cheaper until you discover that you need one more piece and must purchase a second pack. Also check whether screws are included. Buying separate machine screws can erase part of the saving.
Secondhand hardware offers more character for the money, but inspect it carefully. Confirm that every piece has compatible mounting points and that none is cracked, sharply corroded or missing a threaded post. Patina is attractive; hardware that cannot be securely attached is not.
Sometimes the cheapest upgrade is already on the furniture. If the original metal handles have a good shape but look grimy, remove and clean one before replacing the entire set. Start gently, especially with plated hardware. Abrasive products can wear through a thin decorative coating. This guide to cleaning brass and identifying solid versus plated pieces explains why the distinction matters.
How to Swap the Hardware
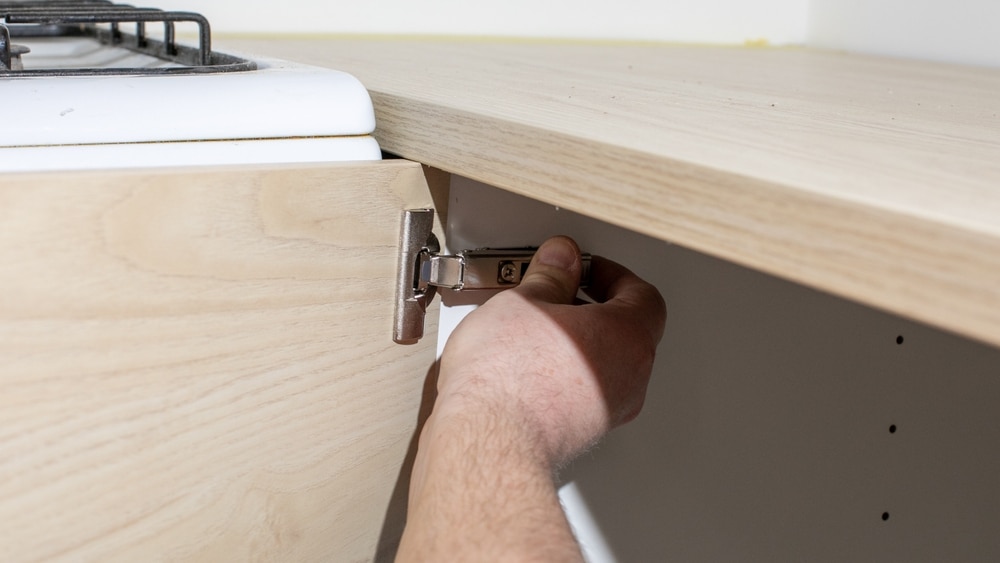
For a direct replacement, gather a screwdriver, tape measure, soft cloth and a small container for the old screws. A manual screwdriver gives you more control than a drill and reduces the chance of stripping a screw or overtightening the new hardware.
1. Remove the old handle
Open the drawer or door and support the handle with one hand. Loosen the screw from the inside with the other. Supporting the hardware keeps it from spinning against the surface and causing scratches.
If a screw refuses to move, use the correct screwdriver head and apply steady pressure. Do not keep turning a driver that is slipping, as that can strip the head.
2. Clean the hidden area
Dust and grime often collect behind knobs and backplates. Wipe the exposed area with a slightly damp cloth and a cleaner that is safe for the furniture’s finish. Avoid soaking unfinished wood, veneer edges or particleboard.
If the old hardware has left a compressed outline, cleaning may improve it but will not necessarily remove it. This is the moment to confirm that the new base covers the mark.
3. Test one replacement
Install a single knob or pull before opening the rest of the packaging. Insert the screw from inside the drawer or door, then thread it into the hardware by hand.
Check that the handle sits flat, feels comfortable and covers the old holes. Open the drawer several times. Make sure your fingers fit behind the pull and that no sharp corners catch against the neighboring door.
4. Install the remaining pieces
Once the test handle works, replace the rest. Tighten each screw until the hardware is secure, then stop. Overtightening can dent wood, crack a ceramic knob or damage a cabinet front. The step-by-step instructions in The Home Depot’s cabinet-handle installation guide also note that different screw lengths may be needed for thicker doors and drawer fronts.
Keep the old hardware and screws in a labeled bag. You may want to restore the furniture later, and renters can reverse an upgrade made to a landlord-owned cabinet.
What If the New Handles Do Not Fit?
You can still change the hole spacing, but the project stops being a simple screwdriver swap.
Old holes must be filled with suitable wood filler, allowed to dry and then sanded level. On painted furniture, the repair can usually be primed and touched up. On clear-finished wood, matching the surrounding color and grain is much harder. A visible filler dot may look worse than the old handle did.
New holes must be measured carefully. A hardware template keeps their position consistent from one drawer to the next. IKEA’s explanation of using a drill template for knobs and handles shows the basic method: mark the center, select the correct template holes and repeat that placement across the fronts.
If you drill, remove the drawer where practical or open the door so you cannot accidentally drill into the cabinet behind it. Use the bit size specified for the supplied screw and test the setup on scrap wood first.
Be cautious with very old painted furniture. Drilling is usually limited, but filling and sanding old finishes can create dust. If there is a possibility that a coating contains lead, do not dry-sand it casually. The EPA’s lead-safe DIY guidance covers dust control and appropriate precautions.
Small Problems That Can Spoil the Result
A spinning knob usually means either the screw is not tight enough or the screw is too long to clamp the knob against the furniture. A small washer inside the drawer may take up a little excess length, but a correctly sized screw is the tidier solution.
If the screw is too short, do not force the threads to catch. Measure the combined thickness of the door and any recessed area, then buy a compatible longer screw.
An enlarged wooden hole may prevent a single-screw knob from staying straight. A washer can distribute pressure on the inside, but badly damaged material needs repair before the handle can be securely mounted.
Finally, avoid treating decorative hardware like a structural handle. Delicate glass, ceramic and resin knobs can work beautifully on small drawers, but they may not suit a heavy drawer packed with cookware or tools.
Give Old Furniture a New Focal Point
The €10 trick is simple: replace the part your eyes and hands notice first. A well-chosen cabinet hardware upgrade can make an old dresser, side table or cupboard look cleaner and more considered without covering its character under paint.
Measure the existing holes, choose hardware with the right proportions, test one piece and tighten it gently. When the new fittings reuse the old mounting points, this really can be a fast, low-cost makeover—one that makes familiar furniture feel surprisingly new.