
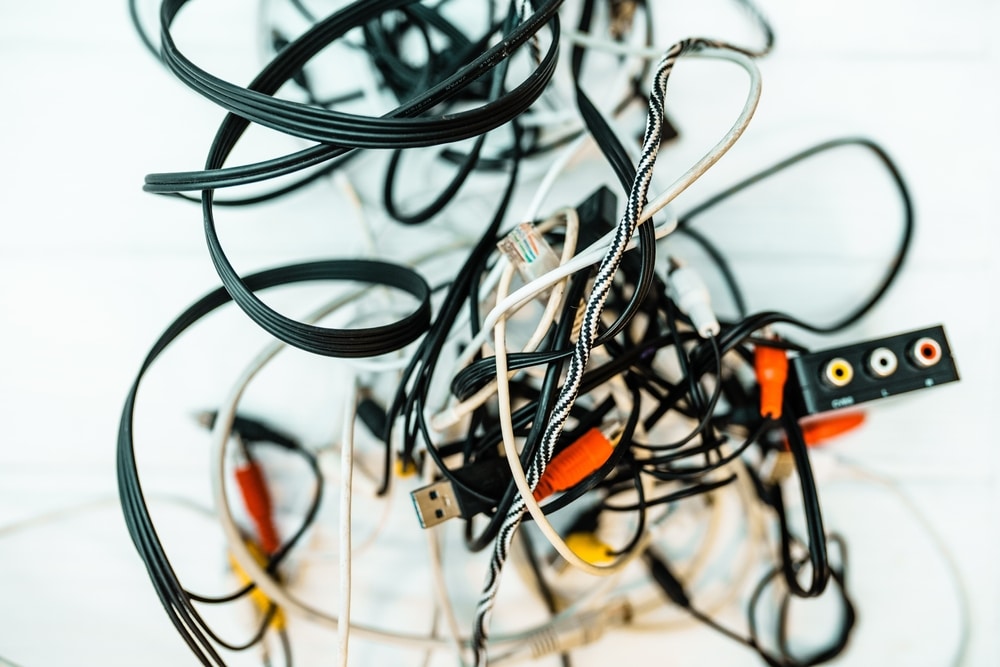
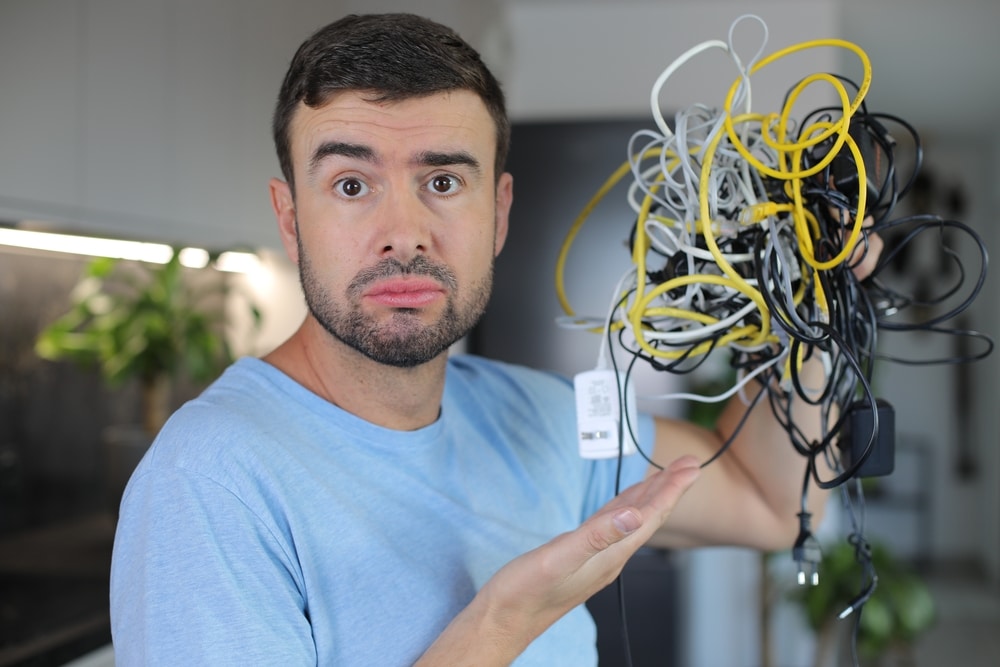
Organize cables and cords the right way: Cable organization ideas do more than make a room look tidy. They stop charging leads from disappearing, keep plugs within reach and prevent the usual knot of wires from reforming three days later.
The trick is to give every cable a clear job, route and resting place. You do not need an expensive “smart” desk or a drawer full of matching organizers. A few reusable ties, clips and labels can tame almost any cable mess—provided you organize around how the cords are actually used.
Start by Unplugging and Sorting Everything
Trying to organize cables while they are still connected is like attempting to untangle spaghetti with one end glued to the plate. Before buying organizers, disconnect what you safely can and spread the cords out where you can see them.
Sort them into four groups:
- Cables used every day
- Cables used occasionally
- Spares worth keeping
- Mystery, damaged or obsolete cables
Match loose chargers with their devices. Check connector shapes, adapter labels and power requirements rather than assuming two similar-looking plugs are interchangeable. If you cannot identify a cord, place it in a temporary “unknown” box with the date. If nothing needs it over the next few months, you can probably let it go.
Inspect each cable as you work. Look for cracked insulation, exposed wiring, scorch marks, loose connectors and sharply bent sections. A damaged power cord is not a candidate for decorative tape and another year of service. The US Consumer Product Safety Commission advises replacing damaged extension cords instead of attempting inadequate repairs such as taping over damaged insulation.
This first edit matters. Organizing 14 useful cables is easy. Organizing 14 useful cables plus 29 unidentified relics from old phones, printers and routers is how people end up buying a larger box for the same problem.
Give Each Cable a Home Based on How Often You Use It
Not every cord belongs in the same drawer. Daily cables should be accessible without needing to open a box, unwind a bundle or crawl behind furniture. Occasional cables can live in labeled storage, while permanent cords should be routed neatly along their journey from device to outlet.
Think in three zones.
Your active zone contains the cables you touch regularly: phone chargers, laptop leads, headphones and camera cables. Keep these beside the place where they are used.
Your installed zone includes cords that stay plugged in, such as those behind a television, monitor or router. These need secure routing and enough slack for maintenance.
Your storage zone holds spares and infrequently used accessories. These should be individually coiled, identified and protected from dust.
This simple division prevents a common mistake: treating every cord as something that needs to be hidden. A phone charger pushed behind a cabinet may look tidy, but it becomes annoying the moment you need it. Good organization makes useful cables easier to reach, not merely harder to see.
Coil Loose Cables Without Creating Tighter Knots
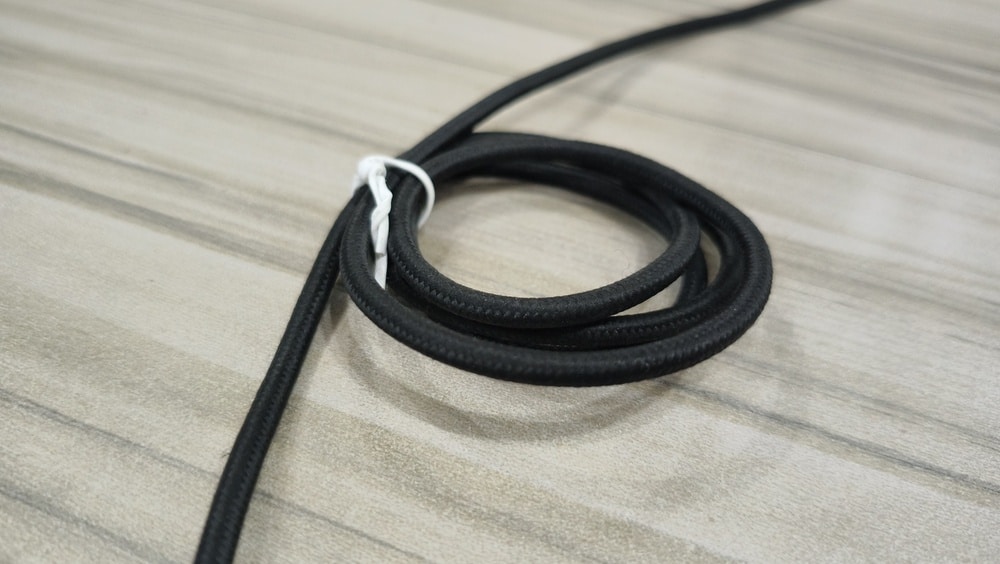
A loose cable should be stored in a relaxed loop, not wound tightly around your hand or cinched into a tiny circle. Tight wrapping places repeated stress near the connectors, which are often the most vulnerable parts.
Create loops that follow the cable’s natural curve. Secure the middle with a reusable hook-and-loop tie, silicone strap or soft twist tie. Avoid rubber bands, which can deteriorate and become sticky, and do not use metal wire that could press into the cable jacket.
Do not wrap a charging cable tightly around its power adapter. It may save a little space, but it forces sharp bends where the cable enters the connector. Apple’s guidance for power adapters and cables recommends holding the connector when unplugging rather than pulling on the cable itself, which can strain the connection and cause breakage. The same gentle treatment should continue in storage.
For short USB and audio cables, one tie in the middle is usually enough. Long extension leads may need two ties so the loop does not collapse into a knot. Store adapters alongside their cables in a pouch or compartment rather than letting heavy plugs swing freely and catch on other items.
Stop Desk Cables From Falling Behind the Furniture
A desk often looks chaotic because its cables have no defined route. One charger drops behind the back edge, another stretches diagonally across the floor and the power strip floats somewhere underneath like a many-legged creature.
Begin at the devices. Decide where the mouse, keyboard, monitor, laptop and phone charger will sit. Then guide each cord toward a shared route along the back or underside of the desk.
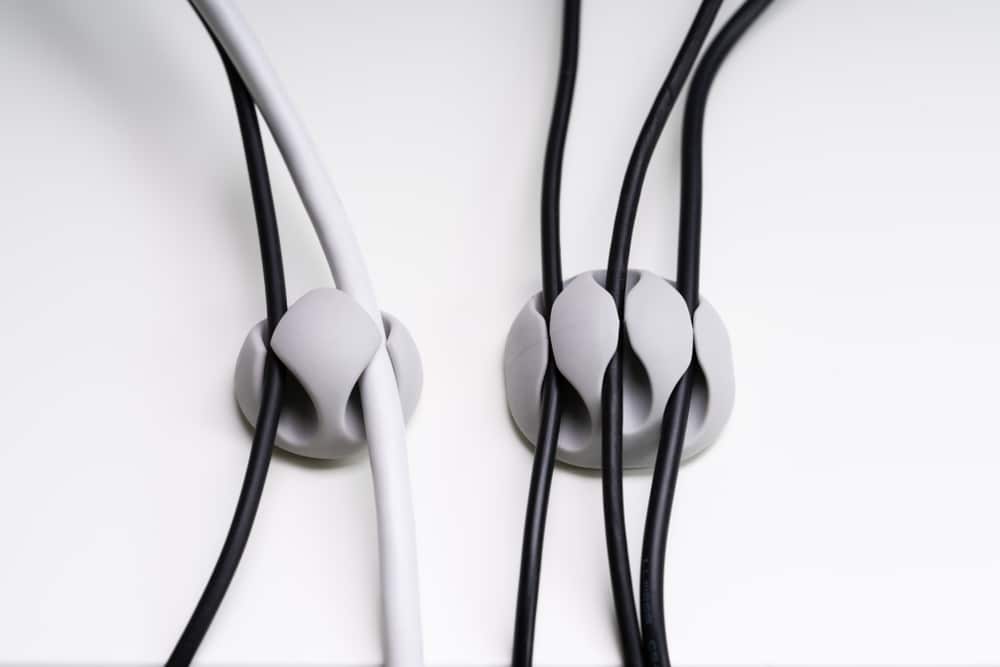
Adhesive cable clips work well for individual leads that need to remain easy to remove. A cable sleeve or flexible wrap is better for a bundle that travels in the same direction. An under-desk tray can hold a power strip and bulky adapters, keeping them off the floor while leaving access to the switches and plugs.
Before using adhesive organizers, clean the surface and let it dry. Check whether the adhesive is suitable for the finish, especially on veneered, painted or delicate furniture. Removable clips can still pull away weak paint or leave residue.
Leave a small service loop near devices that move. A laptop cable pulled completely taut will tug at the connector whenever the computer shifts. Too much slack, however, becomes another hanging tangle. Aim for enough movement to use the device comfortably, with the excess secured underneath.
A simple binder clip can act as a temporary cable stop on a suitable desk edge, but its metal jaws may mark soft surfaces. Adhesive clips or weighted cable holders are usually neater for a permanent setup.
Tame the Television and Entertainment Center
Television areas collect power cords, HDMI cables, speaker wire, game-console leads and network cables in one narrow space. Bundling everything into a single thick rope may look organized, but it makes replacing one device unnecessarily difficult.
Instead, group cords by destination. Route television cables together, console cables together and speaker wires along their own path. Use several small bundles rather than one enormous one.
Label both ends before hiding anything. “TV HDMI 1” is more useful than “HDMI,” especially when four identical black cables disappear behind a cabinet. Small wraparound labels, masking tape or purpose-made cable flags all work. Write the device and port where helpful: “Console to TV HDMI 2” removes the guesswork later.
Keep power adapters ventilated rather than sealing them inside a tight fabric sleeve or stuffing them beneath soft furnishings. Position the power strip where it can be inspected and unplugged without dismantling the room.
If the furniture has a closed back, use its existing cable openings. Do not cut into walls, cabinets or electrical enclosures unless you understand what is behind the surface and can do so safely. Renters can usually get a clean result with removable clips, paintable surface raceways and freestanding cable boxes.
Turn the Cable Drawer Into Useful Storage
A drawer full of beautifully coiled but unidentified cords is still a junk drawer. Each stored cable needs an identity and a boundary.
Small zippered pouches are useful for categories such as audio, computer accessories and travel charging. Clear containers make it easier to see what you own, while cardboard dividers can create inexpensive compartments inside an existing drawer.
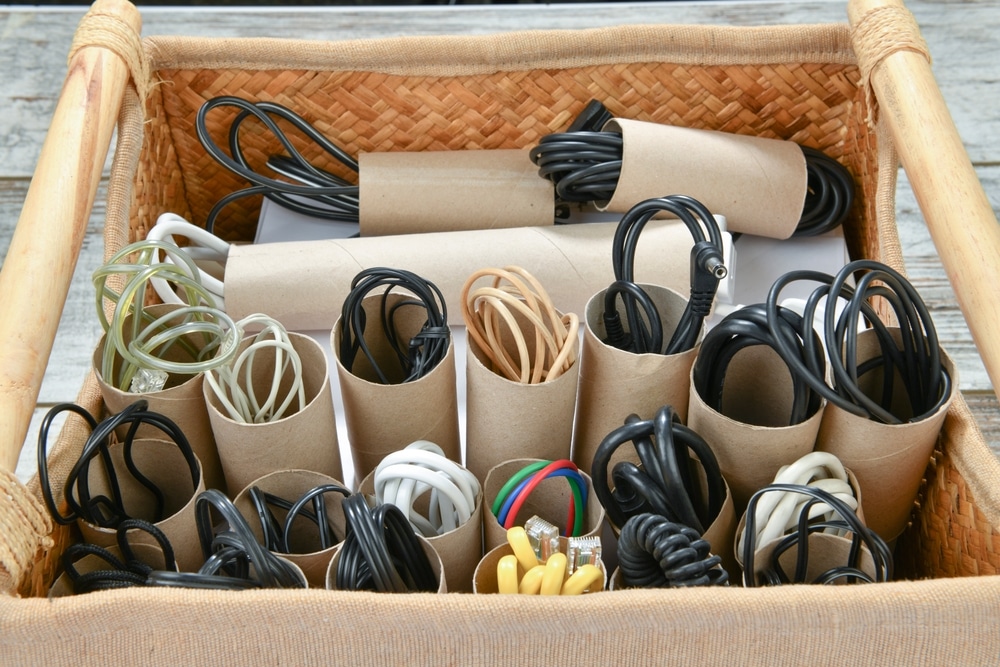
Avoid placing ten loose coils in one large box. They will hook around one another as soon as you remove the cable at the bottom. Instead, tie each cord individually and arrange the coils upright like files. You can then see and remove one without disturbing the rest.
Labels should describe purpose rather than appearance. “USB-C to USB-C, laptop charging” is more helpful than “white cable.” Include the associated device on unusual power adapters. If an adapter has a detachable lead, keep both parts together.
Store rarely used cords away from moisture, direct heat and places where they will be crushed. A shallow drawer or lidded container is better than the bottom of a heavy toolbox.
Make a Grab-and-Go Charging Kit
Travel has a talent for separating cables from the devices that need them. A small, permanent charging kit avoids raiding your organized desk before every trip.
Keep the minimum useful set in a zippered pouch: the appropriate charging leads, a compatible wall adapter and any essential travel plug. Short cables save space, but confirm they are long enough for awkwardly placed hotel outlets.
Use one loop and one tie per cable. Flat pouches with elastic loops make everything visible, although a simple fabric bag works perfectly well if each lead is secured separately.
Do not pack badly bent or damaged power accessories as “emergency backups.” They are more likely to be used in an unfamiliar room where you have fewer alternatives. Replace questionable equipment before travelling.
Keep Cable Management Electrically Safe
Neatness must not come at the expense of safety. A cable box may hide an unattractive power strip, but it should not trap heat around tightly packed adapters. Do not cover power supplies with clothing, carpet or other insulating materials.
Extension cords are intended as temporary solutions rather than substitutes for permanent household wiring. The Electrical Safety Foundation International warns against overloading extension cords, running them through walls or doorways and chaining multiple plug outlets together. It also recommends matching a cord’s rating to the equipment being powered.
Never route an extension cord beneath a rug simply to make it disappear. It can be damaged without being noticed, while covering it may prevent heat from escaping. Cables should also stay clear of chair wheels, sharp furniture edges, closing doors and places where people walk.
If a power strip, plug or cord feels unusually hot, disconnect it safely and investigate. Check for damage and confirm that the equipment does not exceed its rated capacity. Repeated reliance on extension cords may mean the room needs additional permanent outlets installed by a qualified electrician.
Cable sleeves and ties should hold cords together gently, not squeeze them into a rigid bundle. Keep plugs, switches and connections accessible enough to inspect and disconnect.
Remove Unneeded Cables Responsibly
Once the useful cords are organized, deal with the discard pile instead of sliding it back into a drawer.
Working cables for current devices may be suitable for donation or reuse. Unusable electronic accessories should go through an appropriate local collection or recycling program rather than automatically entering household waste. The US Environmental Protection Agency’s electronics recycling guidance notes that electronics contain recoverable materials and recommends checking local facilities, manufacturers and retailers for suitable options. Recycling rules vary, so follow the requirements where you live.
Before discarding an unfamiliar adapter, perform one final check for a device you still own. After that, be realistic. Keeping every obsolete cable “just in case” is what rebuilds the tangle.
Use a System That Takes Seconds to Maintain
Cable organization succeeds when putting a cord away is almost effortless. If each charger must be folded precisely, threaded through three elastic loops and returned to a box on a high shelf, it will soon live on the floor instead.
Keep ties attached to cables when they are in use, so they cannot disappear. Put daily chargers back in clips, return occasional leads to labeled compartments and deal with new cables as soon as they enter the house. A quick check every few months is enough to remove abandoned cords and loosen bundles that have become crowded.
The answer is not to hide every wire. It is to reduce the number you own, give each remaining cable a sensible route and store loose leads individually. Do that, and your cords will stop tangling—not because you became unusually disciplined, but because the system no longer gives them the chance.