
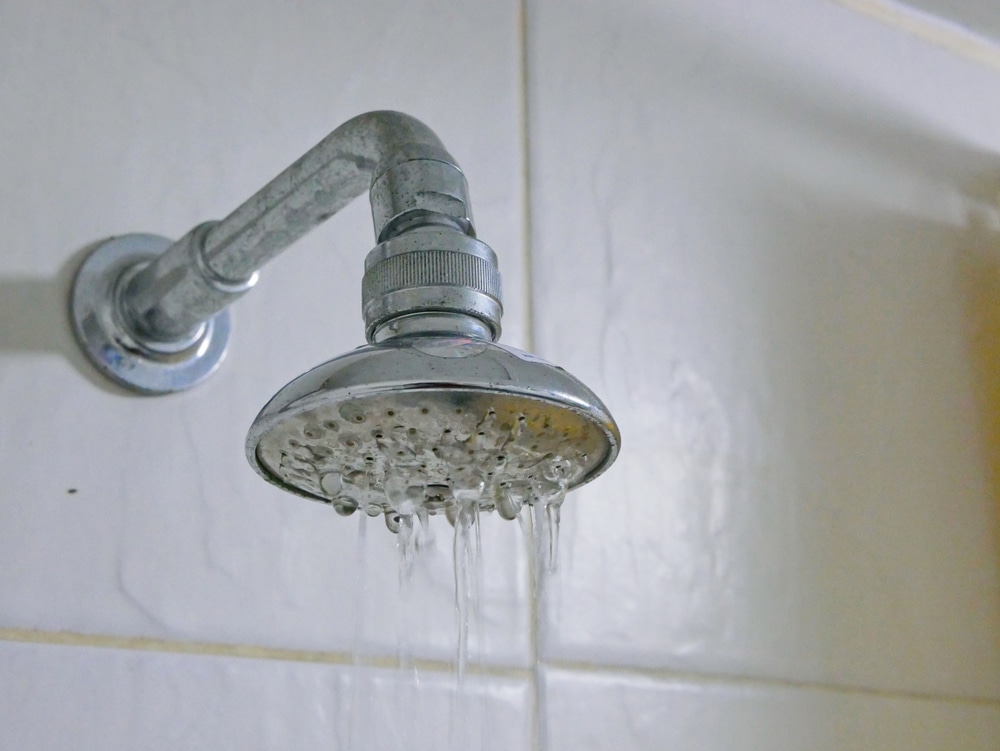
A weak, sideways-spraying shower can make you suspect a plumbing disaster, but the fix may be surprisingly small: clean showerhead nozzles and remove the mineral scale blocking them.
As water passes through a showerhead, it leaves behind tiny amounts of calcium, magnesium and other minerals. These deposits gradually collect around the spray holes, inside the inlet screen and along narrow internal passages. Eventually, some nozzles stop working while others fire water toward the ceiling, the wall or anywhere except you. Descaling can often restore the spray in less than an hour of hands-on work. Before reaching for a wrench, however, it helps to confirm that the showerhead really is the problem.
Is the Showerhead Actually Clogged?
Mineral buildup usually produces a few recognizable clues:
- White or chalky deposits around the nozzles
- An uneven spray pattern
- Water shooting sideways
- Several nozzles producing no water
- Pressure that has declined gradually
- Better flow from the bathtub spout than from the showerhead
If every tap in the house suddenly has weak pressure, cleaning one showerhead probably won’t solve it. That points more toward a supply problem, partially closed main valve, pressure regulator issue or local utility work.
For a shower-over-bath setup, watch the bathtub spout after pulling the diverter. A significant amount of water continuing to escape from the spout suggests that the diverter may be worn or scaled. That water never reaches the showerhead, so the shower feels weaker even if the head itself is spotless.
You can also perform a quick isolation test. Unscrew the showerhead, aim the bare shower arm safely into the enclosure and briefly turn on the water. A strong stream from the arm makes a blocked showerhead the likely culprit. Weak flow without the head attached suggests that the restriction is farther back in the valve or plumbing.
Be careful: water from an open shower arm travels farther than expected.
Check the Manufacturer’s Instructions First
Vinegar is widely recommended for dissolving mineral scale, but it is not automatically suitable for every showerhead.
Special finishes, decorative coatings, natural stone components and certain internal materials may react badly to acids or extended soaking. The safest approach is to find the model’s care instructions before applying anything. Some manufacturers permit diluted vinegar for a short period, while others specify mild soap or a proprietary cleaner.
For example, Moen’s care guidance for its Nebia showerhead allows a 50/50 solution of distilled white vinegar and water but warns against abrasives, ammonia, chlorine and bleach. Your own model may have different requirements.
If you cannot identify the showerhead, begin with the gentlest option: warm water, mild dish soap, a soft cloth and gentle rubbing of flexible nozzles. Test any cleaner on an inconspicuous area before soaking the entire fixture.

What You’ll Need For a Clean Showerhead
For a basic clean, gather:
- Distilled white vinegar, if approved for the showerhead
- Warm water
- A bowl, bucket or sturdy plastic bag
- A rubber band, reusable tie or soft cord
- An old soft toothbrush
- A microfiber cloth
- A towel for the shower floor
- An adjustable wrench, if removing the head
- A clean rag to protect the finish
- Replacement plumber’s tape, if the connection requires it
Avoid wire brushes, scouring pads and abrasive powders. They may scratch the finish or damage rubber spray nozzles. Don’t enlarge blocked openings with a drill bit, nail or other hard tool. The EPA’s WaterSense maintenance guidance specifically cautions against boring out showerhead holes because it can affect performance and increase water use.
Method One: Descale the Showerhead Without Removing It
The bag method is convenient when the connection is difficult to loosen, the showerhead is installed overhead or you simply want the quickest possible job.
1. Wipe and loosen the visible scale
Start by wiping the showerhead with warm water and a soft cloth. If it has flexible silicone or rubber nozzles, rub them gently with your fingers. Many modern heads are designed so loose scale can be dislodged this way.
Brush around the holes with a soft toothbrush. Don’t push loosened debris farther into the nozzles.
2. Prepare the descaling solution
If the manufacturer allows vinegar, mix equal parts distilled white vinegar and water in a sturdy plastic bag. You need only enough solution to cover the spray face and blocked nozzles.
Diluting the vinegar is gentler on finishes and internal components than using it neat. More acid and more soaking time are not necessarily better.
3. Secure the bag
Raise the bag over the showerhead until the affected area is submerged. Secure it around the shower arm with a rubber band or tie.
Make sure the bag’s weight is supported. A large rainfall head may require far more liquid than a bag can safely hold. In that case, remove the head or clean it in sections with a vinegar-dampened cloth, following its care instructions.
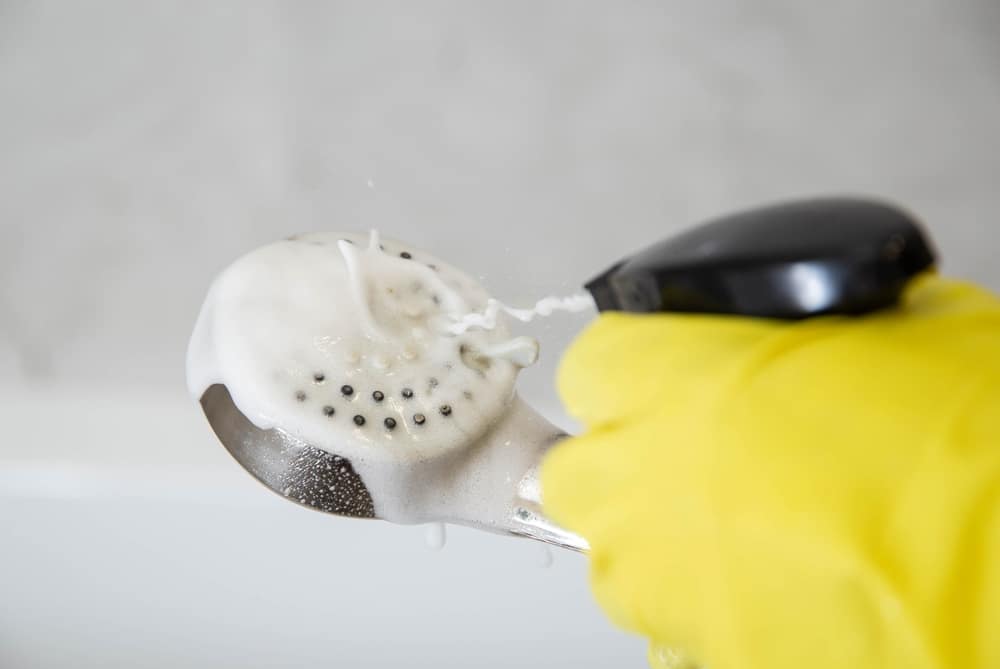
4. Let it soak briefly
Around 20 to 30 minutes is a sensible starting point for an approved diluted-vinegar treatment. Some manufacturers permit longer soaking, but do not leave an unidentified or delicate finish submerged overnight.
Kohler, for example, instructs owners of one of its rain panels to use an equal mixture of water and vinegar for only 20 to 30 minutes before brushing and rinsing. Its model-specific cleaning procedure also warns that cleaner must not contact certain metal trim components. This is exactly why checking the manual matters.
5. Brush, rinse and flush
Remove the bag and discard the liquid. Gently brush the nozzles, paying attention to the edges of each opening. Wipe the surface with clean water and a soft cloth.
Run the shower on a cool or comfortably warm setting for a minute or two. This flushes loosened particles from the internal channels. Step aside before switching it on unless you fancy being pressure-washed in your clothes.
Method Two: Remove the Showerhead for a Deeper Clean
Removing the head gives you access to the inlet, filter screen and connection. It is the better option when soaking the face alone has not restored the flow.
1. Protect the shower
Place a folded towel over the shower floor or bathtub. Cover the drain so a washer, filter screen or small fitting cannot disappear down it.
2. Unscrew the head carefully
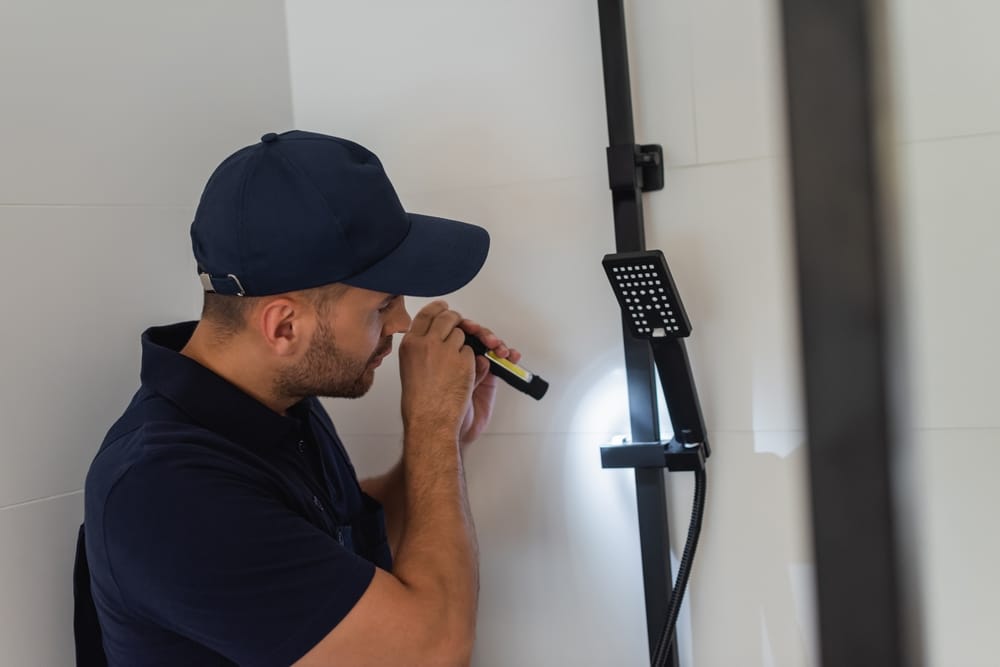
Try turning the connecting nut counterclockwise by hand. If it will not move, wrap the nut with a cloth and use an adjustable wrench. Hold the shower arm steady with your other hand so you do not twist the pipe inside the wall.
Apply force to the connecting nut, not to the decorative body of the showerhead. Plastic fittings can crack, while plated finishes can be scratched by bare metal tools.
3. Keep track of the small parts
Look inside the connection for a rubber washer, gasket and mesh screen. Their exact arrangement varies, so take a quick photo before removing anything.
Rinse the screen under running water and brush it gently. Sediment caught here can restrict the entire showerhead, even when the outside looks clean. Do not automatically remove a component that appears to be a flow restrictor. It may be required for correct performance, water efficiency or compliance with local rules.
4. Soak the removable parts
Place the showerhead in a non-metal bowl with the manufacturer-approved solution. Delta’s showerhead-cleaning instructions recommend an equal mixture of distilled white vinegar and water, followed by a 30-minute soak and gentle cleaning with a cloth or toothbrush.
Position the head so the clogged spray face is covered, but avoid immersing components the manufacturer says must remain dry. After soaking, brush away softened scale and rinse everything thoroughly with clean water.
5. Reassemble without overtightening
Replace the screen and gasket exactly as they were. Clean old debris from the shower-arm threads with a soft brush.
Whether plumber’s tape is needed depends on the connection. Many showerheads seal with a rubber washer and do not require tape. If the instructions call for it, wrap fresh tape clockwise around the threads so it stays in place as the head is tightened.
Reattach the showerhead by hand. Turn on the water and check the joint for drips. If it leaks, switch the water off and inspect the gasket before tightening slightly. Excessive wrench pressure can crack a plastic nut or damage the seal.
Cleaning Mistakes That Can Create a Bigger Problem
Never mix vinegar with bleach or a bleach-containing bathroom cleaner. Acid and chlorine bleach can release dangerous chlorine gas. The CDC advises against mixing household cleaners, so rinse away any previous product thoroughly and use only one cleaner at a time.
Also avoid assuming that a stronger commercial descaler is safe because it is sold for bathrooms. Read both the cleaner label and showerhead instructions. A product capable of stripping thick scale from a toilet bowl may also discolor or etch a coated fixture.
Don’t use boiling water on plastic components, don’t scrape deposits with a knife and don’t force a stubborn connector. If the shower arm begins moving inside the wall, stop. Damaging that concealed connection can turn a small cleaning job into a leak behind the tiles.
What If Descaling Doesn’t Restore the Pressure?
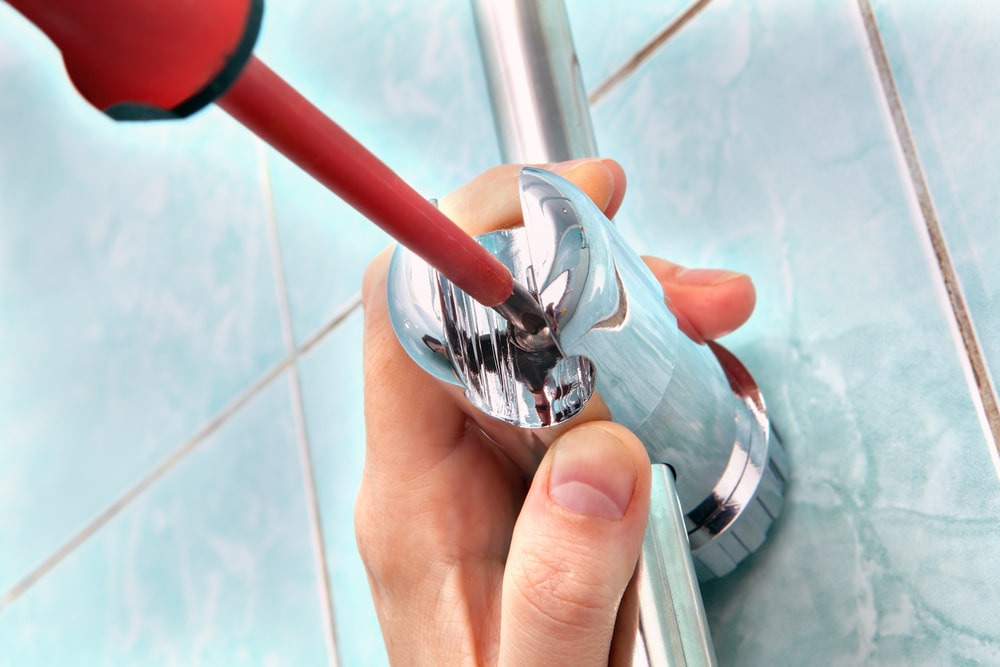
First, remove the head again and check the inlet screen. A flake of scale may have broken loose during cleaning and lodged there.
Next, consider whether the showerhead is simply designed for a lower flow. Water-efficient models can use less water without being faulty, although a good design should still provide useful spray coverage and force. The problem is more likely to be mechanical if the performance changed noticeably rather than always feeling gentle.
Other possible causes include:
- A hose that is kinked or collapsing internally
- A clogged inline filter
- A failing shower diverter
- A worn or scaled mixer cartridge
- A partially closed isolation valve
- Low pressure throughout the property
- Old pipes narrowed by corrosion or sediment
If both hot and cold flow are weak only at this shower, the valve or cartridge may need attention. If pressure is poor throughout the home, contact a plumber or water supplier rather than dismantling the shower valve yourself.
Replacement may be more sensible when the head is cracked, heavily corroded, permanently blocked or inexpensive compared with the time and parts required to rebuild it.
Keep the Scale From Taking Over Again
A tiny amount of regular care is easier than rescuing a completely blocked fixture. After showering, rub flexible nozzles with your fingers and wipe the spray face with a soft cloth. Drying the surface reduces the water droplets that leave visible minerals behind. Every few weeks, inspect the nozzles and remove early deposits before they harden into a thick crust.
How often a full descale is needed depends on the mineral content of the water, shower frequency and the design of the head. Let performance be your guide: uneven jets, visible white deposits and a gradual reduction in flow mean it is time.
Ultimately, a showerhead losing pressure does not always need replacing. Confirm that the restriction is in the head, follow its care instructions, soak approved parts in a diluted vinegar solution, brush gently and flush thoroughly. In many cases, that simple descale is enough to bring back a clean, even spray—without opening the wall or calling in the plumbing cavalry.