
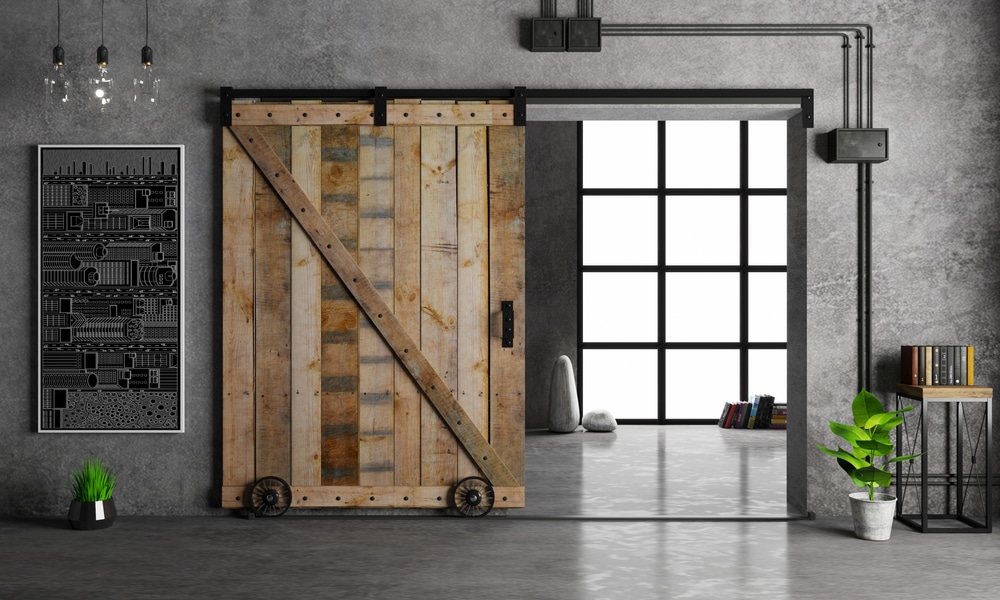
A home upgrade does not have to involve expensive contractors, complicated permits, or weeks of disruption. One of the easiest ways to transform a room is by installing a barn style door that slides smoothly across a mounted track. A DIY sliding barn door can add character to a modern apartment, a farmhouse inspired kitchen, or even a compact office that needs a smarter use of space. Many homeowners assume the process is too technical for beginners, but with the right tools and a little patience, it becomes a manageable weekend project. The key is understanding the preparation, measurements, and installation steps before lifting the first board or tightening the first screw.
Planning Your DIY sliding barn door Project
Before buying lumber or hardware, spend time evaluating the space where the new door will hang. Barn doors need enough wall clearance to slide fully open without hitting light switches, shelves, or artwork. Measure the doorway width and height carefully, then compare those numbers to the size of the door you want to install. Most homeowners choose a panel that overlaps the doorway by a few inches on every side to improve privacy and reduce visible gaps. A DIY sliding barn door also requires a strong mounting surface because the track and door can become surprisingly heavy once assembled and installed properly.
Another important part of planning involves choosing the style and finish that works best in your room. Some people prefer rustic reclaimed wood with visible grain patterns, while others choose painted panels with clean modern lines. Consider the color palette already present in the room and think about how the hardware finish will match nearby fixtures. Black metal tracks often create a timeless look, but brushed nickel can feel more contemporary. A DIY sliding barn door should feel intentional rather than trendy, so take your time selecting materials that complement the overall design of your home and blend naturally with the surrounding furniture and flooring.

Choosing Hardware for a DIY sliding barn door
Hardware quality can determine whether the finished door glides effortlessly or rattles every time someone opens it. The track, rollers, spacers, and floor guide all need to work together smoothly. Buying a cheaper hardware kit may seem like a smart way to save money initially, but poorly made rollers can wear out quickly or become noisy over time. Most reputable kits include installation templates and lag bolts, which simplify the process considerably. When selecting hardware for a DIY sliding barn door, pay attention to the weight rating so the track can safely support the finished panel without bending or loosening from the wall.
The type of wood you select matters just as much as the metal hardware. Solid wood creates an authentic look and offers excellent durability, but it also adds considerable weight. Plywood backed with trim boards can achieve a similar appearance while remaining easier to handle during installation. Pine is popular because it is affordable and easy to stain, while oak provides a harder surface with more pronounced grain. If you plan to paint the panel, medium density fiberboard may provide a smoother finish. A DIY sliding barn door built from lighter materials is often easier for beginners to install accurately without requiring extra hands.
Measuring the Opening for a DIY sliding barn door
Accurate measurements can prevent one of the most frustrating problems in home improvement projects: discovering the door does not fit correctly after installation. Start by measuring the doorway width at multiple points because older homes often have uneven framing. Measure the height from the floor to the trim and determine whether the floor is level. Even slight variations can affect how the door hangs and slides. A DIY sliding barn door typically extends beyond the trim by one or two inches on every side, helping cover gaps while improving visual balance in the room.
After determining the correct dimensions, locate the wall studs where the track will attach. A stud finder makes this process much easier and more reliable than guessing. Mark each stud location with painter’s tape or pencil lines before drilling anything into the wall. Some installations require a mounting board attached across several studs first, especially if the track holes do not align perfectly with the framing behind the drywall. Taking extra time during this phase can prevent future sagging or instability. A DIY sliding barn door depends heavily on a secure mounting system because all the weight transfers directly into the wall structure.
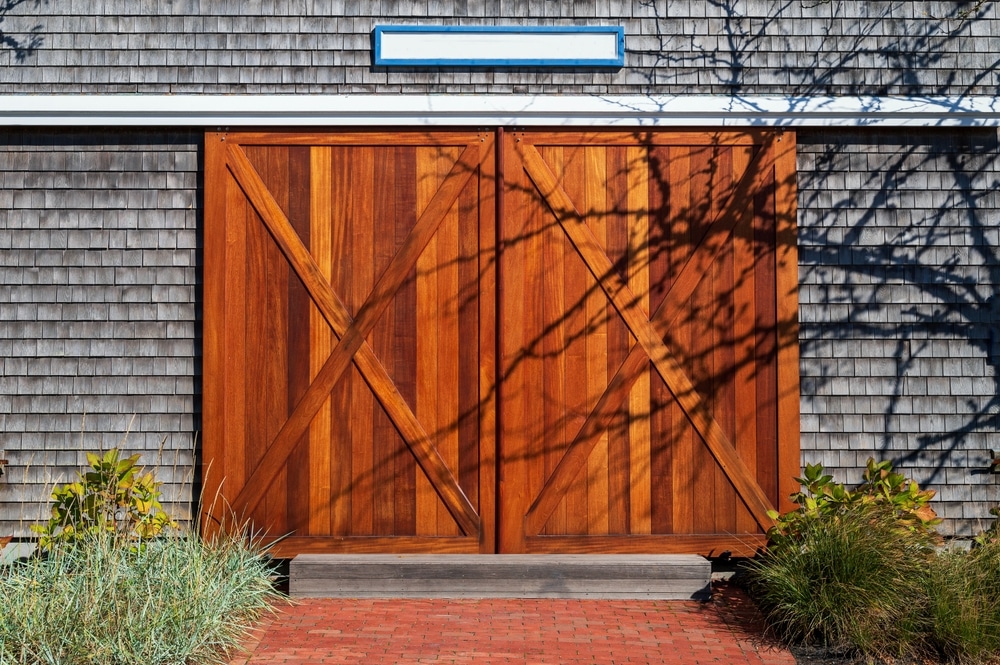
Once the measurements are complete, lay out all your materials before beginning assembly. Organizing screws, brackets, spacers, rollers, and drill bits ahead of time can make the installation process far smoother. Read the hardware instructions from beginning to end before drilling the first pilot hole. Many homeowners skip this step and end up reinstalling parts after realizing something was mounted backward or out of sequence. Preparing a clean workspace also reduces the risk of scratching or denting the finished panel. A DIY sliding barn door installation becomes much less stressful when every tool and component is ready before the heavy lifting starts.
Building and Finishing the Door Panel
Building the actual door panel can be one of the most satisfying parts of the project because it allows room for creativity and personalization. Some homeowners prefer simple vertical planks with horizontal braces, while others enjoy decorative herringbone patterns or diagonal cross supports. Wood glue combined with pocket screws creates a strong connection between boards without leaving visible fasteners on the front surface. Before applying stain or paint, sand every edge thoroughly to prevent splinters and rough patches. A DIY sliding barn door often becomes a focal point in the room, so investing time in the finish can dramatically improve the final appearance.
Staining the wood can enhance natural grain patterns and create a warm, inviting feel. Dark walnut stains offer a traditional farmhouse look, while lighter finishes can brighten smaller spaces and feel more modern. If painting the panel, use primer first to ensure even coverage and better durability. Allow each coat to dry fully before handling the door again. Rushing this step can leave fingerprints, smudges, or uneven texture that becomes difficult to fix later. A DIY sliding barn door should not only function well but also appear polished and professionally finished once installed inside the home.
Installing the Track and Rollers
Mounting the track is usually the most technical stage of the installation process, but careful preparation makes it manageable even for beginners. Begin by marking a level line above the doorway using a long spirit level or laser level. The track must remain perfectly straight or the door may slide unevenly and drift open unexpectedly. Drill pilot holes into the studs or mounting board before securing the lag bolts. Tightening each bolt gradually helps keep the track aligned during installation. A DIY sliding barn door relies on a stable track system because even minor shifting can affect daily operation over time.
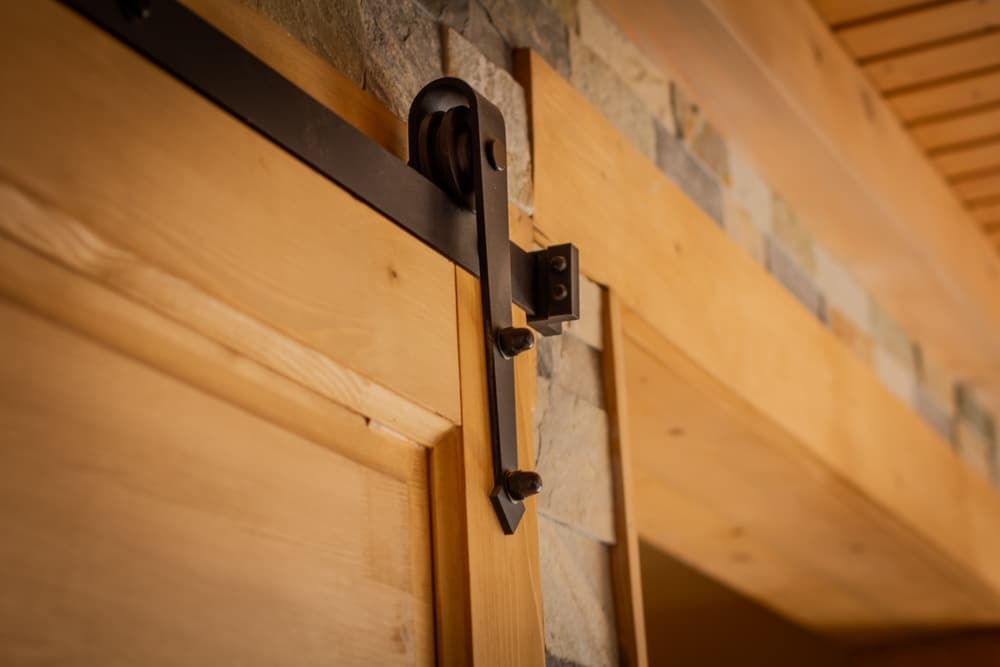
Once the track is secure, attach the rollers to the top of the door according to the hardware instructions. This step often requires precise spacing to ensure the rollers sit evenly and support the panel properly. Carefully lift the door onto the track with assistance if needed, since solid panels can become difficult to maneuver safely alone. After hanging the panel, install the floor guide near the base to prevent swinging or wobbling during use. Testing movement several times before final tightening can help identify small alignment issues early. A DIY sliding barn door should glide quietly and smoothly from the very first use.
After the installation is complete, inspect every bolt, bracket, and roller connection one more time. Small adjustments can make a noticeable difference in how the door feels during operation. If the panel rubs against the wall or floor, slight repositioning of the guide or spacers may solve the issue immediately. Lubricating the rollers lightly can also improve movement and reduce squeaking over time. A DIY sliding barn door becomes more reliable when every component is checked carefully rather than assuming the first setup is perfect without testing the system thoroughly.
Common Mistakes Homeowners Should Avoid
Many first time installers underestimate how important wall structure is during installation. Drywall alone cannot support the weight of a heavy sliding panel, which is why anchoring into studs remains essential. Another common mistake involves choosing a door that is too small for the opening, leaving awkward gaps that reduce privacy and insulation. Some homeowners also skip sanding between finish coats, resulting in rough texture and uneven appearance. A DIY sliding barn door can look highly professional, but only when attention is given to details that are easy to overlook during a rushed weekend project.
Another issue appears when people fail to account for nearby furniture or electrical outlets. Since the panel slides horizontally across the wall, any obstacle in its path can interfere with daily use. Think carefully about where couches, cabinets, or wall decorations will sit after installation. It is also wise to consider whether children or pets may use the door frequently, since heavier panels require more control during movement. A DIY sliding barn door should improve convenience and style rather than create new frustrations because of poor planning or limited clearance around the installation area.
Installing a barn style door without professional help can feel intimidating at first, but the process becomes far more approachable once broken into manageable steps. Careful measurements, quality hardware, and patient preparation make a noticeable difference in the final result. A DIY sliding barn door offers more than visual appeal because it also saves floor space and adds personality to areas that once felt plain or outdated. Whether you choose rustic wood, sleek painted panels, or industrial metal accents, the finished project can become one of the most rewarding upgrades in your home. With the right tools and attention to detail, even a beginner can complete the installation confidently and enjoy the results for years.
Do you want more amazing tips for DIY Projects in your home? Then visit our DIY Projects page right here