Most people overlook the nightstand when updating a bedroom, even though it is one of the most visible pieces of furniture in the space. A worn surface, chipped paint, or outdated hardware can make the whole room feel tired. The good news is that a full bedroom makeover is not necessary to create a fresh new atmosphere. A simple DIY nightstand upgrade can completely change the style of your room in just one weekend. Whether you prefer modern minimalism, rustic charm, or vintage character, there are affordable ways to transform an old piece into something that feels brand new without spending a fortune on replacement furniture.
Why a DIY nightstand upgrade Is Worth the Effort
A weekend furniture project can feel intimidating at first, but the results are usually far more rewarding than expected. A DIY nightstand upgrade gives you the chance to personalize your space while saving money and reducing waste. Instead of sending old furniture to a landfill, you can breathe new life into something you already own. Small furniture pieces are ideal for beginners because they are manageable in size and usually require fewer materials than larger projects. The process also allows you to experiment with paint colors, textures, and hardware styles without committing to a full room renovation that takes weeks to complete.
Start With a Clear Vision
Before picking up a paintbrush, spend some time deciding what kind of style you want. Browsing interior design websites, magazines, or social media platforms can help narrow down your preferences. Some people prefer a clean Scandinavian look with pale wood and matte finishes, while others love bold colors and brass accents. A successful DIY nightstand upgrade works best when it matches the rest of your bedroom decor. Consider your bedding, wall color, lighting, and flooring before choosing a direction. Having a clear visual goal will make every decision easier once the project begins and prevent you from buying unnecessary supplies.
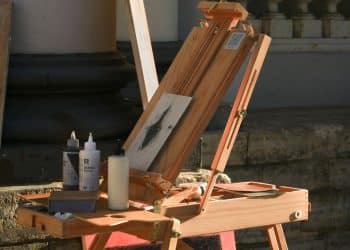
Gather the Right Tools and Materials
Preparation is one of the biggest secrets behind a polished furniture makeover. Most projects require sandpaper, primer, paint, paintbrushes, wood filler, and a screwdriver. If you plan to replace handles or knobs, measure the existing hardware carefully before shopping. A DIY nightstand upgrade becomes much smoother when every tool is ready before you start. Many beginners lose momentum because they constantly stop to buy forgotten items. Protect your floor with a drop cloth and wear old clothes because paint splatters are almost guaranteed. Having an organized workspace also helps speed up the process and makes cleanup much easier once the job is done.
Cleaning Comes Before Creativity
One mistake many people make is painting directly over dirt, dust, or old polish. Furniture surfaces collect years of oils and residue that can prevent paint from sticking properly. Before beginning your DIY nightstand upgrade, clean the entire piece thoroughly with warm water and mild soap. Stubborn grime may require a degreasing cleaner, especially around drawer handles. Once cleaned, let the furniture dry completely before sanding. This step may seem boring compared to choosing colors and decorations, but skipping proper cleaning often leads to peeling paint or uneven finishes later. Taking extra time here creates a much more professional final result.
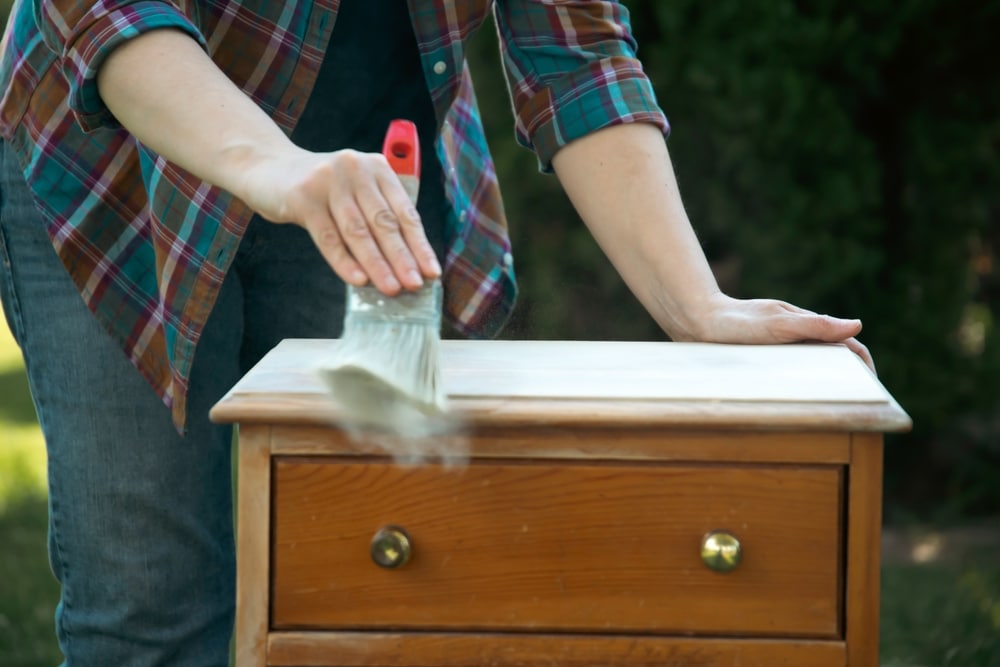
Sanding Makes a Huge Difference
Sanding may not be glamorous, but it is one of the most important stages in furniture restoration. A lightly sanded surface allows primer and paint to adhere properly while smoothing out scratches and imperfections. During a DIY nightstand upgrade, focus especially on corners, edges, and damaged areas where wear is most noticeable. You do not always need to remove every layer of old finish completely, especially if the surface is already fairly smooth. The goal is to create enough texture for new paint to grip. After sanding, wipe away dust with a damp cloth to prevent rough particles from ruining the finish.
Choosing the Best Paint Finish
Paint selection has a major impact on the final appearance of furniture. Matte paint creates a soft modern feel, while satin and semi gloss finishes are more durable and easier to clean. A DIY nightstand upgrade often benefits from lighter shades because they brighten the room and make small spaces feel larger. However, darker colors such as navy, forest green, or charcoal can add dramatic sophistication. Chalk paint remains popular because it requires less preparation and produces a vintage look with minimal effort. Regardless of the paint type you choose, applying several thin coats usually produces a smoother and longer lasting finish than one thick layer.
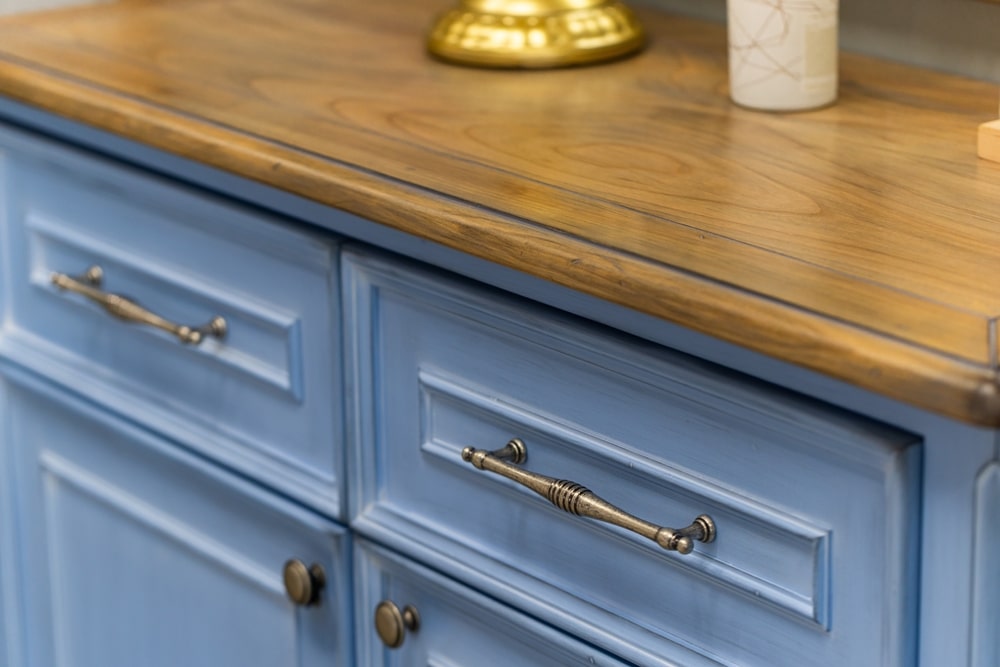
Hardware Can Completely Change the Style
Sometimes the biggest transformation comes from the smallest details. Swapping outdated knobs or drawer pulls instantly modernizes old furniture. During a DIY nightstand upgrade, hardware choices can push the design toward industrial, farmhouse, glamorous, or contemporary styles. Brass handles add warmth and elegance, while matte black hardware creates a clean modern appearance. Crystal knobs can introduce vintage charm, especially on painted furniture. Many home improvement stores offer affordable hardware options, making this one of the easiest ways to elevate the final look. Be sure to install handles carefully and evenly because crooked hardware can make an otherwise beautiful project feel unfinished.
Add Personality With Creative Details
Painting alone can dramatically improve furniture, but decorative details take a project even further. Some people use wallpaper or peel and stick patterns inside drawers for a hidden surprise. Others add decorative trim, stencil designs, or wood slats to create texture. A DIY nightstand upgrade becomes truly unique when it reflects your personality and creativity. Even simple additions like gold painted edges or contrasting drawer interiors can make the piece feel custom made. If you enjoy bold design choices, consider experimenting with geometric patterns or two tone color combinations. Small artistic touches often become the feature people notice first when entering the room.
Don’t Forget About Functionality
While appearance matters, practical improvements are equally important. Test every drawer to ensure it opens and closes smoothly before finishing your project. A DIY nightstand upgrade is the perfect opportunity to tighten loose screws, repair wobbly legs, or reinforce weak drawer bottoms. Some older nightstands may benefit from added storage solutions such as small baskets or drawer dividers. Think about how you actually use the furniture each day. If charging cables constantly clutter the surface, drilling a discreet cable hole in the back can create a cleaner look. Combining beauty with functionality ensures the upgraded piece remains useful for years to come.
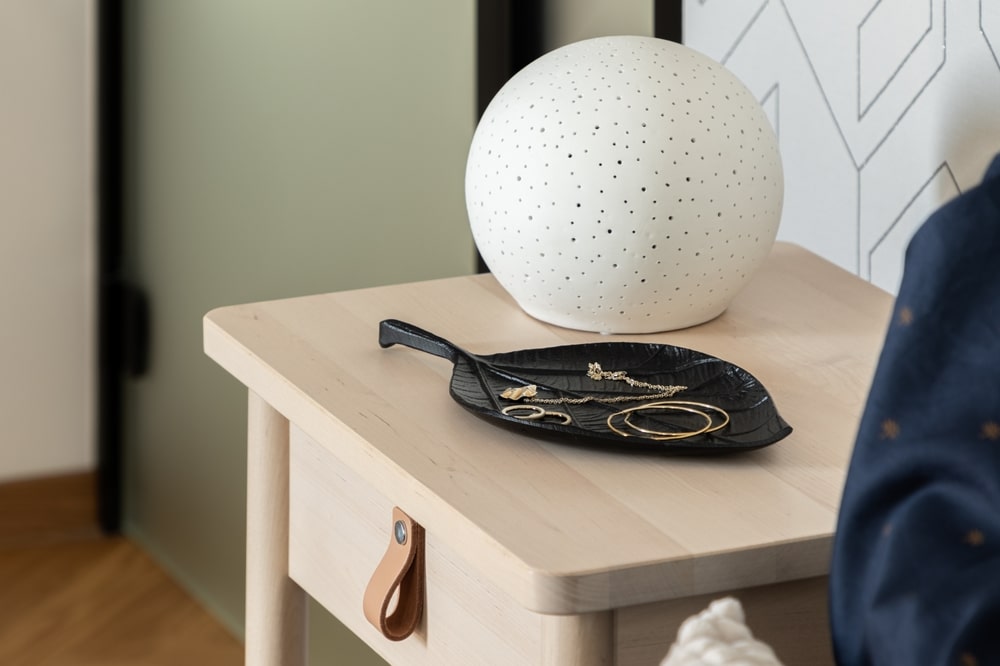
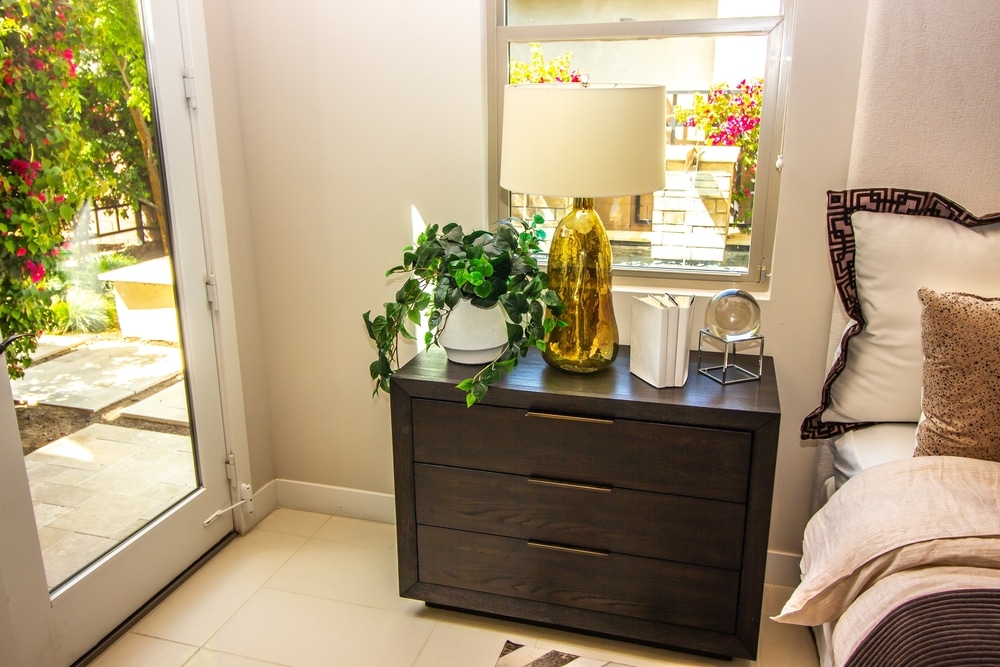
Styling the Finished Piece
Once the paint dries and the hardware is installed, the final styling phase begins. Decorative choices help showcase all the effort you put into the project. After completing your DIY nightstand upgrade, avoid overcrowding the surface with too many items. A lamp, small plant, framed photo, or stack of books is usually enough to create a balanced appearance. Soft lighting can highlight paint texture and decorative details beautifully in the evening. Try coordinating accessories with the colors used elsewhere in the bedroom to create a cohesive atmosphere. The goal is to make the furniture feel integrated into the room rather than standing out awkwardly.
Common Mistakes to Avoid
Furniture makeovers are forgiving, but a few mistakes can quickly affect the final outcome. Rushing through drying times is one of the biggest problems during a DIY nightstand upgrade. Paint that feels dry on the surface may still be soft underneath, causing fingerprints or dents if handled too soon. Another common issue is applying paint too thickly, which creates visible brush marks and drips. Skipping primer can also lead to uneven coverage, especially when painting over dark wood. Patience is often the difference between a project that looks homemade and one that appears professionally refinished. Taking your time usually delivers far better results.
A Small Project With a Big Impact
Refreshing old furniture can be surprisingly satisfying because the transformation is visible almost immediately. A DIY nightstand upgrade proves that even a small weekend project can completely change the mood of a bedroom. Instead of living with scratched surfaces or outdated finishes, you can create something stylish and personal using basic tools and a little creativity. The best part is that each project builds confidence for future home improvements. Once you complete one furniture makeover, larger decorating ideas suddenly feel much more achievable. With thoughtful planning and steady effort, an old nightstand can become one of the standout features in your home.
Do you want more amazing tips for DIY Projects in your home? Then visit our DIY Projects page right here