
There’s a particular kind of dread that hits when you open your fridge, move a jar of mustard, and discover something underneath that has its own ecosystem. We’ve all been there. The fridge is one of the hardest-working appliances in any home — running 24 hours a day, seven days a week — and yet it’s the appliance most people deep-clean roughly once every “I’ll get to it eventually.” If you can carve out about 50 minutes, though, you can clean your fridge thoroughly without it eating your whole Saturday. Genuinely. Under an hour, start to finish, no special skills required.
The trick is knowing exactly what to do, in what order, with the right supplies already at hand. Let’s walk through how this actually works in real life.
Why Your Fridge Needs a Real Clean (Not Just a Wipe)
Before getting into the how, a quick word on the why. A messy fridge isn’t just unpleasant — it’s a genuine health and performance issue. Spills harden in the cold and trap bacteria. Door gaskets accumulate crumbs and grow mold in their folds. Condenser coils gather dust until your fridge has to work overtime to keep cold, which costs you money on electricity and shortens the appliance’s lifespan. According to cleaning experts, you should ideally clean your fridge thoroughly every three to four months. Most of us don’t, and that’s fine — even doing it twice a year puts you ahead of the curve.
The point of a real deep clean isn’t aesthetic. It’s about food safety, energy efficiency, and not having something living in your produce drawer.
The 50-Minute Plan: What to Have Ready Before You Start
The reason most fridge cleanings take three hours instead of one is that people start, then stop to find supplies, then stop to take a break, then forget where they were. To clean your fridge thoroughly in under an hour, you need everything within reach before you open a single door.
You’ll want a cooler or insulated bag (or two), a few clean microfiber cloths, hot soapy water in a bowl or spray bottle, a small bowl with a baking soda and warm water mixture (about two tablespoons baking soda per cup of water), white vinegar in a spray bottle for tough spots, an old toothbrush for crevices, paper towels, a trash bag, and one open box of baking soda for the finish. That’s it. No specialty products required.
Tip from experience: don’t unplug the fridge unless you’re planning to take longer than an hour. If you’re moving fast, just leaving it running while you work doesn’t meaningfully impact food safety, and you avoid the hassle of resetting things. The U.S. CDC’s guidance is to keep food out of the fridge for no longer than two hours, so as long as you stay well under that, you’re fine.
Empty First, Sort As You Go
Pull everything out and put it in the cooler. Everything. As you remove items, sort ruthlessly. That jar of capers from 2022? Gone. The mystery container in the back? If you don’t immediately recognize it, it goes. Half-finished sauces with crusted lids? Gone. The hot sauce expansion pack of seven different bottles where you only use one? Pick a favorite.
This is the moment that genuinely earns you back the time. Most people, when they clean your fridge thoroughly the proper way, throw out 20-30% of what was in there. Future you will thank present you for doing this honestly.
While you’re emptying, set the removable shelves and drawers in the sink or on a counter near the sink. Important: let glass shelves come up to room temperature for a few minutes before you wash them with hot water. Cold glass plus hot water equals cracked glass, and that’s a $200 mistake nobody wants.

Tackling the Interior
Now for the actual cleaning. The interior is where most of the action is, and it’s also where people overcomplicate things. You don’t need fancy products. A solution of warm water and a little dish soap handles 90% of the job. For tougher dried-on spills, the baking soda solution works better than anything in a bottle, plus it doesn’t leave a chemical smell that your food will absorb.
Start at the top and work down. This is non-negotiable — if you start at the bottom, all the dirt and drips from above end up on surfaces you’ve already cleaned. Wipe the ceiling first, then the walls, then each shelf-bracket level, then the bottom. Use the toothbrush for the corners, the vents, and the little drainage hole at the back (yes, that’s a thing, and it gets gross).
For stuck-on spills that won’t come off with a wipe, lay a wet cloth soaked in the baking soda solution directly on top of the spill and let it sit for a few minutes while you do something else. The dampness softens hardened food and lifts it without scrubbing. This single trick is what lets you clean your fridge thoroughly without spending forty minutes attacking one stubborn jelly stain.
When you’re done with the interior, dry it with a clean microfiber cloth. Moisture left behind can encourage mold, especially in a closed environment.
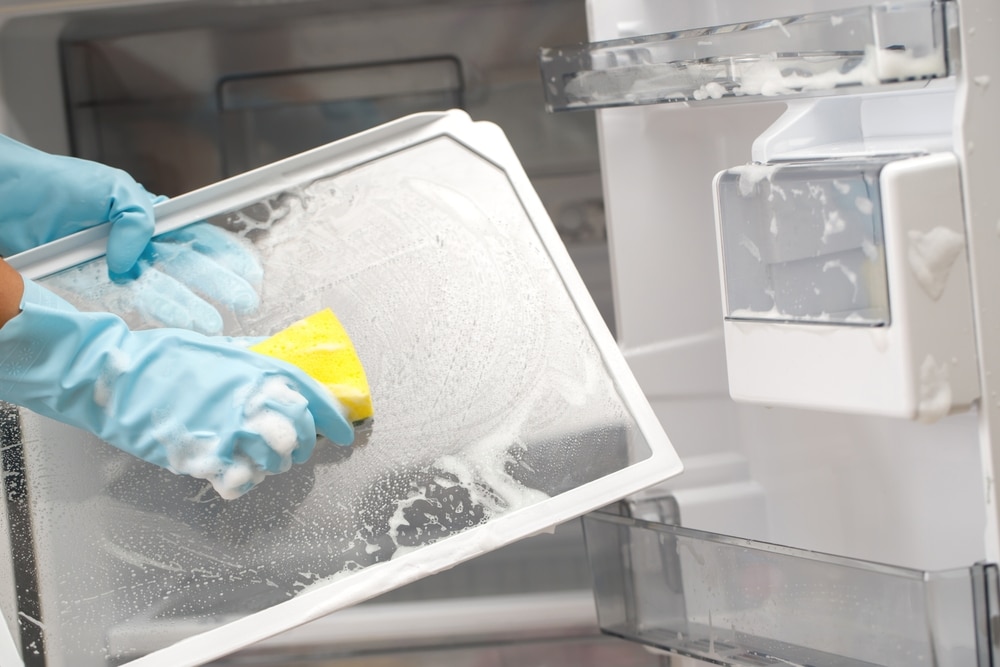
The Shelves and Drawers
These get washed in the sink with hot soapy water. If something is really stuck on, let the piece soak for a few minutes while you continue working on the interior. Multitasking is what keeps the timeline under an hour.
Dry every piece completely before putting it back. Water trapped under a drawer or between glass shelves becomes a future mold problem. A microfiber towel handles this in seconds.
If your shelves are not removable (which happens with some fridge designs — surprisingly common complaint), don’t panic. Just wipe them down really well in place with the soapy mixture, then dry. You can still clean your fridge thoroughly even if some parts won’t come out.
The Part Most People Skip: Door Seals
Here’s the area that separates a casual wipe-down from a proper deep clean. The rubber gaskets around your fridge doors are folded to create a seal, and those folds collect crumbs, drips, and over time, mold. They’re also the reason your fridge sometimes feels like it’s not closing right — gunk in the seal stops it from sealing properly.
Use a damp cloth or your toothbrush dipped in warm soapy water to press into each fold and wipe out the debris. Run a dry cloth through the creases afterward to remove leftover moisture. Don’t skip the drying step — water sitting in a closed fridge gasket is exactly how mold gets started.
If you find existing mold in the seals, white vinegar on a cloth handles it cleanly. Avoid bleach on rubber gaskets unless the manufacturer explicitly says it’s safe — bleach can dry out and crack the rubber over time.
This is the step that genuinely makes your fridge feel new again, and almost nobody does it. Anyone trying to clean your fridge thoroughly without addressing the seals is missing about 30% of the actual job.

Don’t Forget the Outside (And Underneath)
The exterior takes about five minutes. A damp microfiber cloth handles the doors, handles, and top of the fridge (where dust quietly accumulates for years). If you have stainless steel, follow the grain and buff dry with a separate cloth — and a couple of drops of olive oil on a cloth at the end keeps fingerprints at bay.
The condenser coils — usually behind or underneath the fridge — are the secret to long-term efficiency. Once a year, pull the fridge out a bit, find the coils (often behind a kick plate at the bottom), and vacuum off the dust with a brush attachment. Coils caked in dust make your fridge work harder, run hotter, and die younger. This step takes about three minutes and saves real money on electricity.
When you clean your fridge thoroughly including the coils, you’re not just making it look better — you’re extending the appliance’s working life by years.
The Reload (Where Smart Habits Begin)
Before you put everything back, give the food itself a quick check. Wipe down sticky jars and bottles. Group things logically — meat and fish on the bottom shelf where any drips won’t contaminate other foods, dairy in the middle where it’s coldest, produce in the drawers, condiments in the door (which is the warmest section).
A folded paper towel in the bottom of each produce drawer absorbs moisture and catches future spills before they become caked-on disasters. A fresh open box of baking soda in the back keeps odors in check between cleanings — replace it every couple of months.
Putting everything back into a clean fridge is genuinely satisfying. There’s a reason people post fridge-organization videos online. You’ve earned the moment.
Keeping It Clean Between Deep Cleans
If you clean your fridge thoroughly twice a year, the maintenance in between is genuinely minimal. Once a week, take 60 seconds to scan for anything spoiled and toss it. Wipe up spills the day they happen, while they’re soft, instead of waiting until they harden into geological formations. Once a month, do a quick wipe-down of the most-used shelf — usually the middle one.
These tiny habits are what make the next deep clean fast instead of dreadful.
clean your fridge thoroughly, the right way
You can absolutely clean your fridge thoroughly in under an hour. The trick is preparation — supplies ready, cooler waiting, plan in your head. Empty, sort, top to bottom, gaskets included, coils once a year, baking soda at the end. That’s the whole game. The first time you do it might take 55 minutes; by the second time, you’ll wonder why you ever put it off.
Now go open that fridge. Whatever’s in there, it’s not going to clean itself.
Do you want more amazing tips to clean your home? Then visit our Cleaning & Maintenance page right here