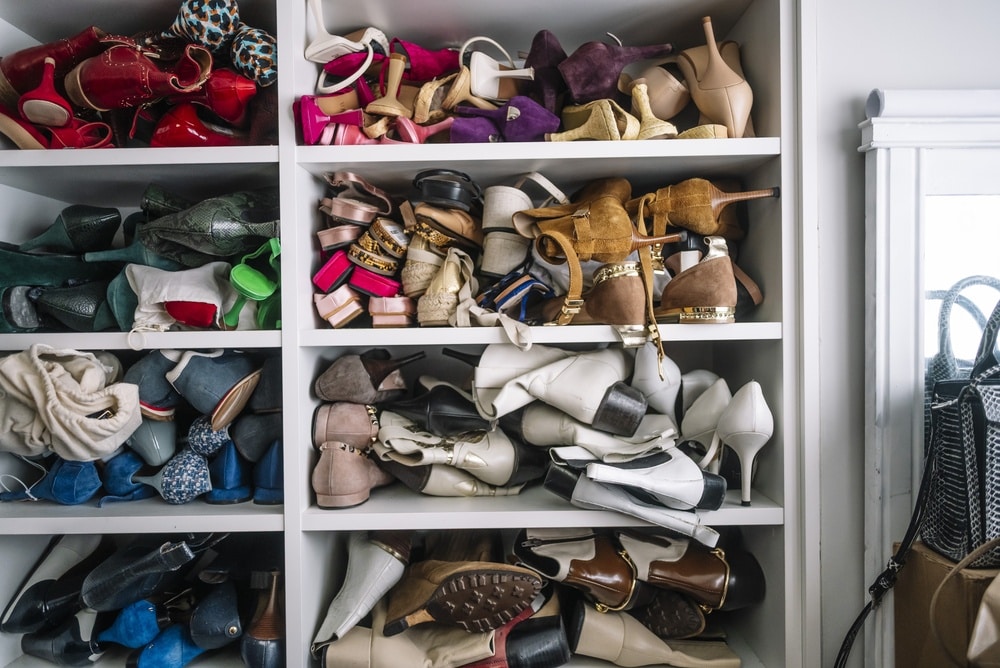
Learning to build a shoe rack furniture yourself is one of those small home projects that delivers big results. A messy pile of sneakers, boots, and sandals can quickly make even the cleanest hallway look chaotic. The good news is that you do not need advanced carpentry skills or expensive tools to fix that problem. With a few basic materials and a little patience, you can create a sturdy and stylish storage solution in a single weekend. This guide will walk you through every step, from planning and measuring to sanding and finishing, so you can feel confident as you work.
Why You Should build a shoe rack Projects at Home
When you build a shoe rack solutions yourself, you gain full control over the size, style, and materials. Store bought racks often come in standard dimensions that may not fit your entryway, closet, or mudroom perfectly. By making your own, you can customize the height between shelves to fit tall boots or keep it compact for children’s shoes.
Another benefit when you build a shoe rack units on your own is cost savings. According to data from home improvement retailers, basic lumber and screws for a small rack can cost significantly less than pre assembled furniture. You also avoid paying for shipping or brand markups. On top of that, DIY projects can increase your practical skills and confidence. Each time you complete a project, you become more comfortable handling tools and planning future improvements around your home.
Materials You Need to build a shoe rack Successfully
Before you begin, gather all your materials in one place. To build a shoe rack furniture with basic materials, you will typically need wooden boards, wood screws, sandpaper, a drill, a saw, a measuring tape, and a pencil. Pine boards are a popular choice because they are affordable, lightweight, and easy to cut. If you prefer a more industrial look, you can also combine wood with metal brackets.
Most simple racks consist of two side panels and several horizontal shelves. The exact number of shelves depends on how many pairs of shoes you want to store. For an average household, three to four shelves are usually enough. Make sure your screws are long enough to hold the boards securely together, but not so long that they poke through the wood.
Measuring and Planning Before You build a shoe rack
Careful planning is the difference between a stable piece of furniture and a wobbly one. Before you build shoe rack designs, measure the space where you plan to place it. Check the width, depth, and height. Do not forget to account for baseboards or door swings that might limit the available area.
Sketch a simple plan on paper. It does not need to be artistic. Just mark the dimensions of each board and the spacing between shelves. Standard adult shoes require about 7 to 8 inches of vertical space, while boots may need 12 inches or more. Planning these details in advance helps you avoid mistakes and wasted materials.
Cutting and Assembling the Frame
Once your measurements are ready, it is time to cut the wood. If you do not own a saw, many hardware stores offer cutting services when you purchase lumber. Accuracy is important because uneven boards can make your rack unstable.
After cutting, lay out the pieces on the floor to see how they fit together. When you build shoe rack frames, start by attaching the bottom shelf to the two side panels. Use a drill to create pilot holes before inserting screws. Pilot holes reduce the risk of splitting the wood. Then move upward, attaching each additional shelf one at a time. Check with a level to ensure every shelf is straight before tightening the screws fully.
Taking your time during assembly will help you build shoe rack units that feel solid and safe to use. Rushing through this step often leads to crooked shelves or weak joints.
Adding Shelves and Support
Depending on the width of your rack, you may need extra support in the middle. Wide shelves can sag over time under the weight of multiple pairs of shoes. To prevent this, consider adding a vertical support piece in the center or using thicker boards.
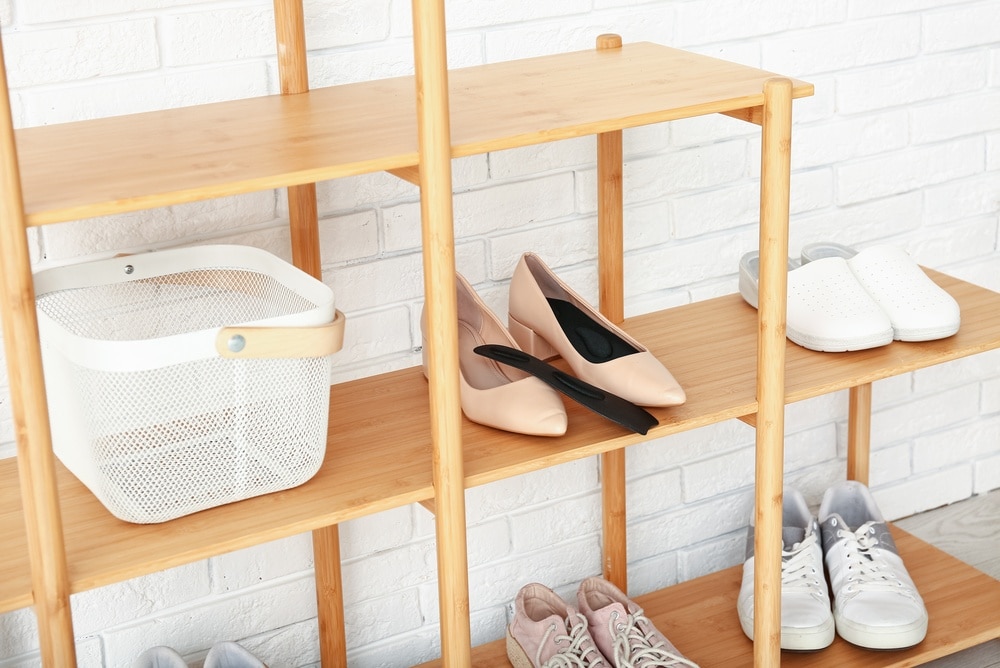
As you build shoe rack shelves, spacing consistency matters. Use a measuring tape to mark the same height on both side panels before attaching each shelf. This keeps everything aligned. If you want a more open look, you can leave small gaps between slats instead of using solid boards. This also allows dirt and dust to fall through, making cleaning easier.
Sanding, Finishing, and Protection
Raw wood often has rough edges or splinters, so sanding is an essential step. Start with medium grit sandpaper and finish with a finer grit for a smooth surface. Proper sanding not only improves appearance but also helps paint or stain adhere better.
When you build shoe rack furniture, finishing it with paint, stain, or a clear sealant protects the wood from moisture. Shoes often carry water, mud, and snow into the house. A protective finish reduces the risk of warping or staining. If your rack will be placed near an entryway, consider using a water resistant polyurethane coating for added durability.
Creative Variations for Small Spaces
If you live in a small apartment, you can still build shoe rack solutions that fit your needs. A narrow vertical design can maximize height instead of width. Wall mounted racks are another smart option, keeping the floor clear and making the space feel larger.
Some people choose to repurpose materials such as wooden pallets or old crates. As long as the wood is sturdy and properly cleaned, reclaimed materials can work well. When you build shoe rack designs from recycled wood, you also make an environmentally friendly choice by reducing waste.
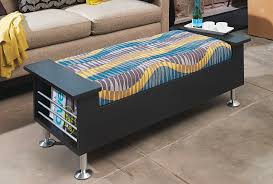
You can also add personal touches. Painting the rack in a bright color can turn it into a decorative feature rather than just storage. Adding labels or baskets on certain shelves can help organize family members’ shoes separately.
Common Mistakes When You build a shoe rack
Even simple projects can go wrong without attention to detail. One common mistake when people build shoe rack furniture is skipping the measuring step. Guessing dimensions often results in shelves that are too short or too narrow for certain types of shoes.
Another frequent issue is using the wrong type of screws. Drywall screws, for example, are not always strong enough for load bearing furniture. Choosing proper wood screws improves durability. Failing to check for level surfaces can also create a rack that rocks back and forth. To avoid this, always assemble your rack on a flat surface and test its stability before placing shoes on it.
By being patient and double checking each step, you can build shoe rack units that last for years without repairs.
Maintaining Your Finished Rack
After you build shoe rack furniture and place it in your home, regular maintenance keeps it looking good. Wipe down shelves with a damp cloth to remove dust and dirt. If you notice scratches or worn areas in the finish, lightly sand and reapply a protective coat.
Try not to overload each shelf beyond its capacity. Even strong wood can bend under excessive weight over time. Rotating seasonal shoes and storing off season footwear elsewhere can reduce strain on your rack.
Building your own furniture may seem intimidating at first, but this project proves that practical home improvements do not have to be complicated. When you build shoe rack designs with care and attention, you create something functional, affordable, and tailored exactly to your needs. The process teaches valuable skills, encourages creativity, and brings a sense of accomplishment every time you walk past your neatly organized shoes. With just a few tools and some basic lumber, you can transform clutter into order and enjoy a cleaner, more welcoming space every day.
Do you want more amazing tips for DIY Projects in your home? Then visit our DIY Projects page right here